Lid Installation w/Latch Spring:
{For more tips on this subject go to both of these web pages, too: Wood Lid1 & Wood Lid 2}
Next I traced out the inside of the plate for the cut-out for
the dovetails in the buttplate. 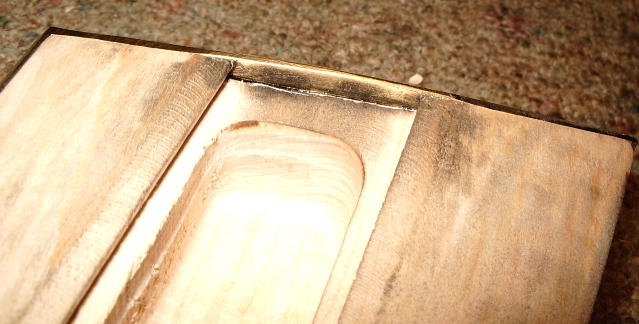
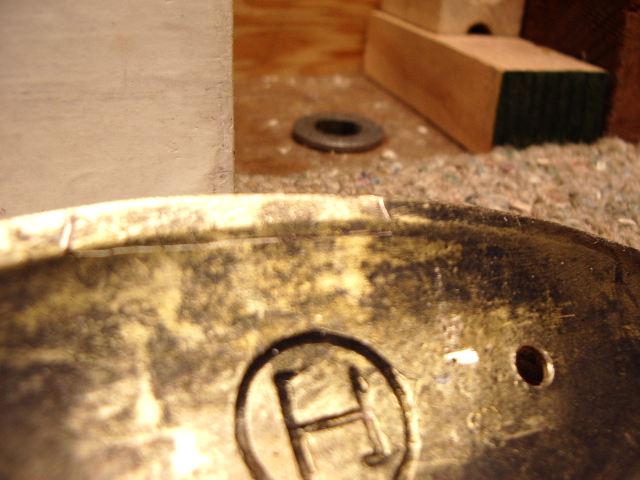 In
the photo on the right, you can see the etchings. I put the plate into a
vise held with leather and used a hacksaw to cut down to just short of the
horizontal line, a series of narrow cuts.
In
the photo on the right, you can see the etchings. I put the plate into a
vise held with leather and used a hacksaw to cut down to just short of the
horizontal line, a series of narrow cuts.
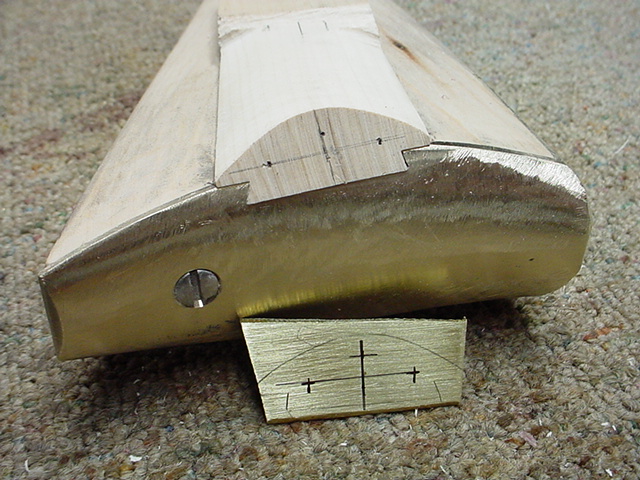
Then the plate was remounted onto the stock and files were
used to remove the excess brass. 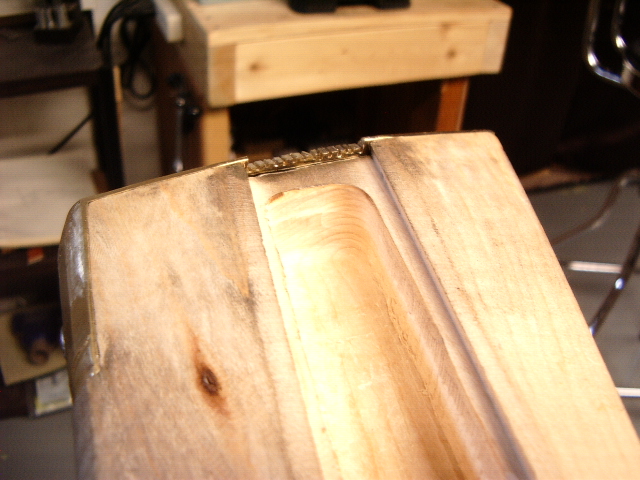 I file down to the wood vertically and then use safe triangular files to file
into the dovetails.
I file down to the wood vertically and then use safe triangular files to file
into the dovetails. 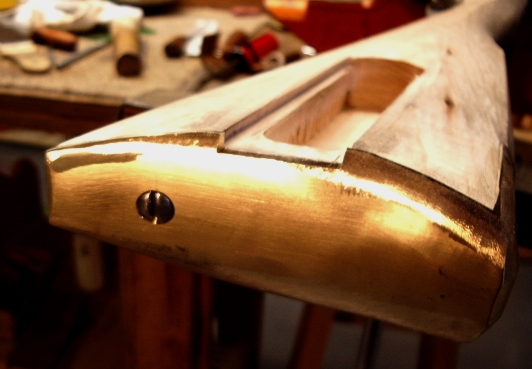
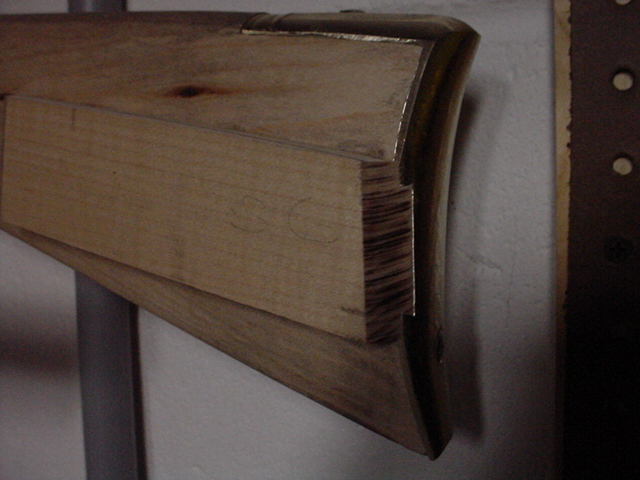
Now I can insert the patchbox lid into the stock.  Now I pull out my "Golden Means" gauge to determine where the front of
the patchbox lid will be located.
Now I pull out my "Golden Means" gauge to determine where the front of
the patchbox lid will be located. 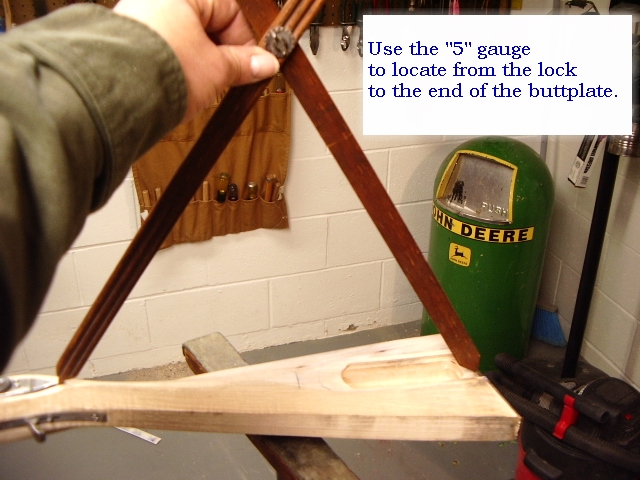 I
start with the "5" and measure from the end of the buttplate to the
end of the lock.
I
start with the "5" and measure from the end of the buttplate to the
end of the lock.
Then I flip the gauge and use the "3" to locate the
front of the patchbox lid and mark the lid. 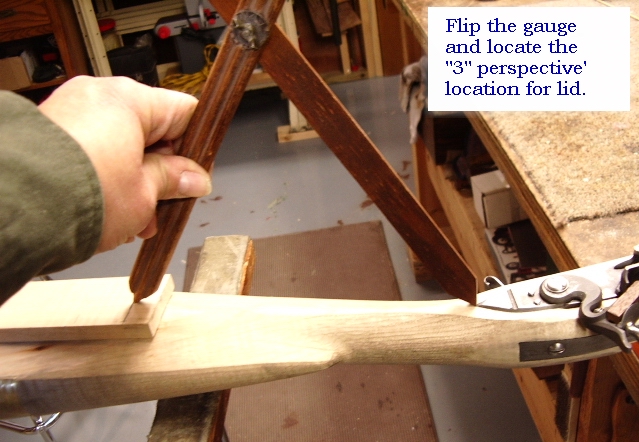
If I flip over the lid, this corresponds with the
proposed location of the patchbox lid on the stock based upon the flatness of
the stock in this area.
I reinstall the lid again and then mark a line across the
bottom of the lid. I will now cut the lid about 1/2" beyond this line.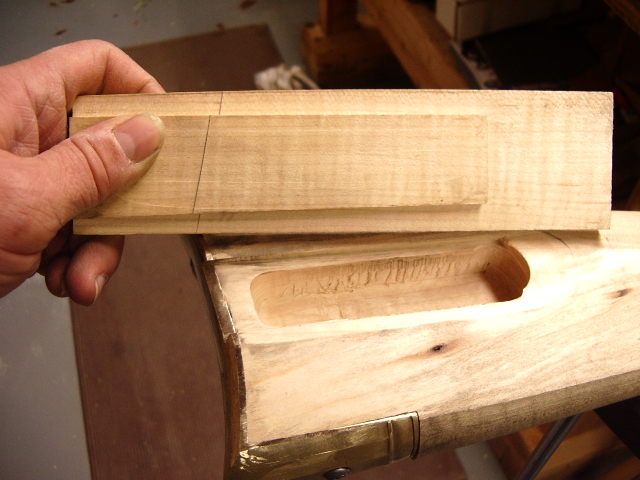
I reinstall the lid again then file the lid down to the
buttplate. 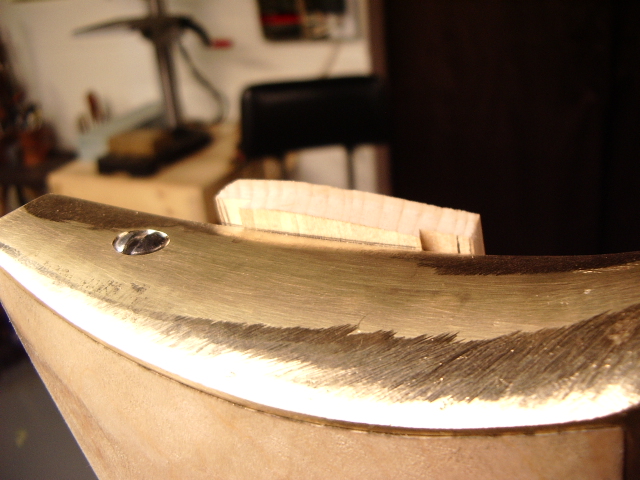
Now I want to taper the lid from the rear to the 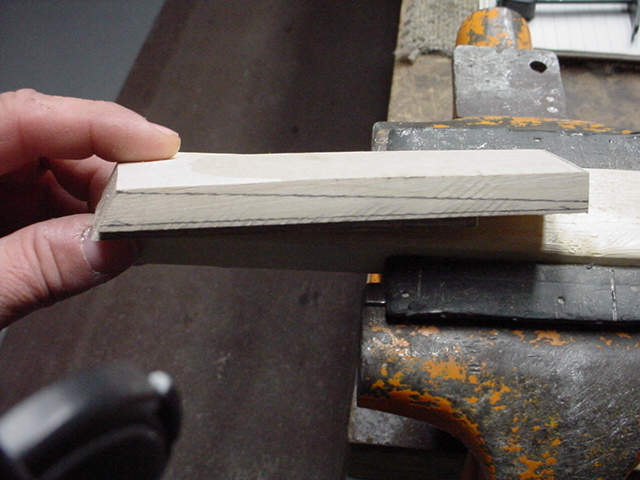 front.
The rear will be 3/8" thick and front will be 1/8" high. Note, I drew
a line 1/16" along the lower edge. This allows me to roll over the edge
later.
front.
The rear will be 3/8" thick and front will be 1/8" high. Note, I drew
a line 1/16" along the lower edge. This allows me to roll over the edge
later.
I removed the height on the rear third of the lid and divided the width into
3rds. 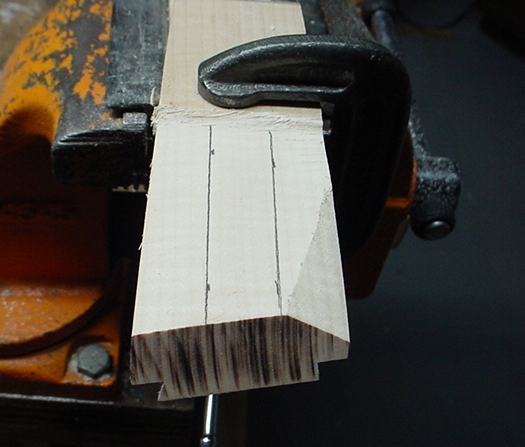
Now the lid is moved out 1/16" and wood is again removed.
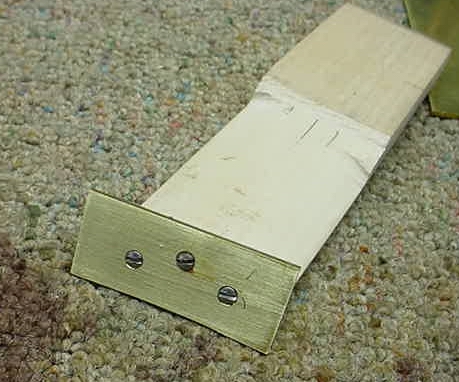
With the lid pushed back after filing, you now see the exposed buttplate. 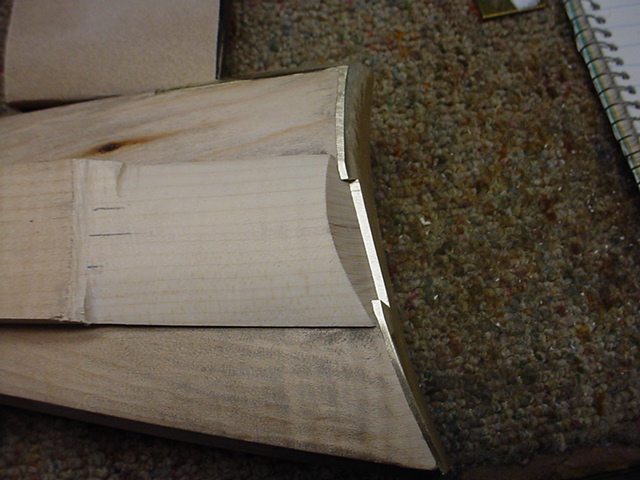 I cut out a piece of brass and make marks for the locations for the
screws.
I cut out a piece of brass and make marks for the locations for the
screws.
I drilled out the hole in the brass, aligned the holes with
the marks and then drove in the screws. Once this was done, I mixed up
some epoxy and glued the brass to the lid and put in the screws. Later I will
then file down the sides of the brass plate to match the end of the patchbox
lid. 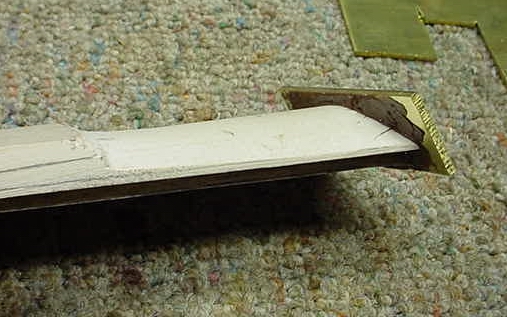
The brass was filed down to the lid and then the lid was fitted into the
dovetails of the stock for a solid fit. 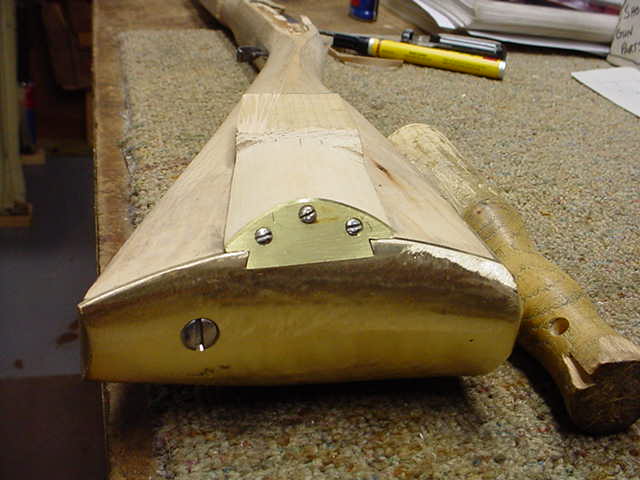
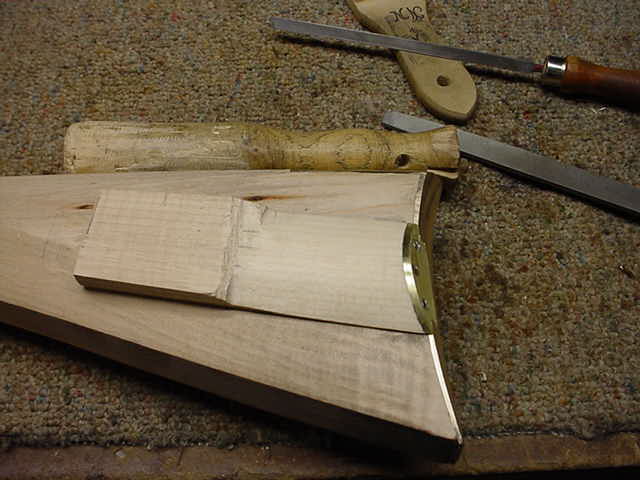
However, the brass of the lid end cap slightly overlapped the edge of the
butt plate. So I had to file the end cap down to match the butt plate. 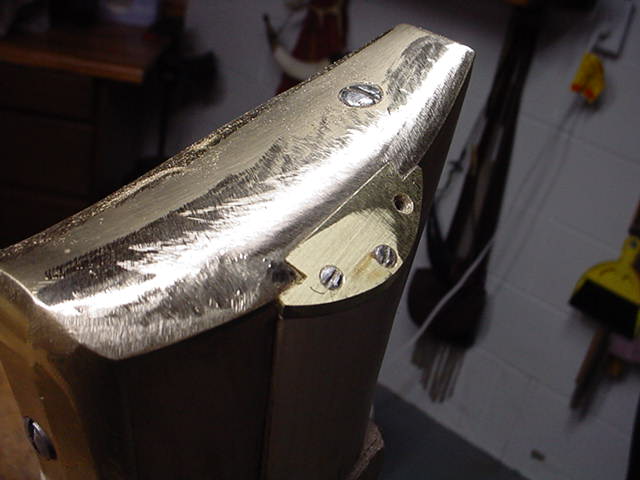 I
removed each screw and then filed the surfaces flush.
I
removed each screw and then filed the surfaces flush. 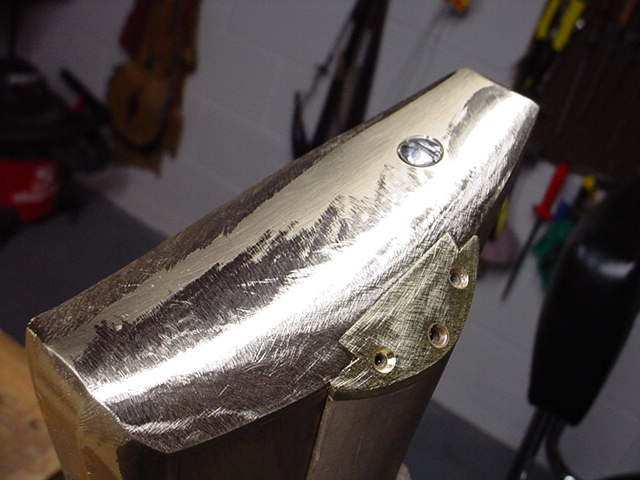
Once this task was completed, the screws were reinstalled. 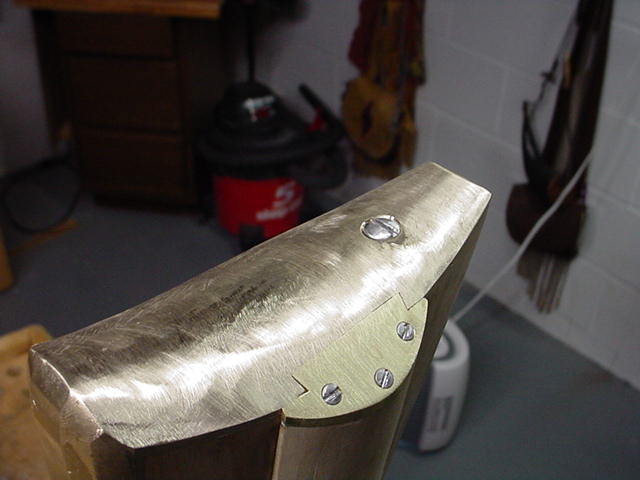
Here is an end view. 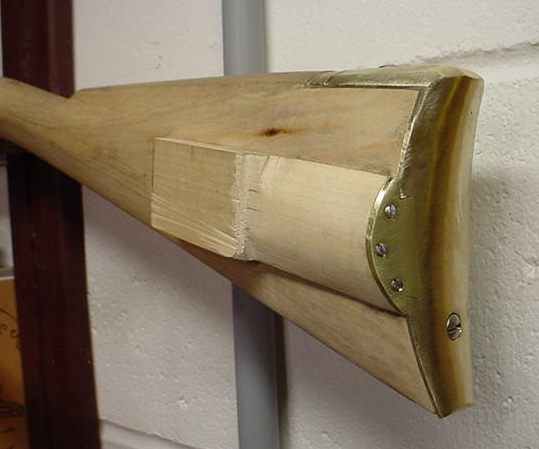
Now the next steps will be to further shape the lid and make the latch for the lid.
Now I installed the latch spring into the lid. The trench for the latch was
inletted into the bottom face of the lid. Then brass was filed down on the end
plate of the lid for the thickness of the latch. 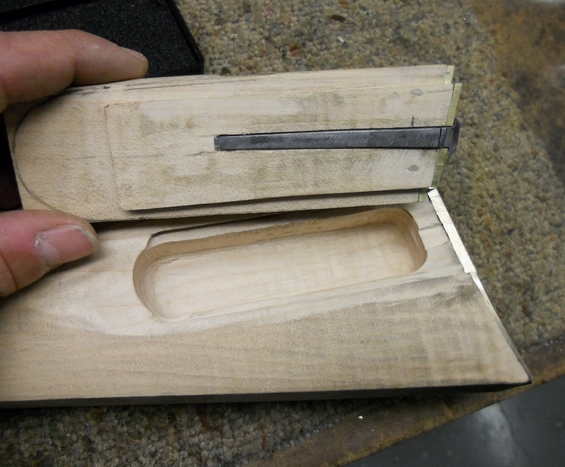 I
left enough wood at the far end of the trench for the spring to be driven into
the lid. I drilled a few holes into the lid to allow the latch to drift
into the lid.
I
left enough wood at the far end of the trench for the spring to be driven into
the lid. I drilled a few holes into the lid to allow the latch to drift
into the lid.
Once this was done, I measured the thickness of the buttplate. 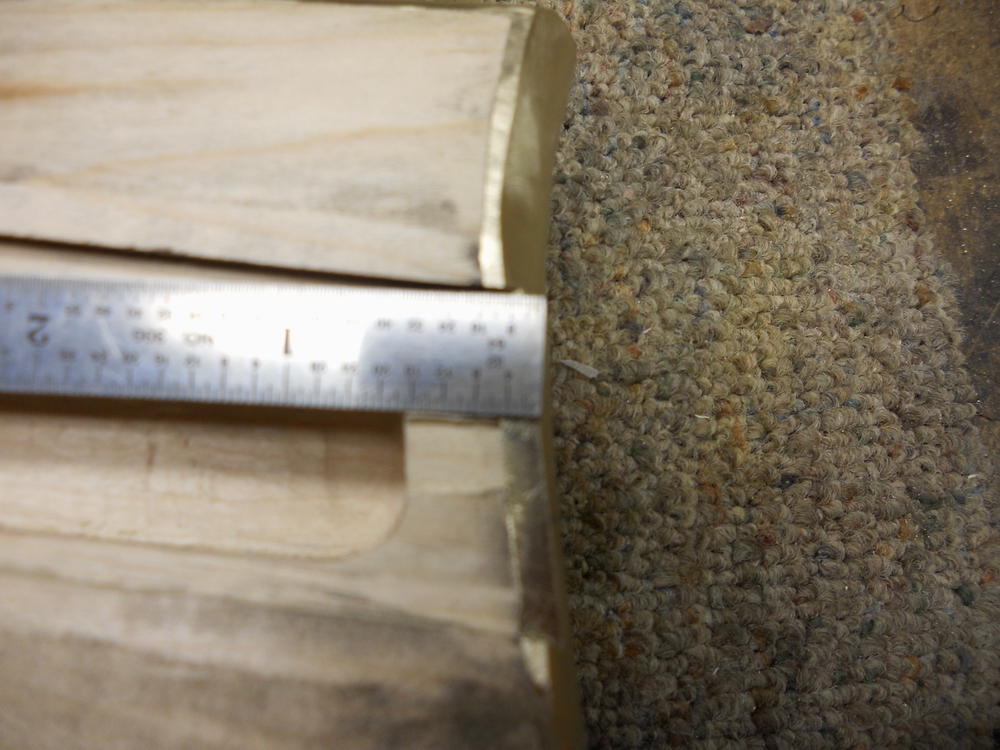 This
was 3/16".
This
was 3/16".
I then measured in 3/16" from the end of the lid and made a mark on the
latch spring. This will be the depth I will file the spring latch with my
"SAFE" file. I stop short of the line and then with trial and error,
carefully remove material till the lid "SNAPS" into position.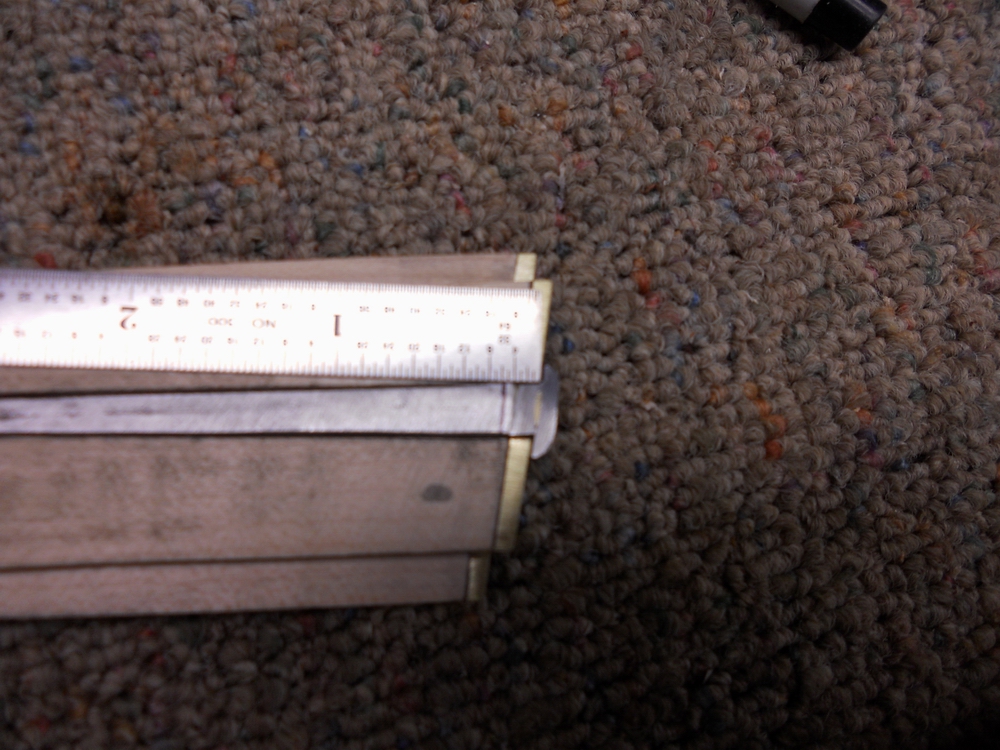
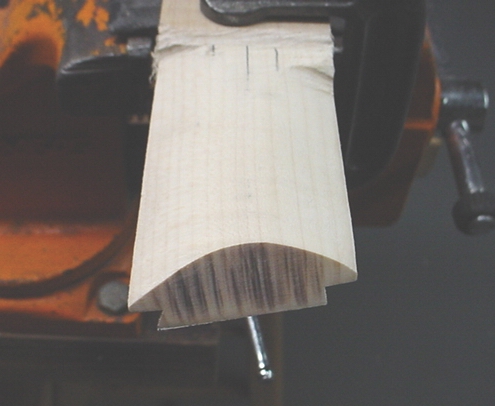
Once this is done, I need to shape the lid by dividing it into thirds across
the top.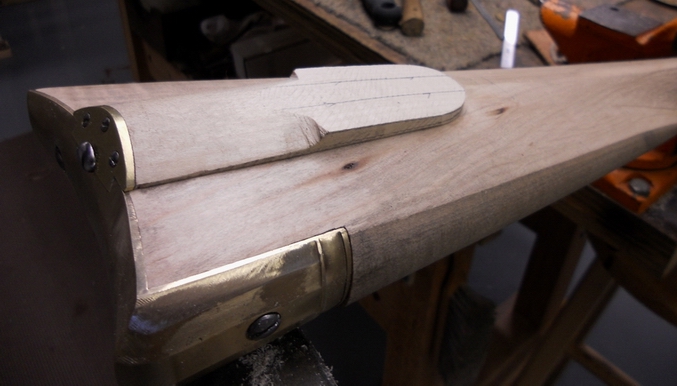
I had also rounded the nose of the lid and then drew a line 1/16" up
along the sides and put a tapering line for the side of the lid so it drops down
to 1/8" height at the front of the lid.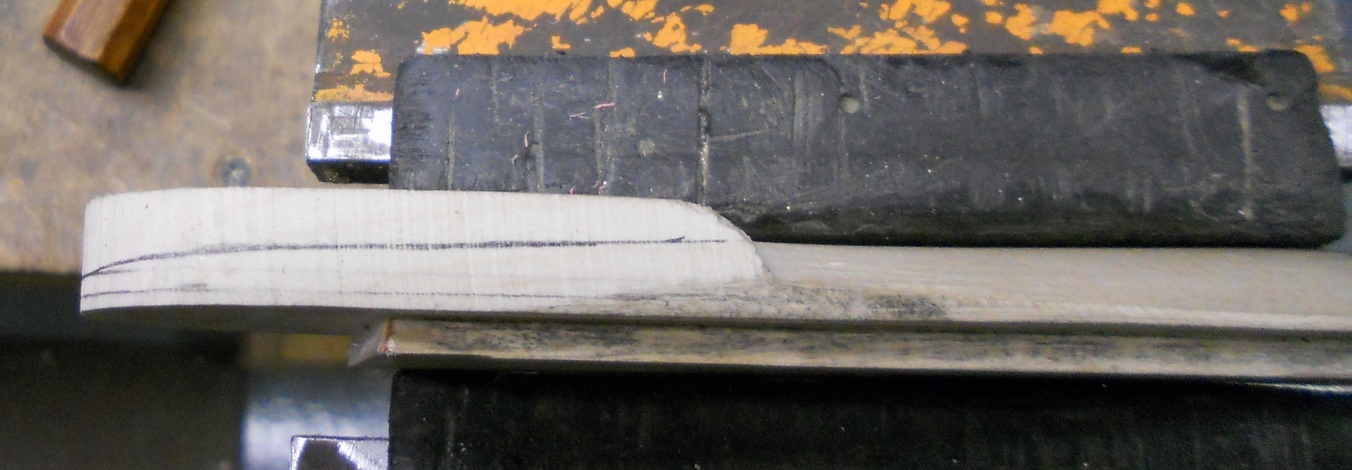
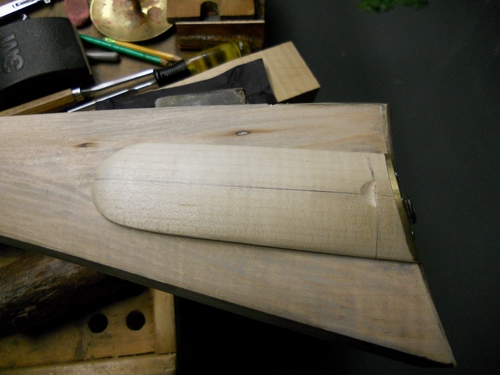
Here is the result: 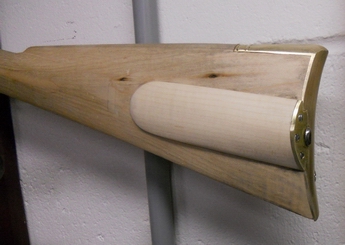
Now I draw a center line down the length of the lid and another line
1/4" in from the outside edge. This will be the location of the
"pinch" hole for the fingers to grasp the lid for removal. 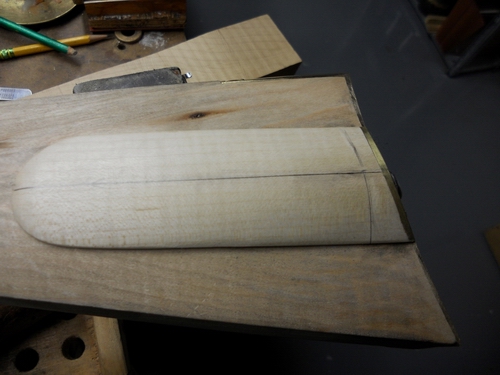
Hoot AL Rifle Shop
If you like the site or have any questions, drop me a line by clicking on "Hoot" below.

(c) Copyright 2005. All Rights Reserved.