Wooden Patchbox Lid Installation:
I scratched a line on the inside of the buttplate to locate the dovetails of
the patchbox onto the plate. Then I removed the plate and cut out this area. 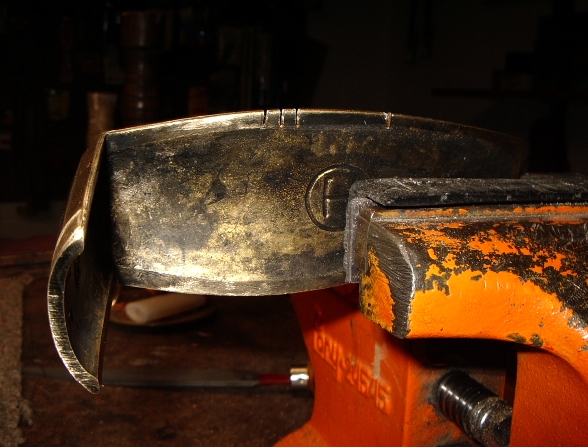
 After
making a series of cuts, I then placed the plate back onto the rifle and filed
this area flush with the stock.
After
making a series of cuts, I then placed the plate back onto the rifle and filed
this area flush with the stock.
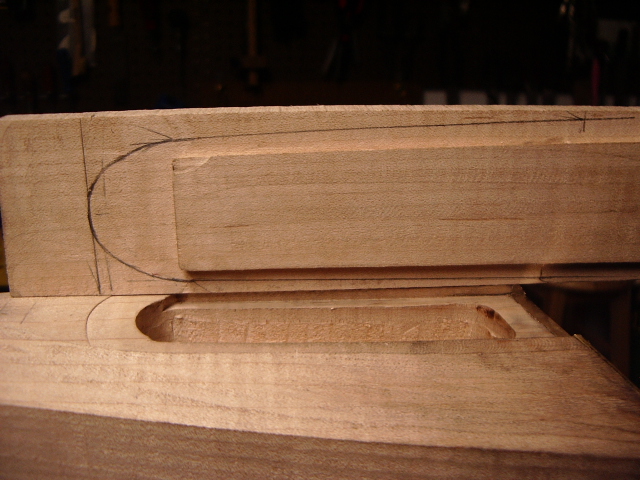
 Then
I slid the lid into the stock and made adjustments with my file til it fit
nicely.
Then
I slid the lid into the stock and made adjustments with my file til it fit
nicely.
To determine where the leading edge of the patchbox lid would be, I used the
Golden Means gauge. I measured from the lock finial to the end of the buttplate.
This was the "5" measurement.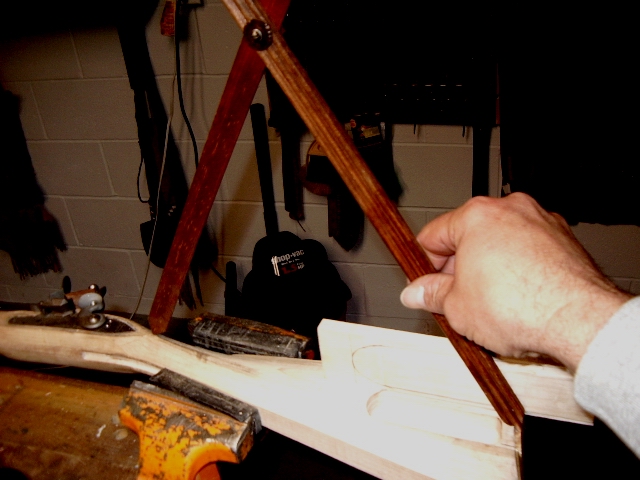 Then I flipped the
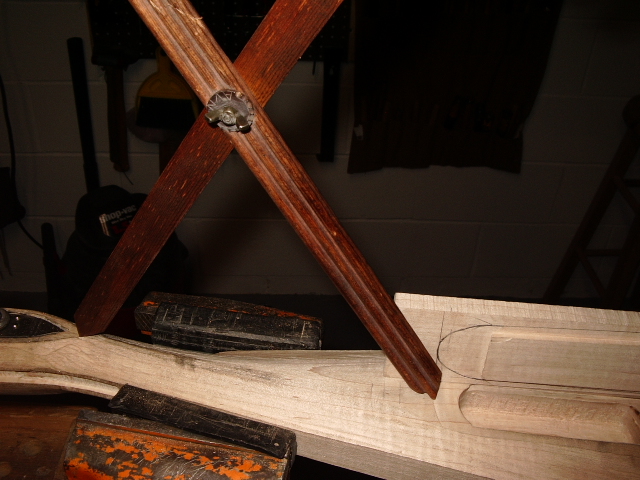 gauge and this gave me the "3" measurement for where the front edge of
the lid should be.
gauge and this gave me the "3" measurement for where the front edge of
the lid should be.
I then marked this on the lid and measured the width of the flats along each side of the patchbox lid.
 Then
I removed the excess wood from the lid.
Then
I removed the excess wood from the lid. 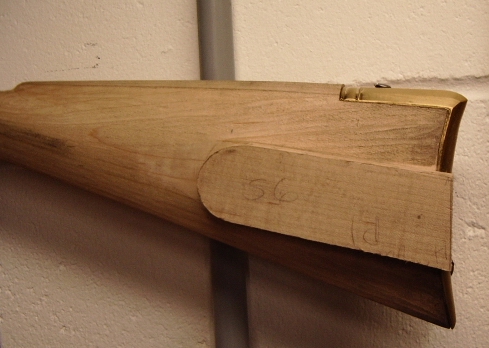
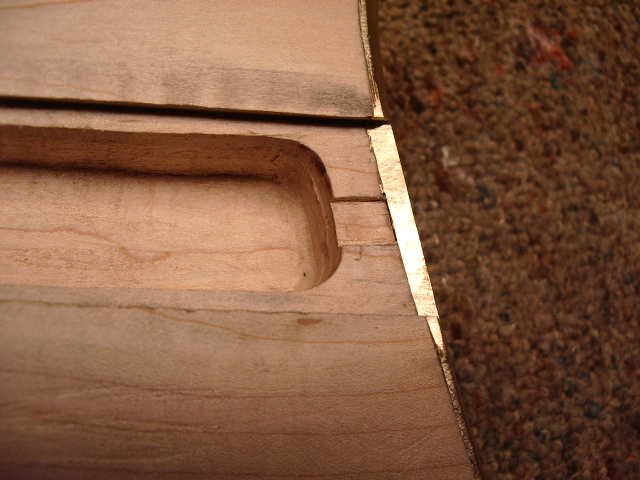
The end of the patchbox was filed flush with the end of the buttplate. 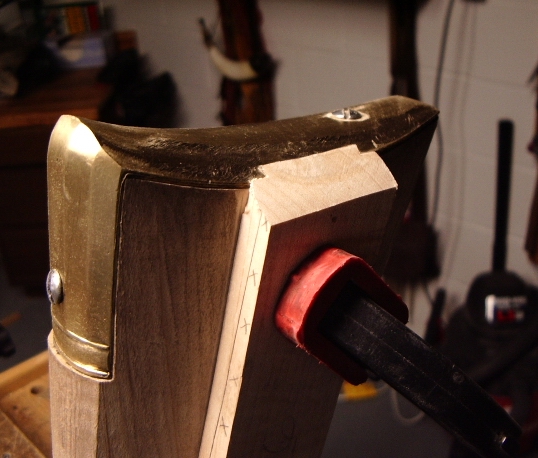 Then
I slid the lid out ~1/16" ,the width of my brass plate for the end of the
lid and filed this flat again. Now I have the thickness of my end plate exposed.
Then
I slid the lid out ~1/16" ,the width of my brass plate for the end of the
lid and filed this flat again. Now I have the thickness of my end plate exposed.
 Except
in this case, I did it so I would end up with 1/64" overhang by the lid
plate so when I filed it later, it would blend in with the butt plate
better.
Except
in this case, I did it so I would end up with 1/64" overhang by the lid
plate so when I filed it later, it would blend in with the butt plate
better.
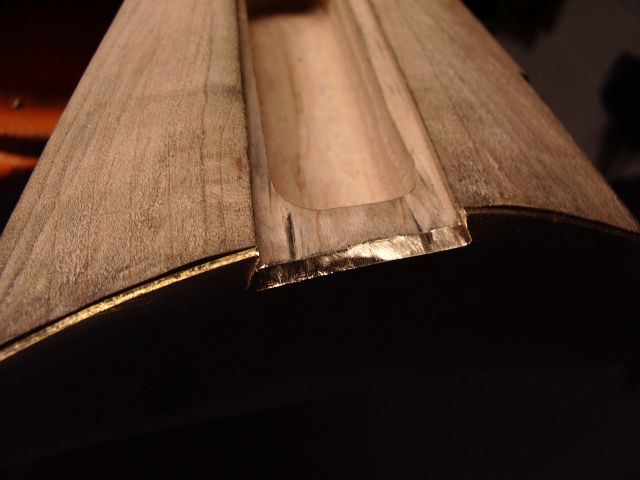
I marked the thickness of the lid from 3/8" down to 1/8". 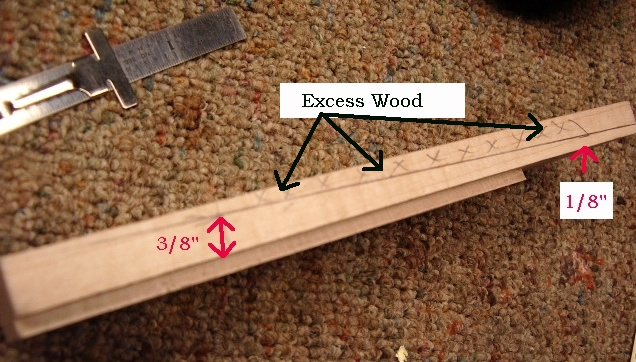 I filed the excess wood off to create the taper of the lid. Once this was done,
then I divided the width into thirds.
I filed the excess wood off to create the taper of the lid. Once this was done,
then I divided the width into thirds. 
I rounded the lid to these lines and then divided it into fifths and did it
again. This gave it a nice rounded surface. 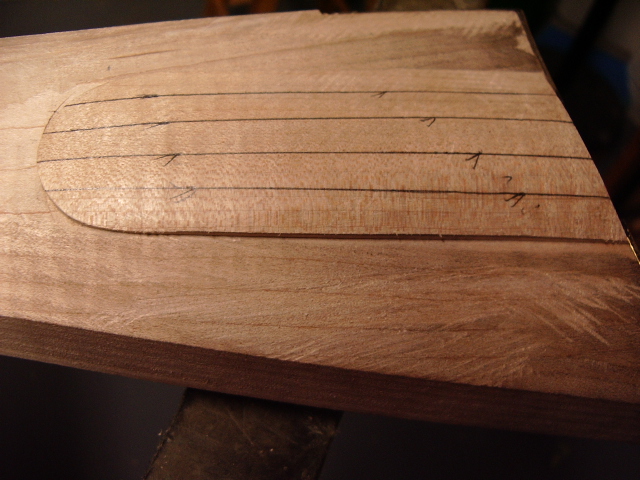 Note, I drew a line 1/16" up along the edge so I had a nice square edge
which I can smooth out later.
Note, I drew a line 1/16" up along the edge so I had a nice square edge
which I can smooth out later. 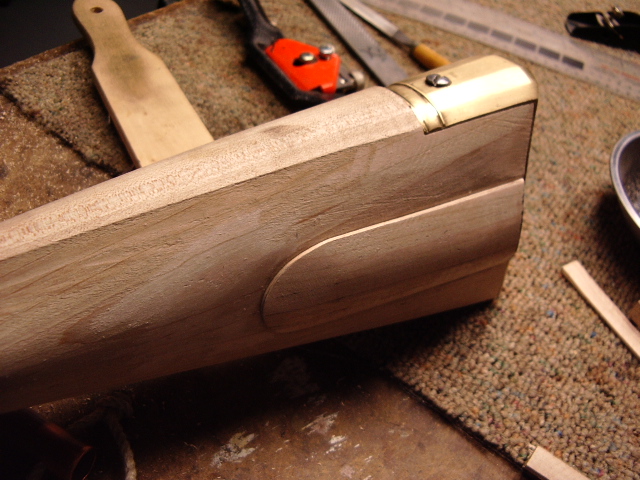
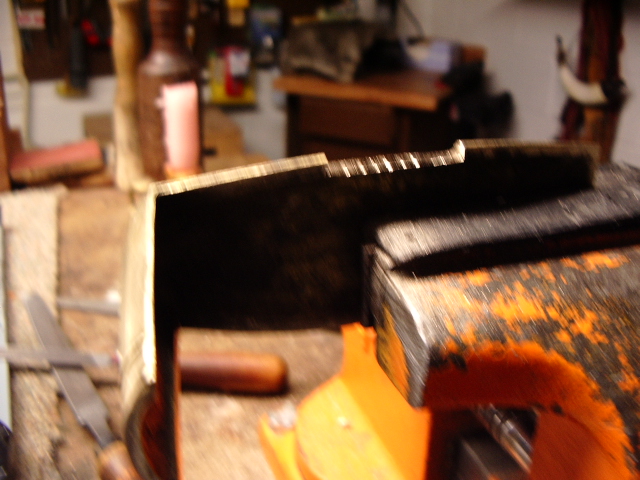
Found a piece of scrap brass and traced a rough outline on the brass and cut
it down. I located where I wanted the two screw locations.
 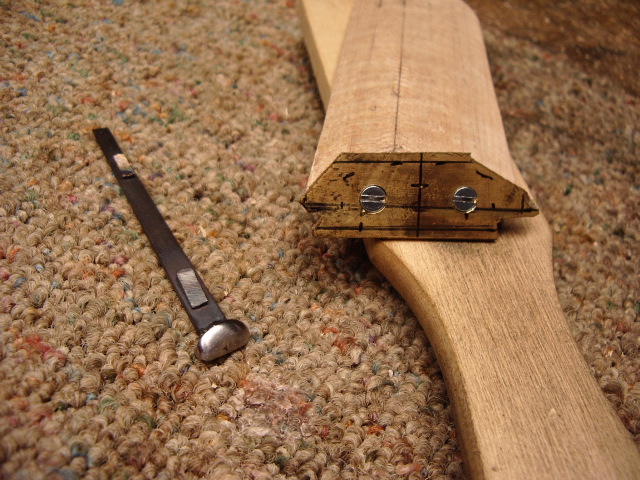 Then
I epoxied the plate to the end of the lid. Drilled a 1/16" pilot holes into
the brass and lid. Then I drilled clearance holes for the #4 - 1/2" screws.
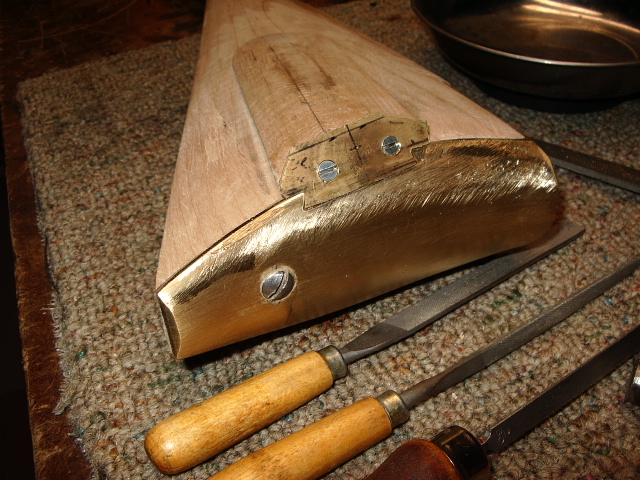
I heated the brass plate and removed the brass from the wood. Cleaned off the
epoxy and then countersunk the screw heads. Then I mounted the plate to the
lid.
Then
I epoxied the plate to the end of the lid. Drilled a 1/16" pilot holes into
the brass and lid. Then I drilled clearance holes for the #4 - 1/2" screws.
I heated the brass plate and removed the brass from the wood. Cleaned off the
epoxy and then countersunk the screw heads. Then I mounted the plate to the
lid.
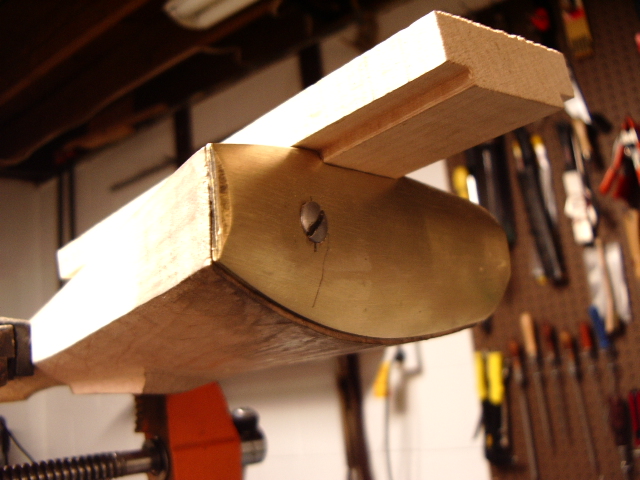
After that, I filed the brass to conform to the shape of the lid and then fit the lid and brass plate to the stock.

Now I can file the top of the brass to conform to the shape of the lid.
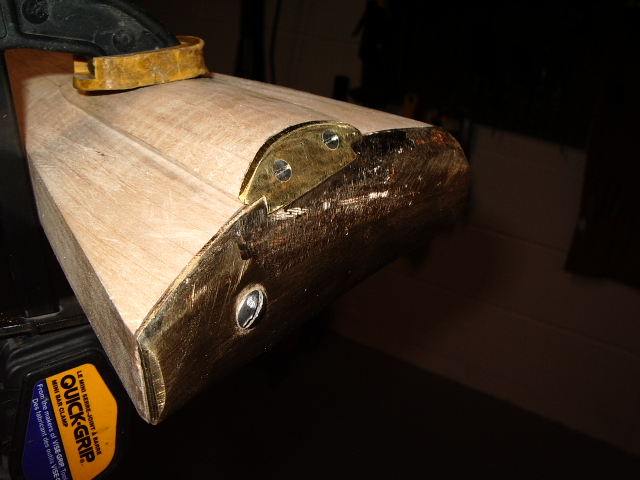 Once this was done, then I filed the brass of the lid plate and the butt plate
together to make a better transition between the two pieces.
Once this was done, then I filed the brass of the lid plate and the butt plate
together to make a better transition between the two pieces. 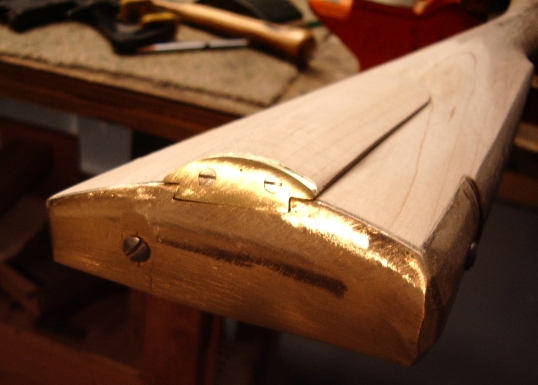
Now I'm ready for the lid latch. For this I inlet the latch into the lid till
the latch end was flush with the surface of the lid. Note; The whole latch,
except for the 1/2" of the latch was inletted. I used a #56 drill bit to
drill 1/2" into the recess so I could drive the latch into the lid. This
meant I had to remove brass under the latch for it to rise when lifted. 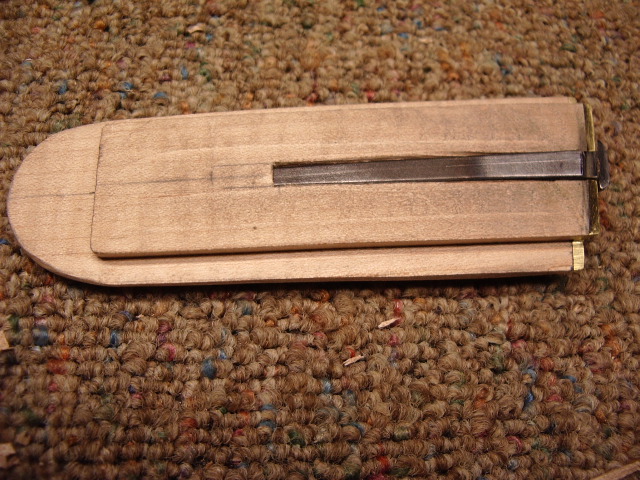

A recess was also inletted into the stock for the lid latch, too. Then
with a lot of trials and filing of the latch, it eventually latched and caught
on the inside edge of the buttplate and held firmly. 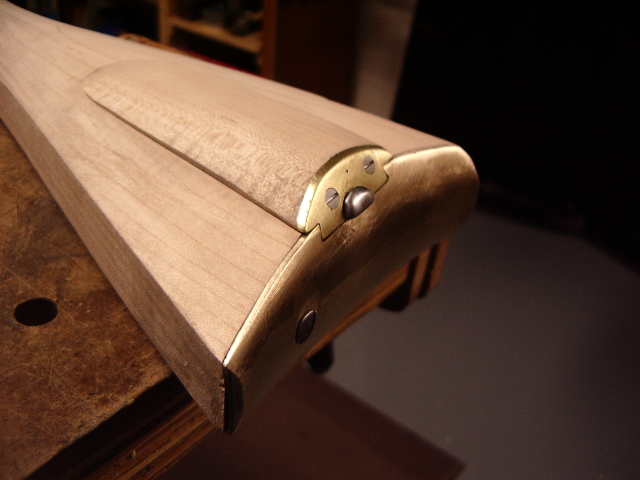
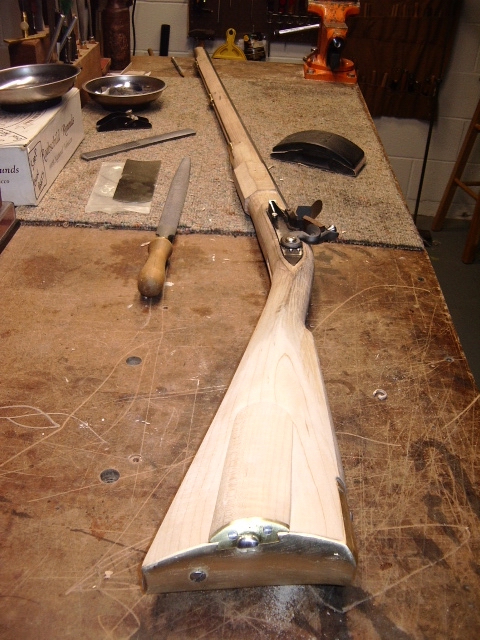
Next I will gouge a thumb notch on the lid so it can be grasped to remove the lid.
Here is the rifle at this stage. 
Hoot AL Rifle Shop
If you like the site or have any questions, drop me a line by clicking on "Hoot" below.

(c) Copyright 2005. All Rights Reserved.