Cutting Out the Stock & Inletting The Barrel:
Cut out a rough stock from the plank of wood
and laid my pattern onto the wood. 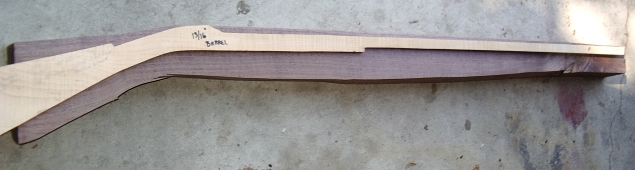
Once it was laid out, I cut the stock out. The barrel is a 13/16" Green Mountain barrel. It was important to find a pattern for this sized barrel. This is important since the pattern will allow the barrel to be inletted down and the top of the barrel will be flush with the top of the wrist.
Now I needed to flatten and smooth the top of the barrel flat on the stock. I used 80 gritt paper wrapped on a board to keep the surface even. Periodically checking the flatness of the top surface using my 4' ruler and machinist's square.
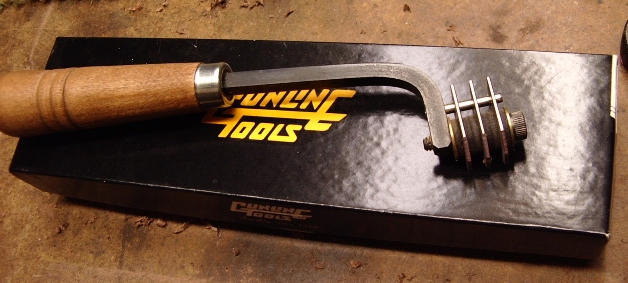
Then I headed over to Bookies and we used his
shaper to take out the barrel channel. 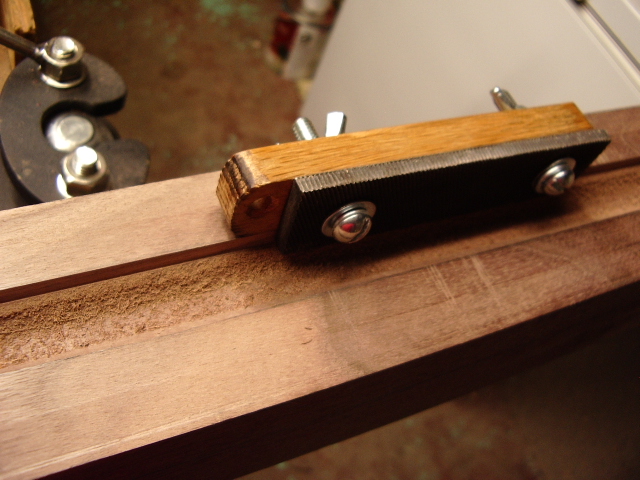 He
did not have a 13/16" shaper blade, but the next size smaller. No
Problem!! Having made one of Bookie's channel file tools, this was not a
problem. This helped me widen the channel to correct width.
He
did not have a 13/16" shaper blade, but the next size smaller. No
Problem!! Having made one of Bookie's channel file tools, this was not a
problem. This helped me widen the channel to correct width.
Now the bottom of the barrel channel needed to
be deepened to match the new width. Here is where I used an
octagon13/16" barrel bedder tool.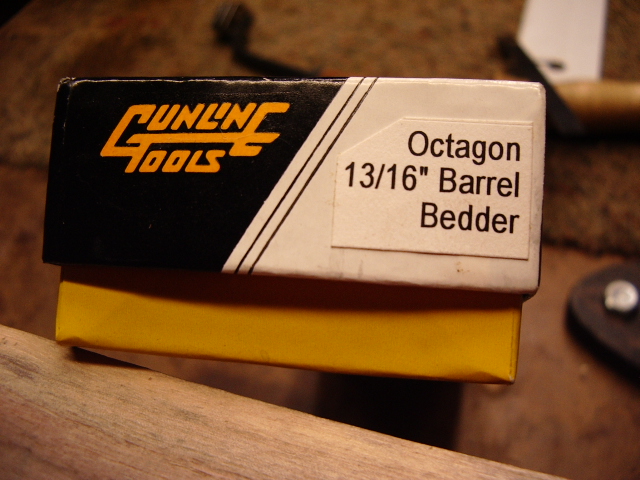
This tool was purchased from Brownells and works great for this part.
Now with the bottom flat and the slants
matching up to the sides of the barrel sides, I laid the barrel into the stock.
The barrel fit 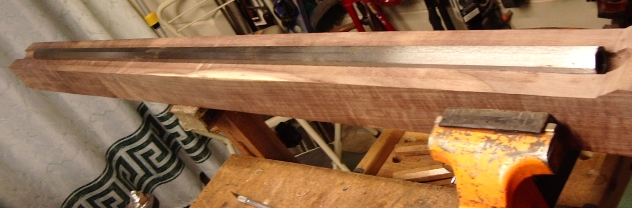 snug
and fit well within the channel.
snug
and fit well within the channel.
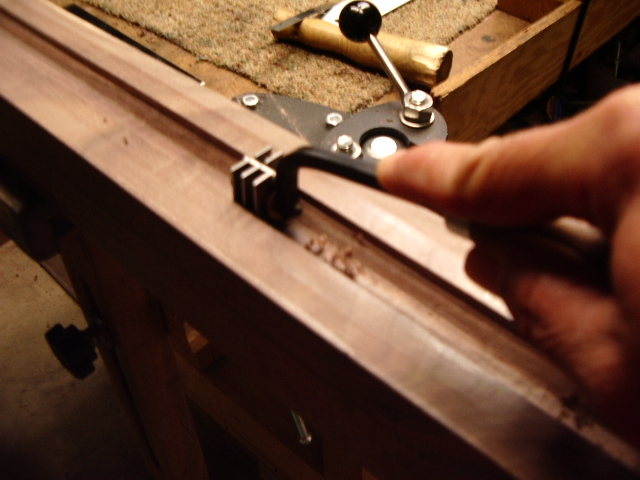
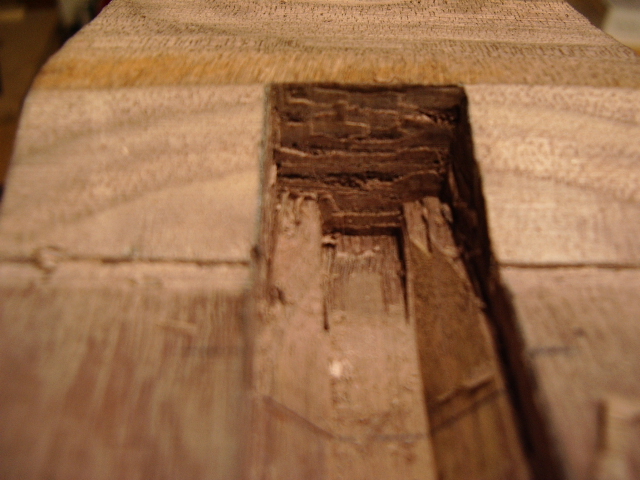
With this done, I need to address the breech end of the barrel where the shaper came back out of the stock and this end needs to be squared up for the end of the barrel.
To do this, a ruler was placed along side the
barrel and lines were drawn along each side extending into the breech area. A
square was used on the side to draw across the stock to indicate the end of the
barrel. 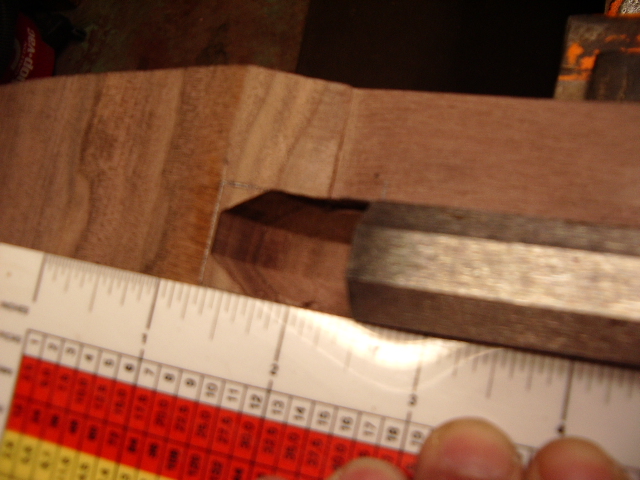

With the lines drawn, I used my knife and cut a slit along the "inside" of the lines and "V" cut the inside of the lines to remove the wood. This left me a nice trench to use my 1/4" wood chisel to cut straight down into the stock along this line to remove the wood. (Note: the barrel was removed from the stock prior to starting this part.)
To do this properly, go slow. start at the breech and tap a couple times across the line and then the same down along each side. Then bring the chisel in from the barrel channel and cut in toward the breech in a horizontal position. Go shallow and you will have cleaner cuts.
 Continue
this down, till you have reached the top of the side bottom bevels. Then cut
down a trench to the depth of the bottom barrel flat. Similar to when you chisel
out a barrel channel. Now you can come in horizontally with your chisel
and cut the side slopes of the two bottom side flats.
Continue
this down, till you have reached the top of the side bottom bevels. Then cut
down a trench to the depth of the bottom barrel flat. Similar to when you chisel
out a barrel channel. Now you can come in horizontally with your chisel
and cut the side slopes of the two bottom side flats.

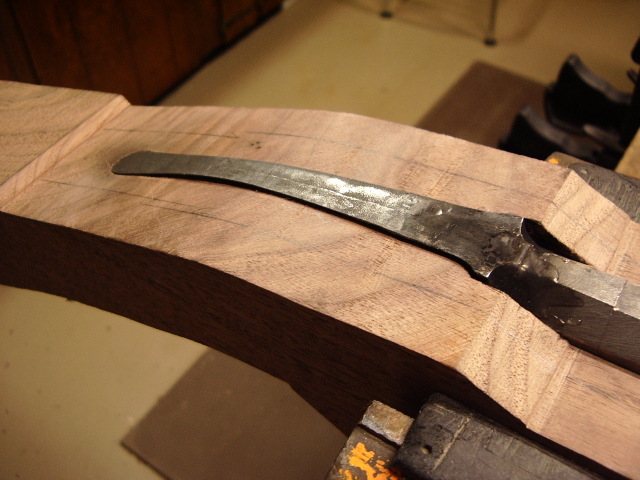
Now you can see the channel is almost finished. The next steps are to blacken the end of the barrel and then set it down into this new area of the barrel channel and make sure we have removed any "high" spots.
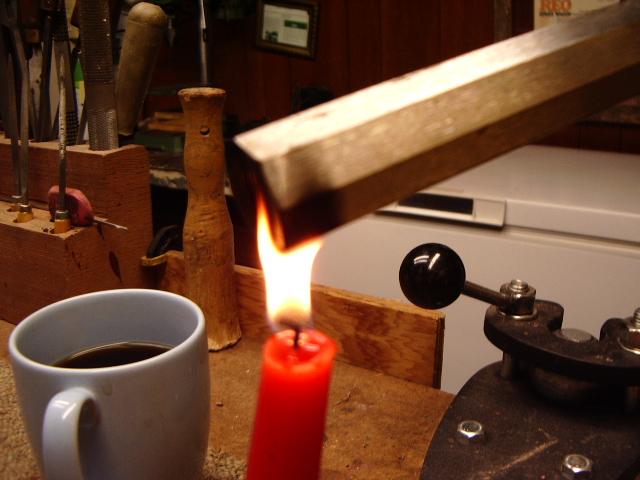
After getting a fresh cup of coffee, I'm ready
to start inletting the end of the barrel into the stock. Once the bottom flat is
blackened about 6" - 8" up from the end of the barrel, the barrel is
then set into the stock. Don't use too much force. If the sides are too tight,
set the barrel an inch or more away from the end of the breech area and then
push the barrel carefully into the breech. This will show you any areas that are
too narrow. Once the barrel fits into the breech area, turn the stock over
and tap the stock carefully onto the bench and remove the barrel. You should now
see black spots on the wood which need to be removed.
inletting the end of the barrel into the stock. Once the bottom flat is
blackened about 6" - 8" up from the end of the barrel, the barrel is
then set into the stock. Don't use too much force. If the sides are too tight,
set the barrel an inch or more away from the end of the breech area and then
push the barrel carefully into the breech. This will show you any areas that are
too narrow. Once the barrel fits into the breech area, turn the stock over
and tap the stock carefully onto the bench and remove the barrel. You should now
see black spots on the wood which need to be removed. 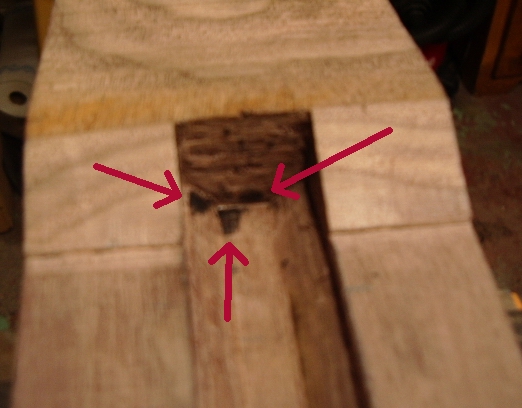
Continue doing this until the barrel top is
even with the top of the stock. Then blacken the end of the barrel and tap
it into the vertical 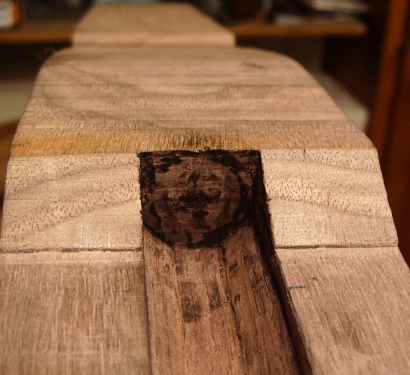 breech
and remove the blackened wood until you have a nice black "ring" to
indicate the rear wall is now flat.
breech
and remove the blackened wood until you have a nice black "ring" to
indicate the rear wall is now flat.
Now onto the hooked breech installation, which will be the next update.
Now is the time to inlet the barrel with tang into the stock. Before
doing so, I had to 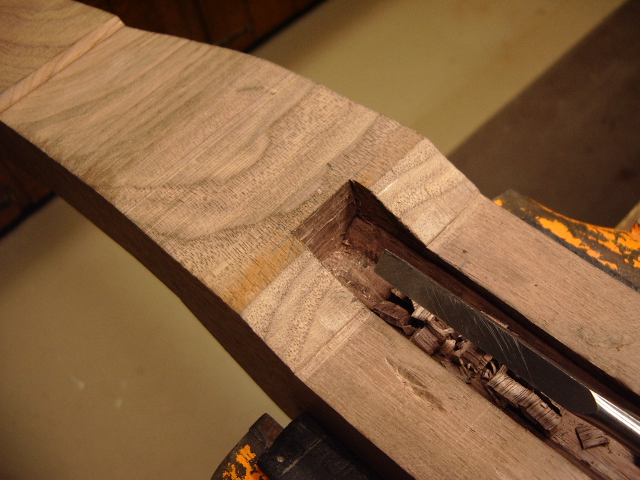 remove
additional wood for the thickness of the tang. This was about 1/4".
remove
additional wood for the thickness of the tang. This was about 1/4". 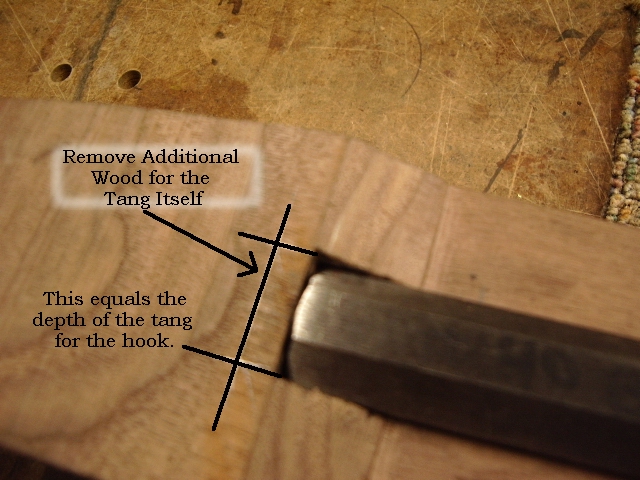
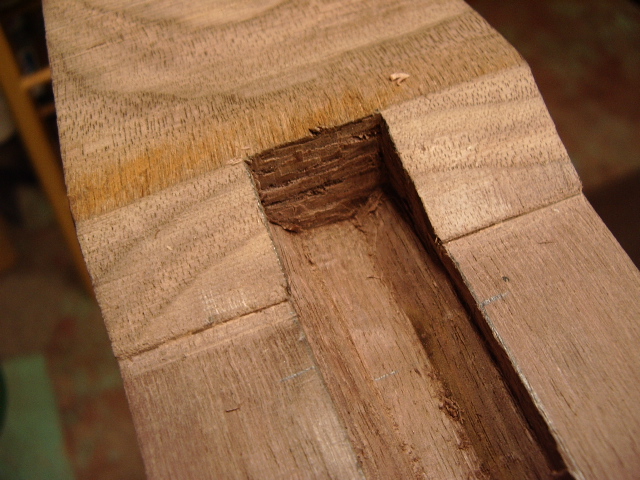
Then to make room for the hook on the end of the barrel, I measured in from
either side of the tang to the hook and transfered theses measurements to the
stock. 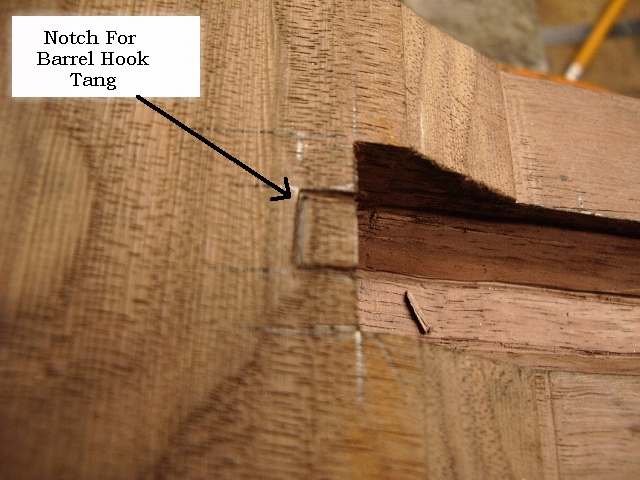 This notch was made only 3/4 of the depth. Just eno
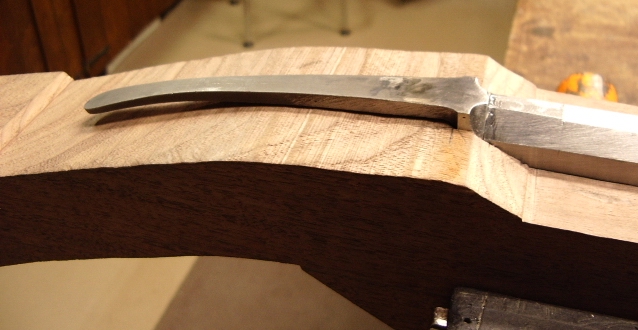 ugh
for the barrel tang to be able to be disengaged and leave enough wood to support
the tang and the barrel itself. The bottom of the barrel was blackened and
then slipped into the stock.
ugh
for the barrel tang to be able to be disengaged and leave enough wood to support
the tang and the barrel itself. The bottom of the barrel was blackened and
then slipped into the stock.
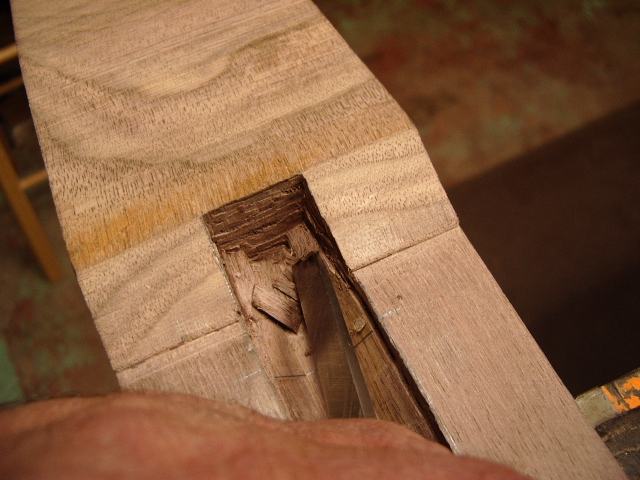
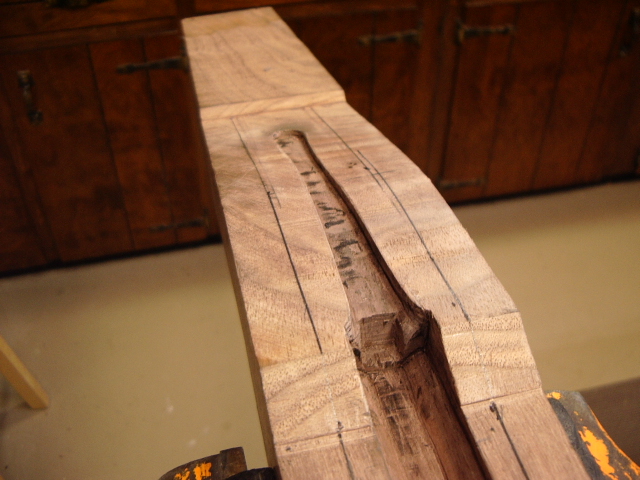
Here is a photo of the stock during the inletting process.  You can see the depth of the notch that was made. This was repeated over and
over again, removing only the black marks.
You can see the depth of the notch that was made. This was repeated over and
over again, removing only the black marks. 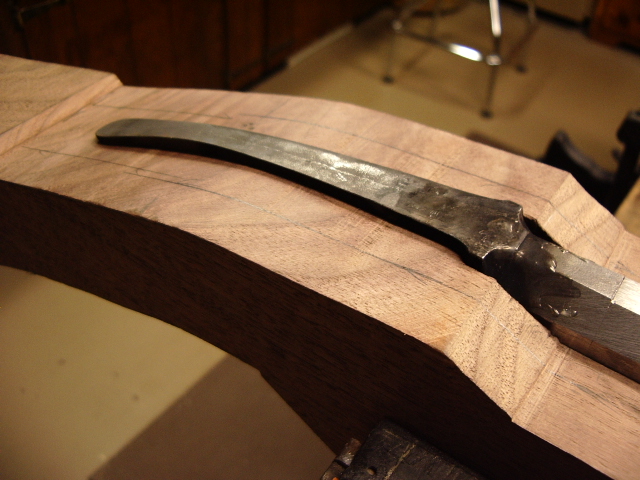
 Now
we have black marks along the bottom of the original barrel channel and the
barrel tang. The excess material above the tang will now be removed.
Now
we have black marks along the bottom of the original barrel channel and the
barrel tang. The excess material above the tang will now be removed.
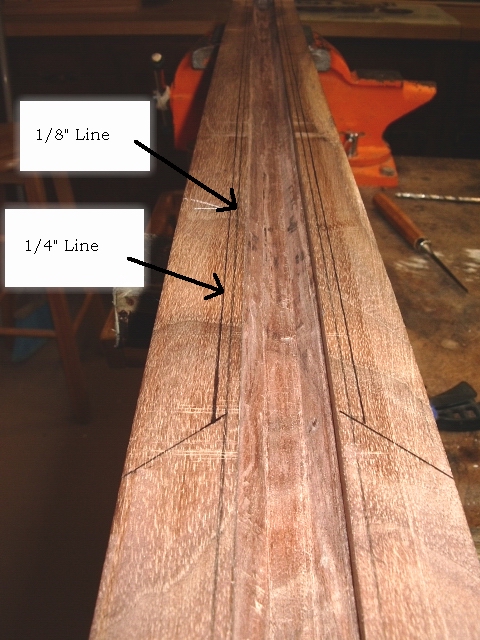
Now we will go back to the stock and mark it to be cut down. This allows for easier handling of the rifle.
With the barrel in place, using a 1/8" drill bit, I drew a line along
the length of the barrel. Then repeated this with a 1/4 drill bit. 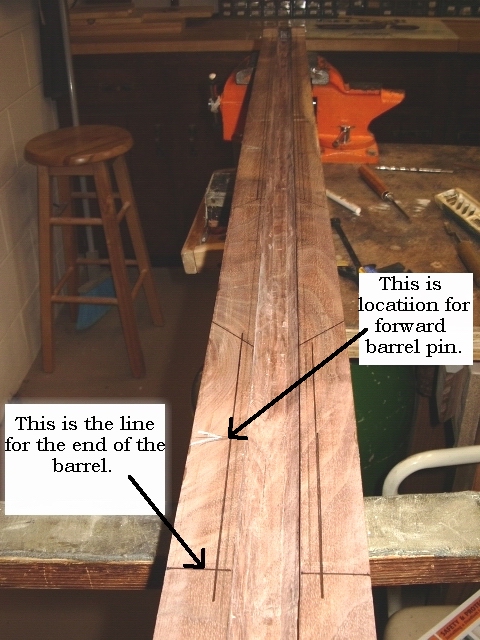
 The
forward wooden block on the rifle will be 6" in length. The belly of
the rifle will be along the bottom, except where the wooden block will be and
will be the same depth as the forearm of the rifle. A poured pewter nose
cap will be placed on this rifle and this determined where the forward barrel
pin will be located as seen in the photo below.
The
forward wooden block on the rifle will be 6" in length. The belly of
the rifle will be along the bottom, except where the wooden block will be and
will be the same depth as the forearm of the rifle. A poured pewter nose
cap will be placed on this rifle and this determined where the forward barrel
pin will be located as seen in the photo below.
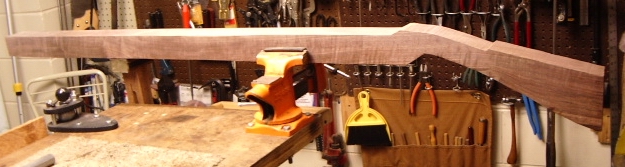
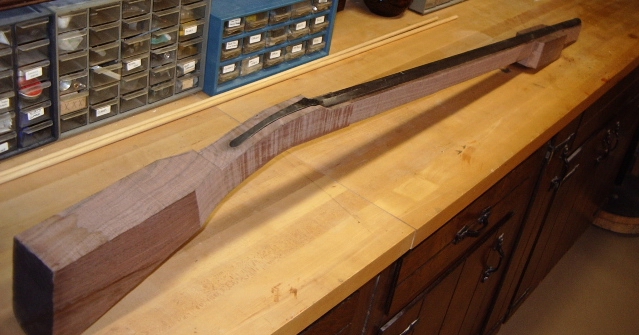
Here are a few photos of the rough cut-out stock:
Hoot AL Rifle Shop
If you like the site or have any questions, drop me a line by clicking on "Hoot" below.

(c)
Copyright 2005. All Rights Reserved.