Inlet Lock, Trigger Plate, installed Tang Bolt, Trigger:
Inletting the Lock Assembly:
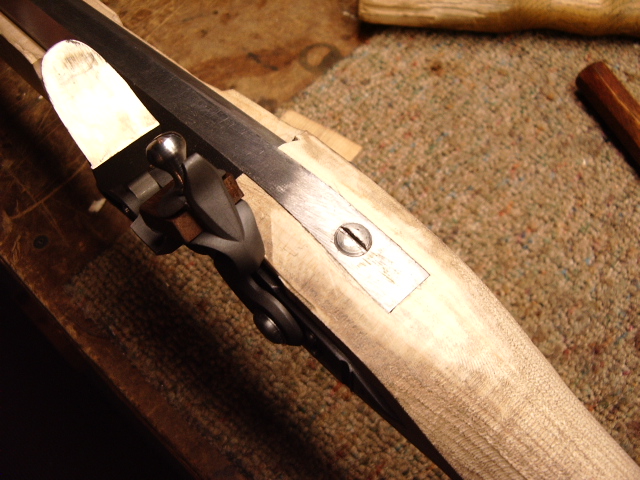
I used candle soot to blacken the inside of the lock during the process. First I mounted the bridle and inlet this into the stock. Then I installed the tumbler. Next I installed the sear, then the sear spring. Once this was done and I was able to cock the hammer with no interference, I mounted the main spring and inlet the spring into the lock cavity. Important to note, be sure to have the fly installed on the tumbler so you do not break the tumbler when tripping the sear, also, install the frizzen and frizzen spring, so the hammer will have something to strike to limit the amount of force on the main spring. This keeps the spring from breaking. I use a small block of wood in the jaws of the hammer to simulate a flint.
Trigger Plate Inletted & Tang Bolt Installed:
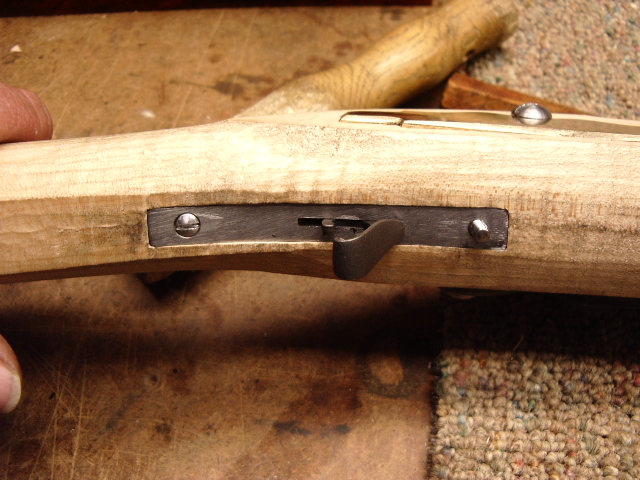
When the plate was inletted, a #4 wood screw was installed thru the plate into the stock. Then the tang bolt was positioned to enter thru the tang down into the trigger plate. These positions were marked on the tang and the trigger plate. Then I drilled a shallow 5/64" hole in the two metal pieces. Using my drill jig, I positioned the rifle to drill (#29 drill bit) down thru the tang to the trigger plate. Then I flipped over the rifle and drilled down thru the trigger plate. This connected both holes into one hole.
Changed drill bits to a #18. Flipped the rifle over and drilled down thru the tang down the trigger plate. Now I was able to use a #8-32 tap down thru the tang to tap the trigger plate for the tang bolt.
Trigger Installation:
The trigger was cut down to fit the slot in the trigger plate. Then an angle was cut down from the hinge location on the trigger. I purposely cut the angle slightly shallow to allow me to file the trigger down till I had a nice trigger pull and limit the amount of play in the trigger. Here is the trigger positioned in the lock area.
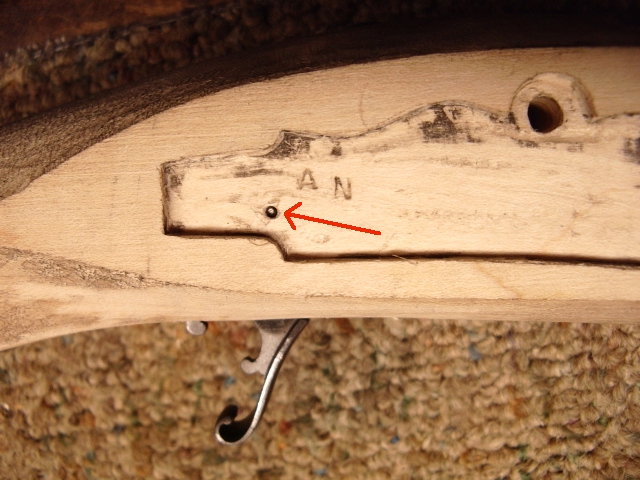
 You will also note I marked on the outside
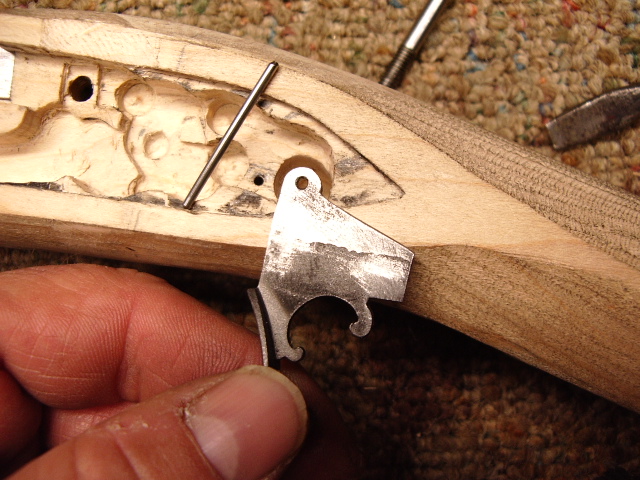
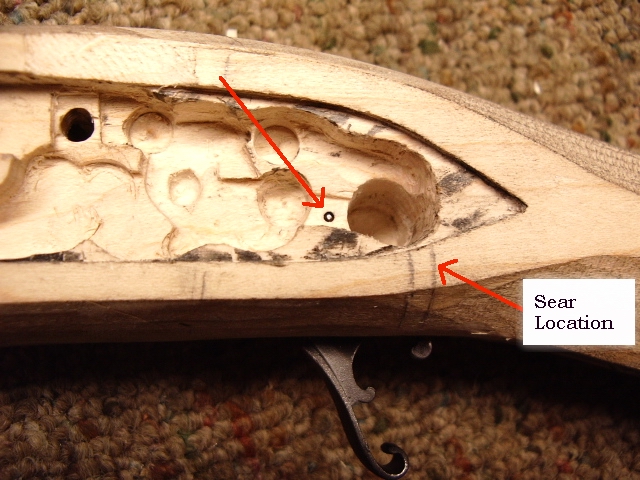 of the stock where the sear was located, too. I used a 1/16" pin and
drilled thru the trigger prior to drilling thru the stock. This allows for
better centering of the hole in the trigger.
of the stock where the sear was located, too. I used a 1/16" pin and
drilled thru the trigger prior to drilling thru the stock. This allows for
better centering of the hole in the trigger.
Drill the hole in the stock thru the sear arm area in the lock recess all the way thru the stock into the side plate area. This way you can drive the pin back out if necessary. Always bevel the end of the pin with a flat spot on the end. You can see this on the pin in the photo above.
 Here is a short movie of the lock in action: MOVIE
Now the next area to work on will be the butt plate.
Hoot AL Rifle Shop
If you like the site or have any questions, drop me a line by clicking on "Hoot" below.

(c) Copyright 2005. All Rights Reserved.