Pouring Pewter Nose Cap:
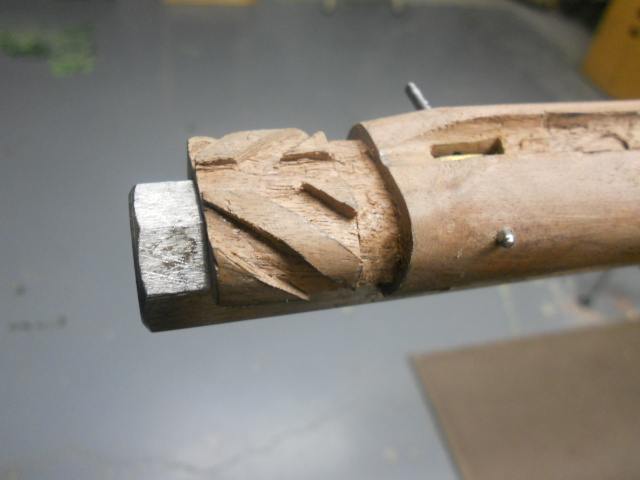
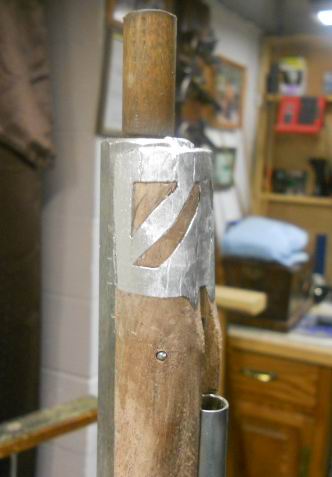
Draw the pattern on the stock. The cut-outs will be 1/4" wide. I angle the cuts so the poured metal will flow downward. The depth of the cuts are 3/32" deep. Also, the end of the wood must recede 1/4" away from where you want the end of the muzzle cap to end. In this case I want the muzzle cap to end about 1/16" - 1/8" short of the barrel.
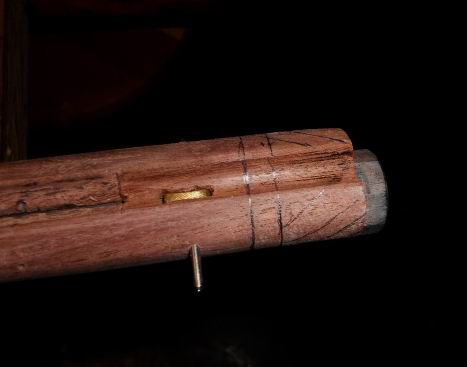
Once the channels are cut in, using a 3/32" drill I bore holes thru the stock in the channels. This allows the metal to flow in toward the barrel. This is also done to the front of the muzzle cap to secure the end to the stock. The surface of the channels are then coated with no. 2 pencil graphite. This allows the metal to flow easily over the wood and into the holes. Be sure to use a countersink to coundersink the holes on the inside of the barrel channel. This will allow for the metal to form a rivet on the inside of the channel.
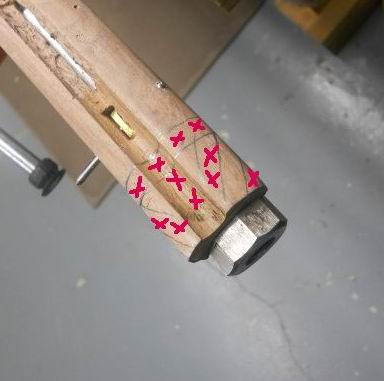
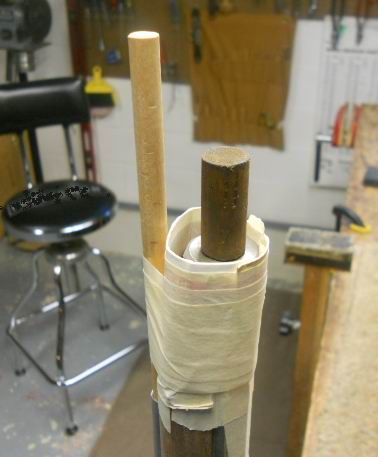
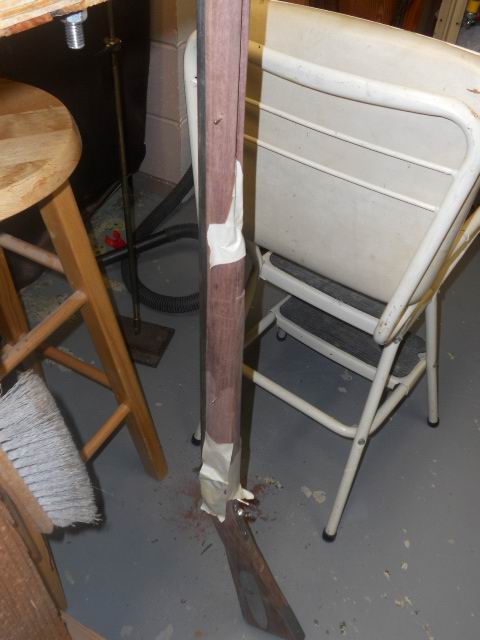
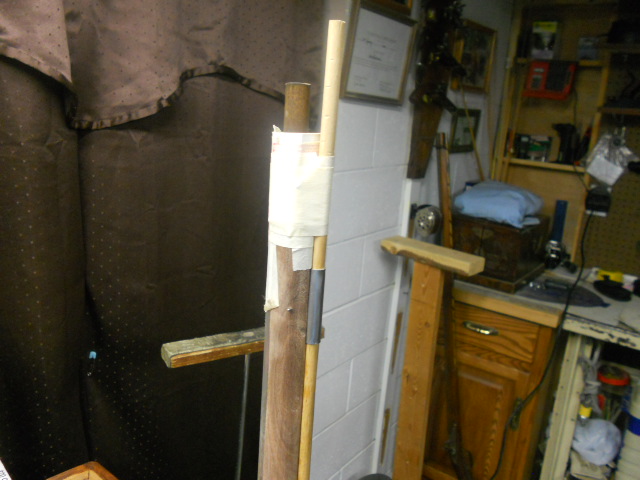
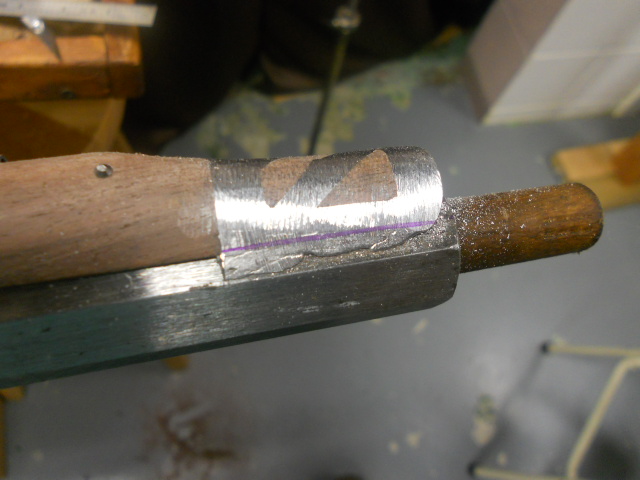
Sticking a dowel into the ramrod pipe, wrap a stiff cardboard material around the barrel and tape securely. I then also tape up all openings along the barrel to prevent any accidental pouring of metal into any openings.
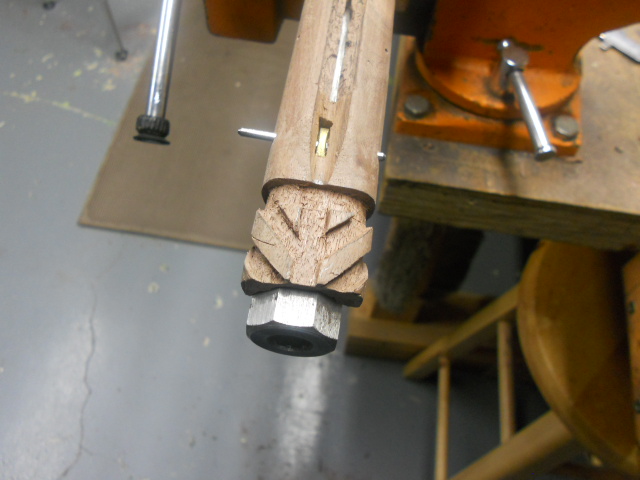
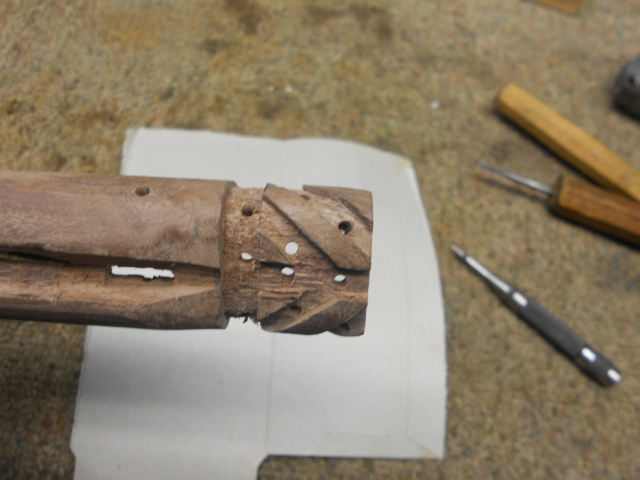
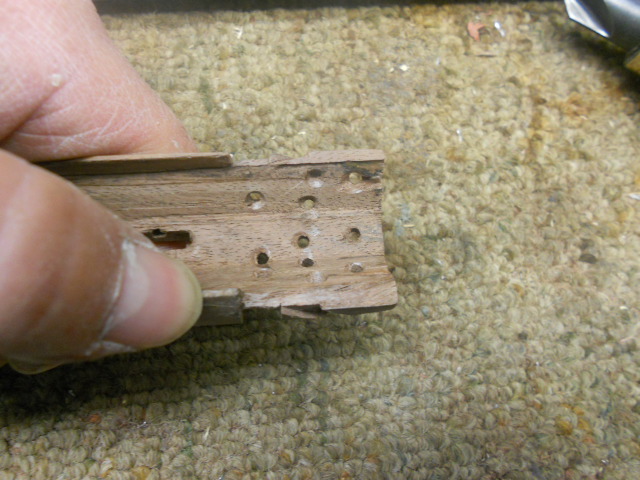
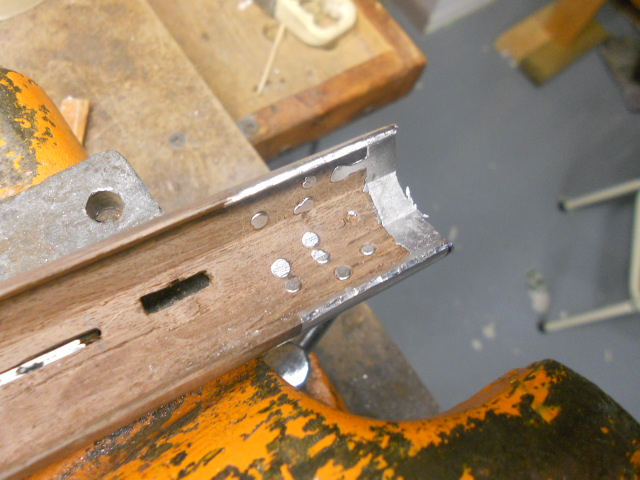
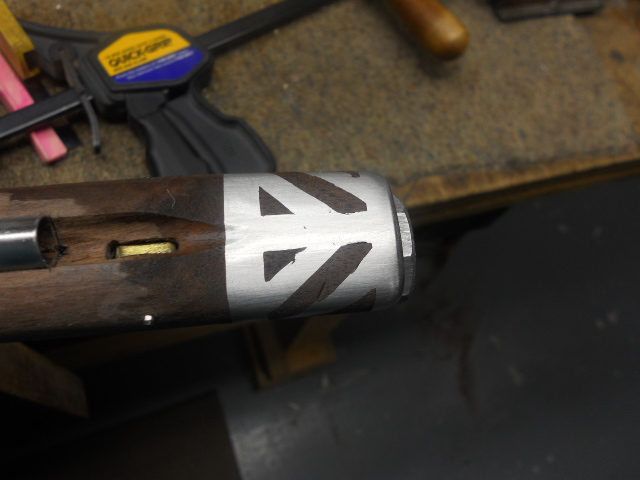
Once the metal cools, you can remove the cardboard and tape. Now you can file the metal down to the wood. Along the sides of the barrel you align a ruler along the top edge of the stock and make a line across the top of the metal. Using a sharp knife, you can cut this material away with several strokes. Remove the barrel and you will see the rivets formed by the metal in the cap. Round off the edges.
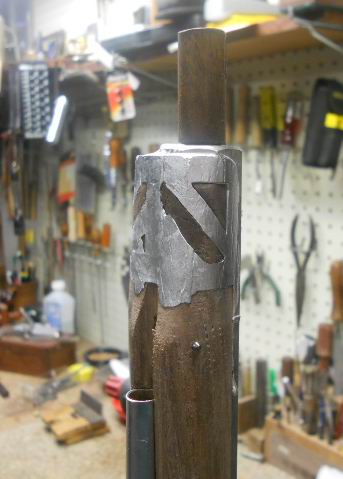
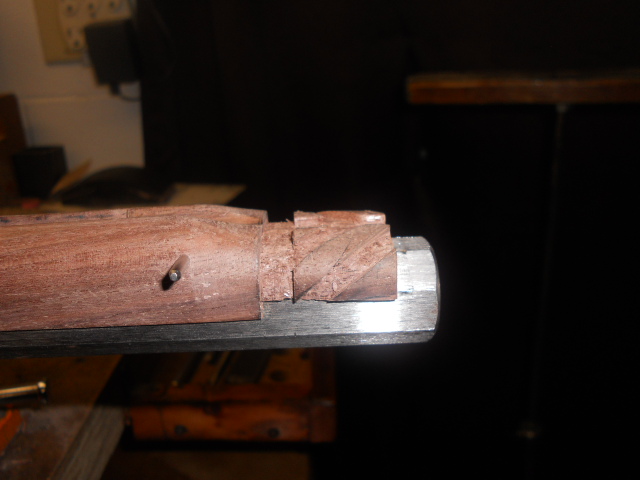
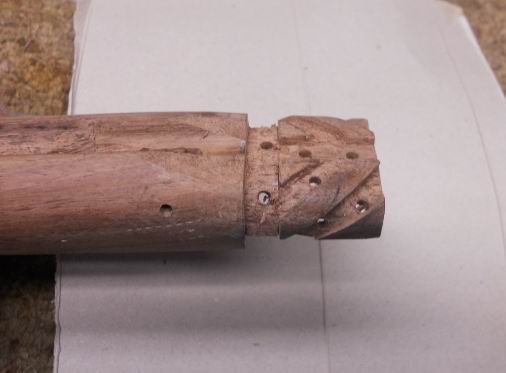
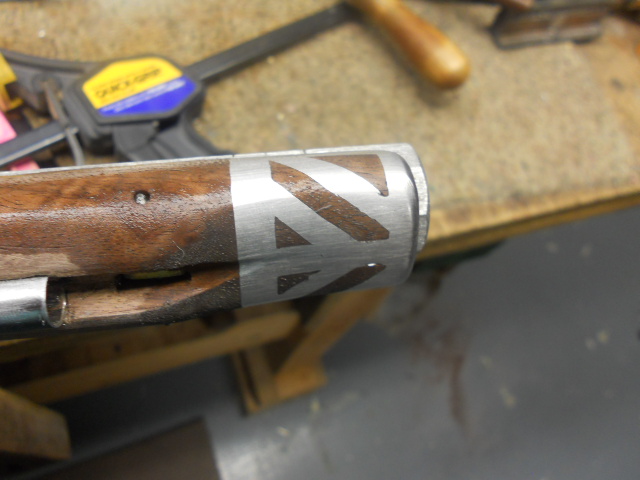
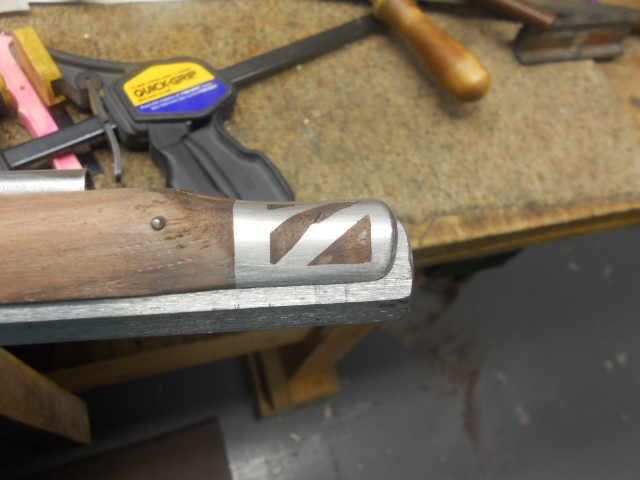
Here is the finished nose cap.
Hoot AL Rifle Shop
If you like the site or have any questions, drop me a line by clicking on "Hoot" below.

(c) Copyright 2005. All Rights Reserved.