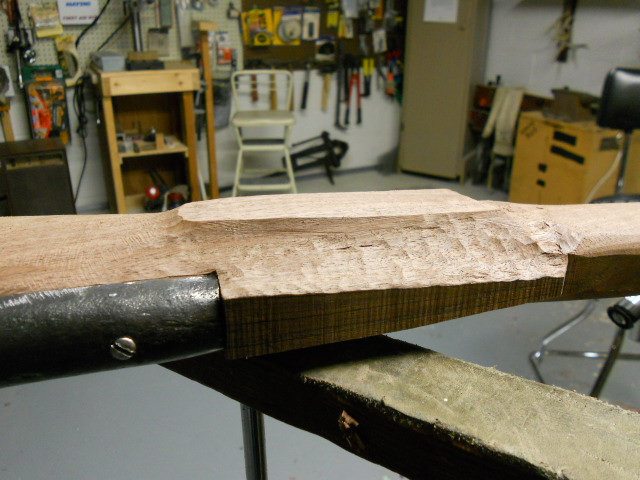
Shaping The Butt Stock:
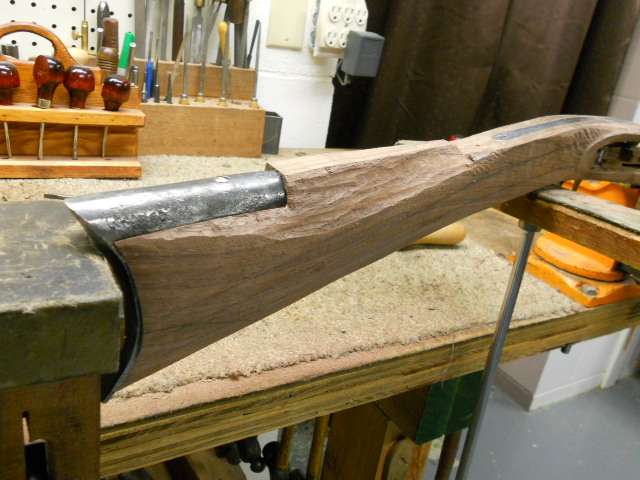
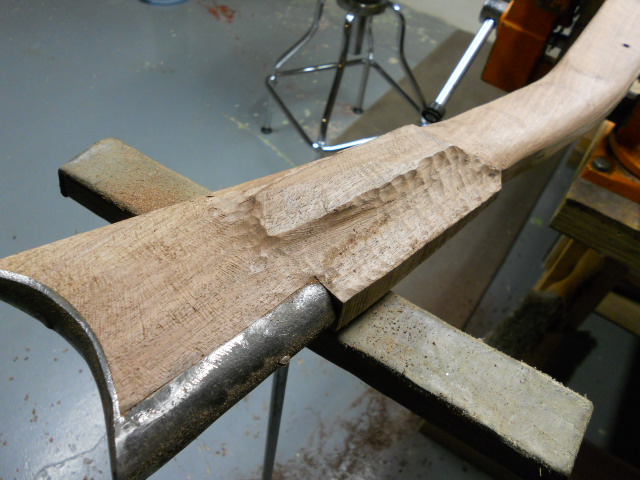
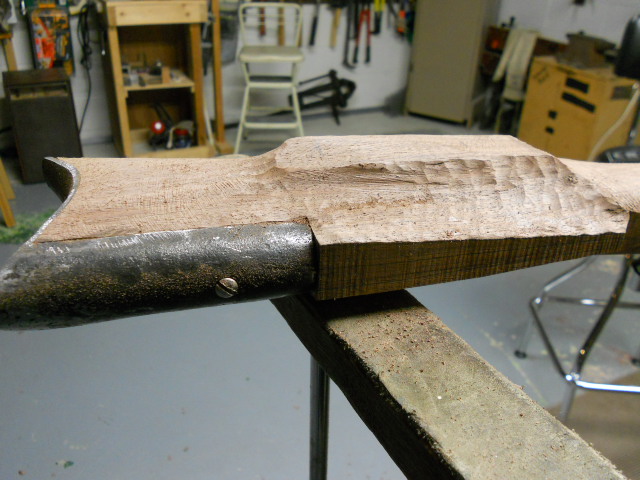
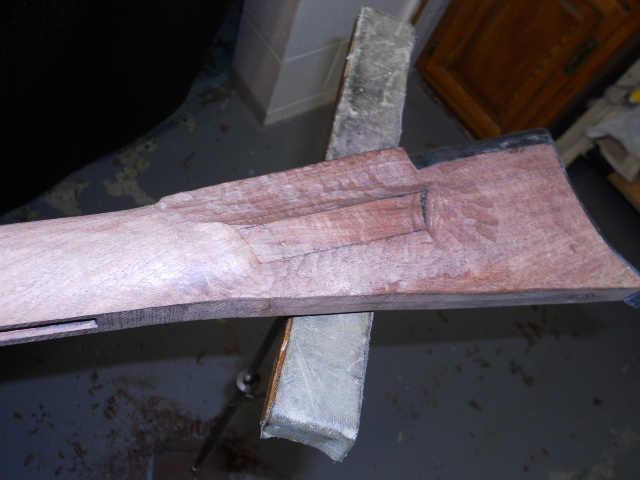
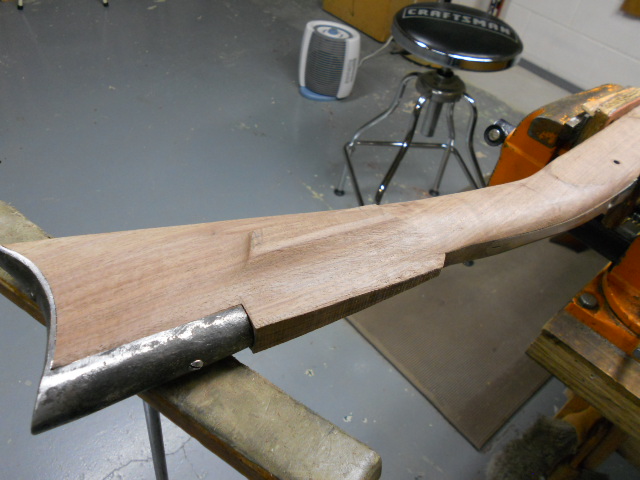
With the butt plate installed, I roughed out the cheek piece.

Using the Golden Rule gauge, (Golden Rule Info) I measured from the lock panel to the butt plate(5). From the butt plate to front of the cheekpiece (3). This the front of the cheek piece. I flipped the gauge and set the (5) from front of cheek piece to the butt plate. Reversing over to the (3) I now can mark the end of the cheek piece.
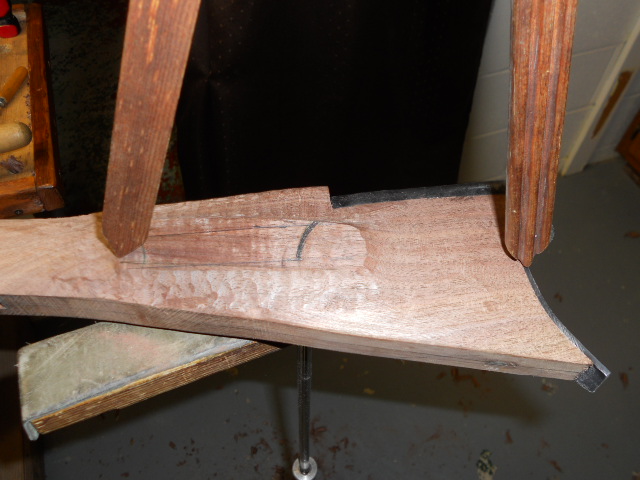
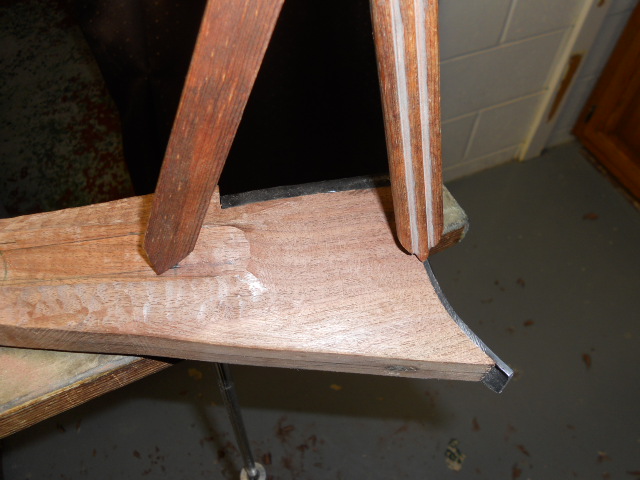
Using files I shaped the area around the cheek piece.
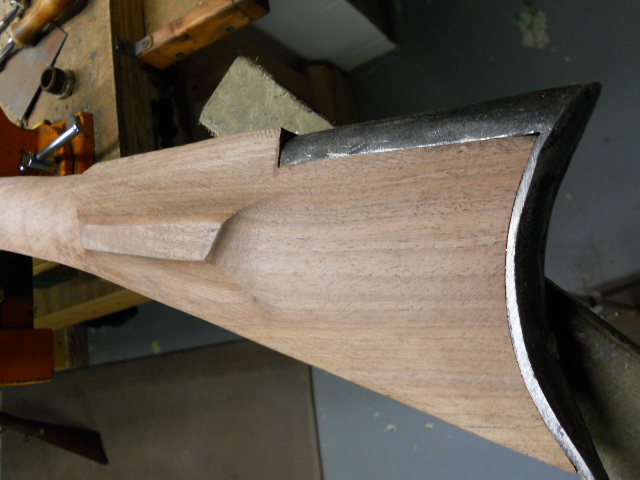
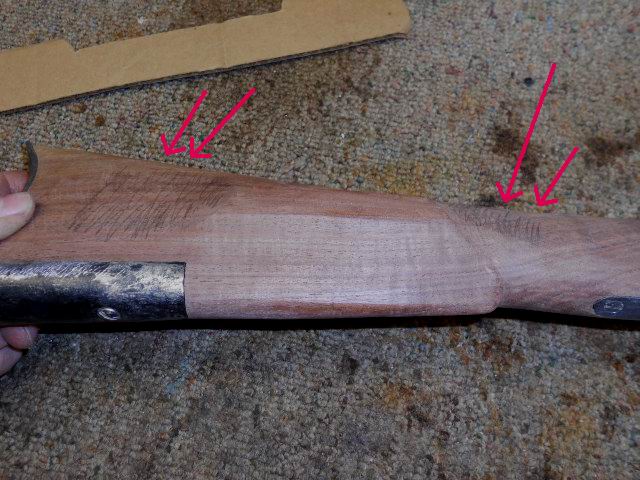
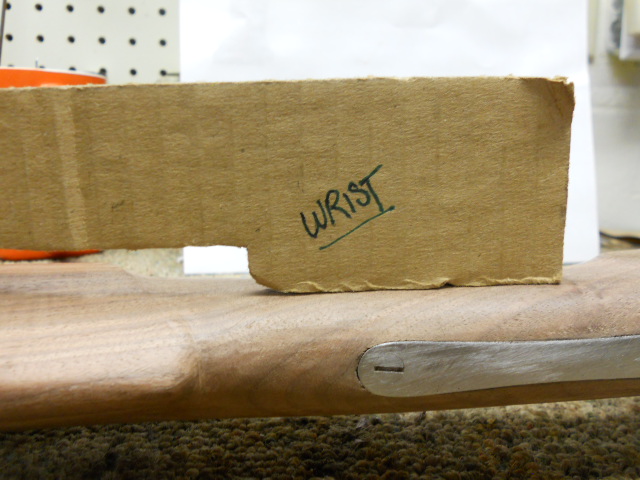
To further aid me I used my cheek piece gauge. This is a piece of cardboard with a notch to fit over the cheek piece. This now gives me a straight edge on either side of the cheek piece. I need this to flatten the surfaces on either side of the cheek piece.

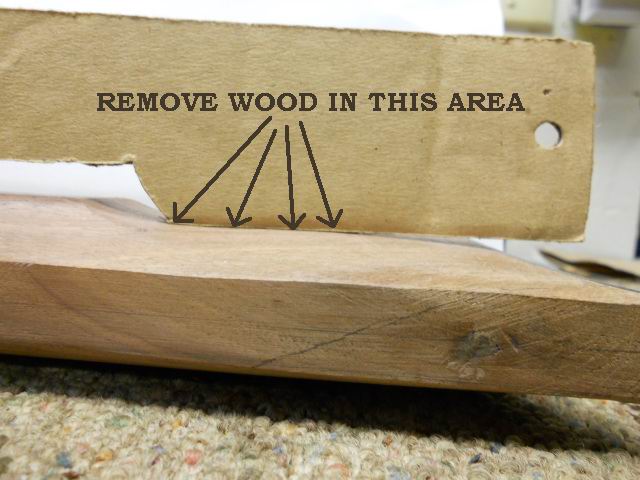
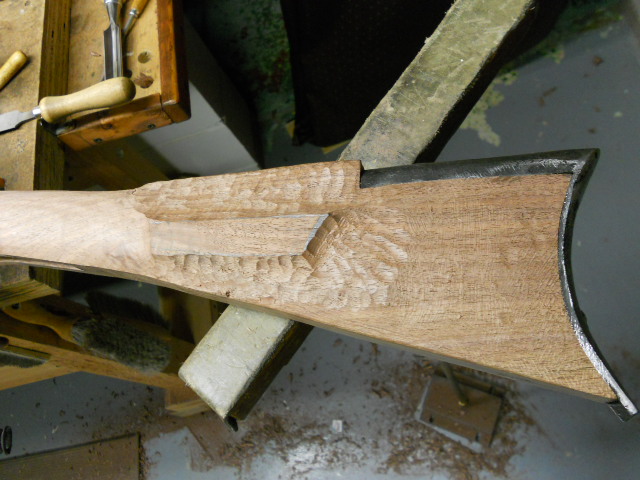
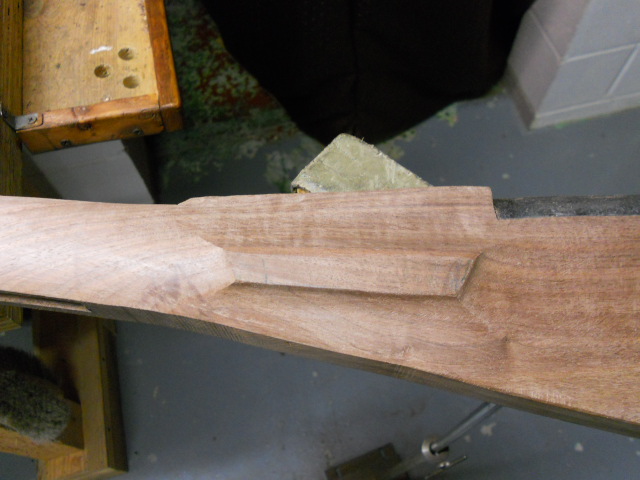
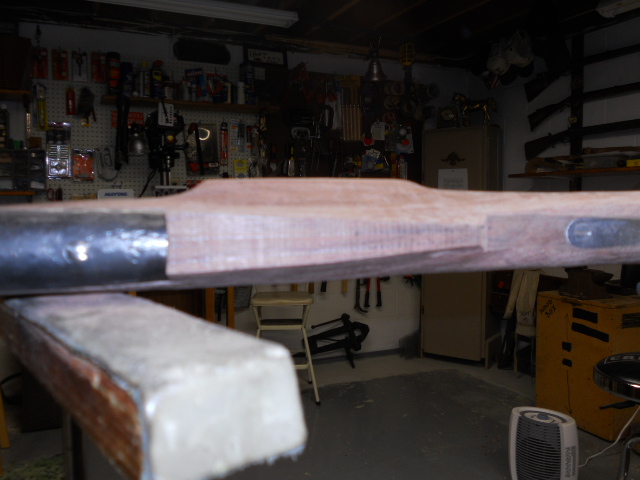
Continue this till the area is flattened. On the other side of the stock, you can flip the cardboard and use the straight edge to ensure a flat side, by doing the same thing. Remove the high areas so you are flat with the butt plate to the wrist.
Below is and example of the what the shaded areas looked like.
Hoot AL Rifle Shop If
you like the site or have any questions, drop me a line by clicking on
"Hoot" below. (c)
Copyright 2005. All Rights Reserved.