Rifle Stock Shaped & Trigger Guard Installed:
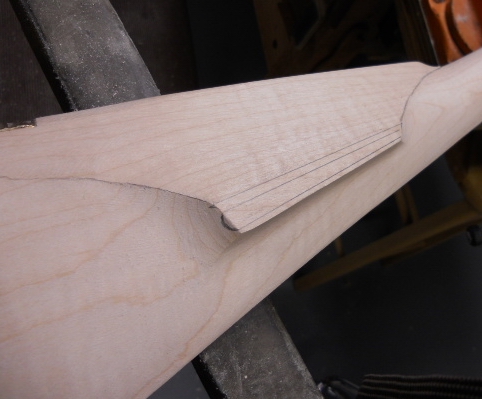
To shape the stock, I used the 3 -5-7 rule. Along the forearm the width of
the sides were divided into thirds, fifths and then sevenths.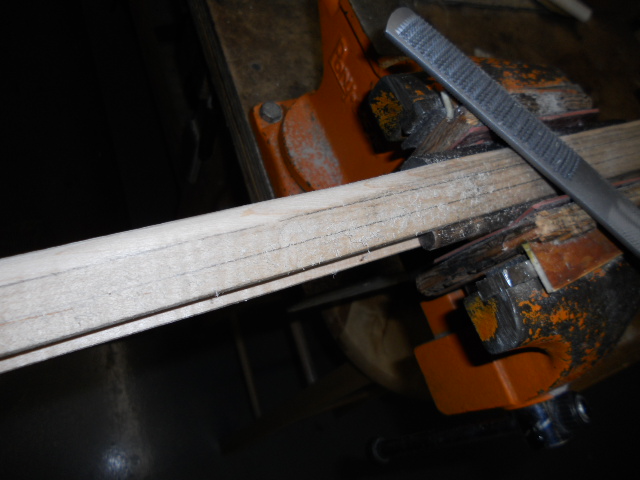
 I left 1/16" along the barrel channel and the ramrod channel. This gave the
forearm the shape of a heart to match up with the muzzle cap at the end of the
stock.
I left 1/16" along the barrel channel and the ramrod channel. This gave the
forearm the shape of a heart to match up with the muzzle cap at the end of the
stock.
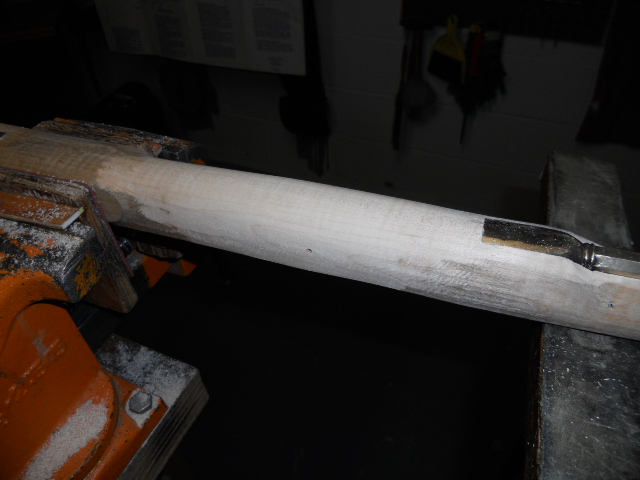
To round the belly of the forearm I did the same process.
Then I shaped around the lock on the lock panel. 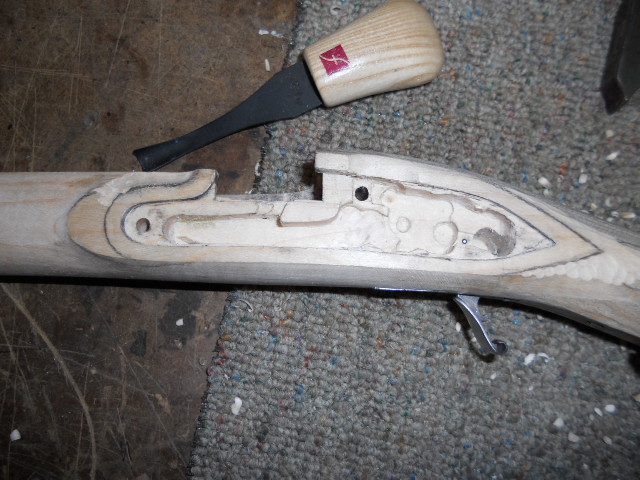
Once this was done, a paper pattern was traced around the panel and then cut
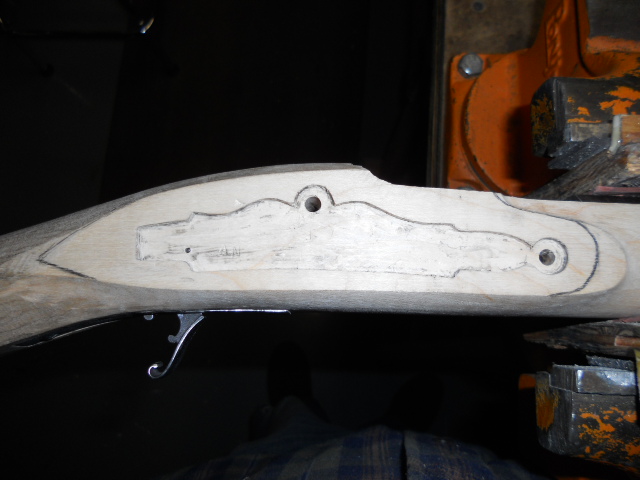
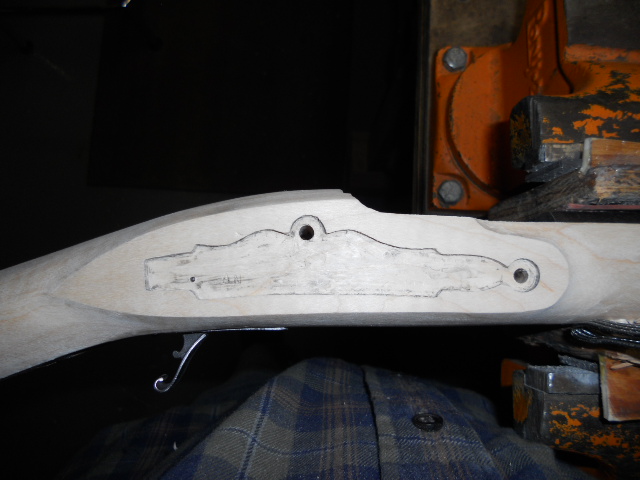
out. The paper pattern was then positioned on the side plate side and traced
onto the stock. 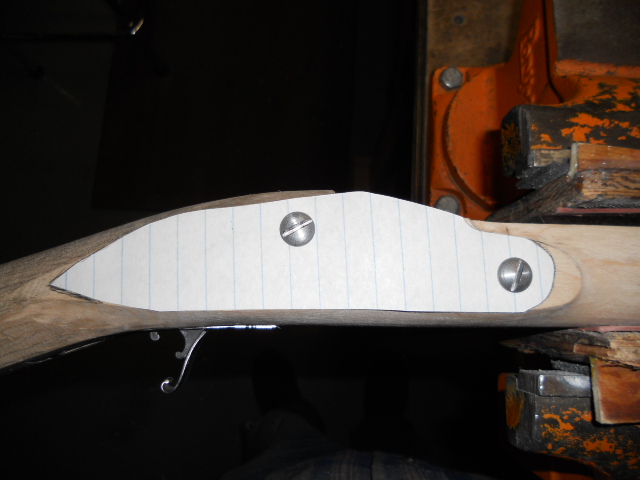
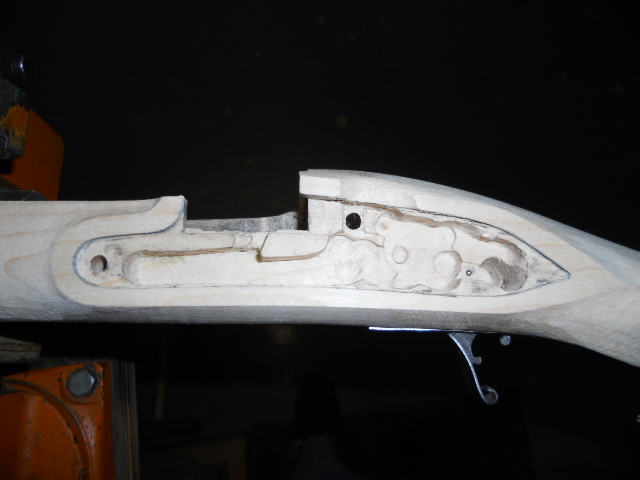
The cheek piece of the stock will be shaped now. I drew a curved line on either end of the cheek piece.
Now using a chisels and round files, I shaped the cheek piece into shape. 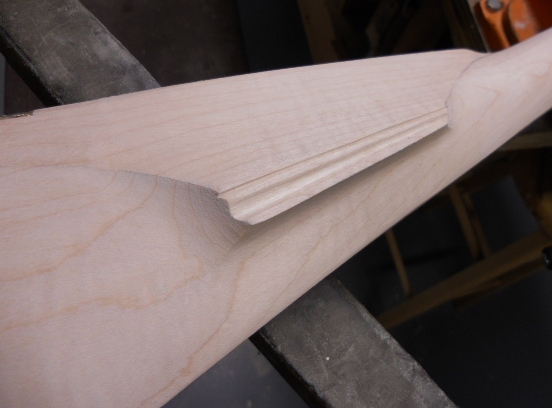

Later I will be working on adding incised lines along the ramrod channel and along the buttstock of the rifle.
Trigger Guard Installed:
Before this, I wanted to add the trigger guard. I used an 1/8" drill bit
and used some masking tape for a depth gauge for the forward tab on the guard.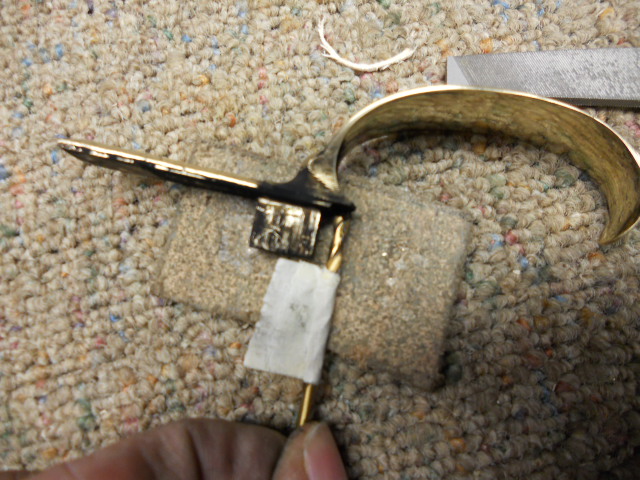 I removed the rear tab on the guard and will use a screw to attach the rear tang
of the guard.
I removed the rear tab on the guard and will use a screw to attach the rear tang
of the guard. 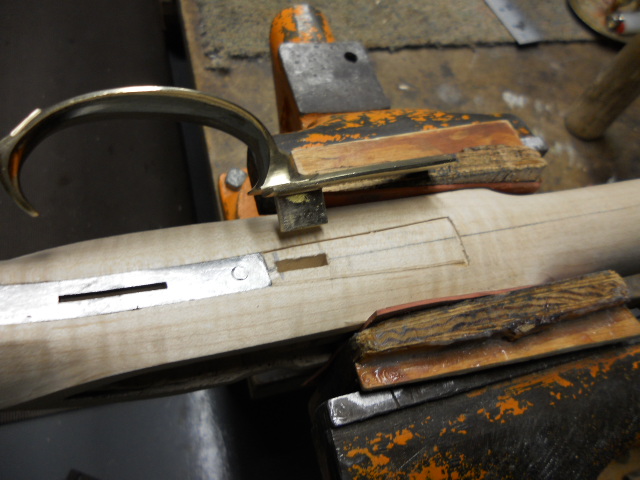
The trigger guard was positioned onto the stock and tab was marked for location. There is a notch on the bottom of the guard to settle onto the trigger plate. The center line was drawn on the stock and a "V" groove chisel was cut along the line to aid in positioning the drill bit. A series of holes were drilled and using narrow chisels, the wood was removed. The guard was settled into the notch and then I cut around the forward tang of the guard.
Using a groove gouge, I removed material inside the lines. 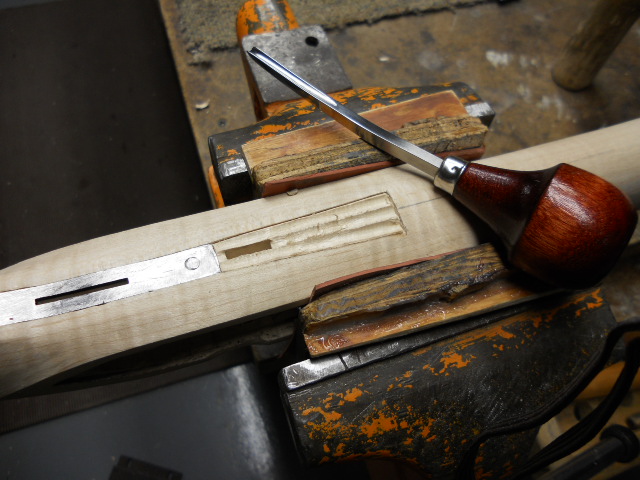 Using candle soot on the guard, I removed wood so the guard settled down into
position on the stock.
Using candle soot on the guard, I removed wood so the guard settled down into
position on the stock. 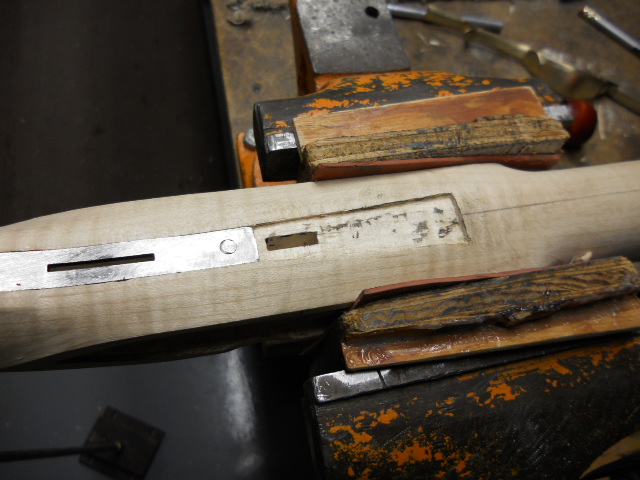
Using a drill, I drilled thru the stock and forward tab to secure the guard
to the stock. 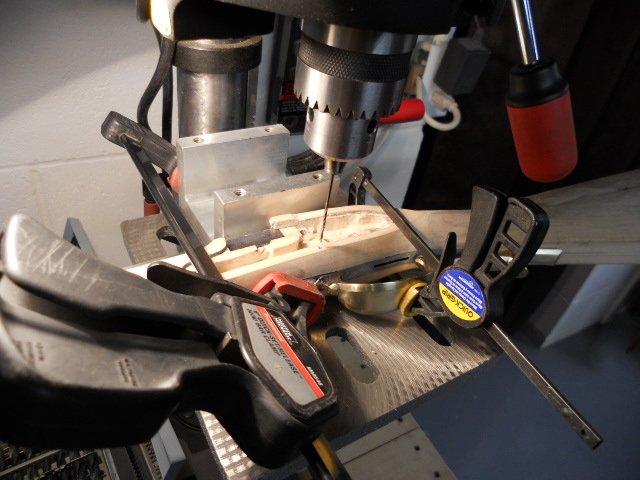
A 1/16" hole was drilled into the rear tang. The guard was installed into the stock and this hole served as a pilot hole for drilling a 1/16" hole into the stock thru the guard. The guard was removed and clearance hole was drilled thru the rear tang for the #4 screw to pass thru. The hole in the rear tang was countersunk for the screw head and the guard was remounted to the stock and the same process for inletting the forward tang was followed to inlet the rear tang.
Here is a photo of the cheek piece and the trigger guard installed. 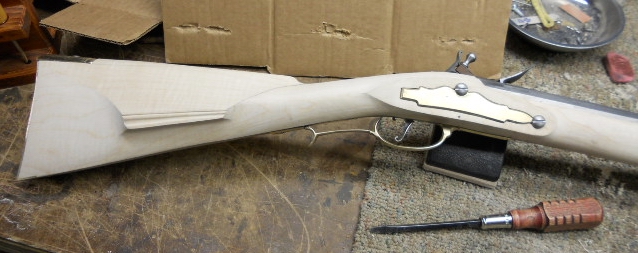
Hoot AL Rifle Shop
If you like the site or have any questions, drop me a line by clicking on "Hoot" below.

(c) Copyright 2005. All Rights Reserved.