Install Muzzle Cap:
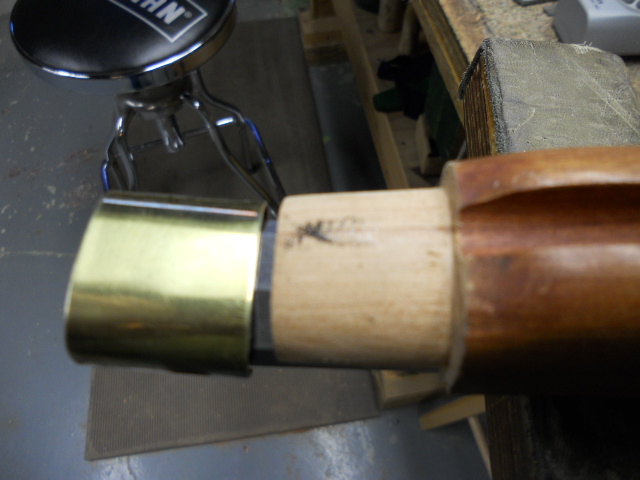
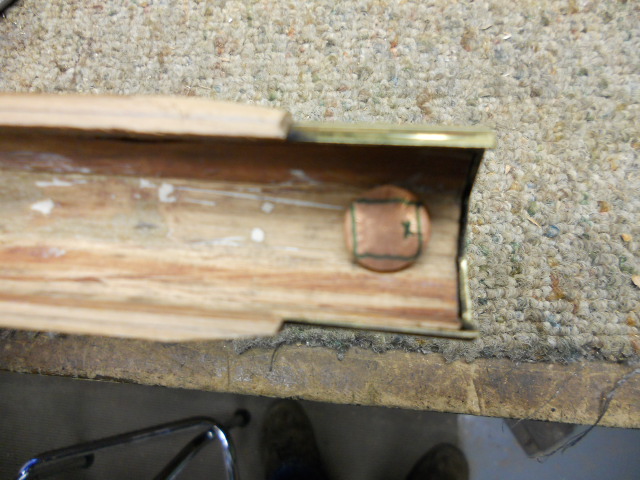
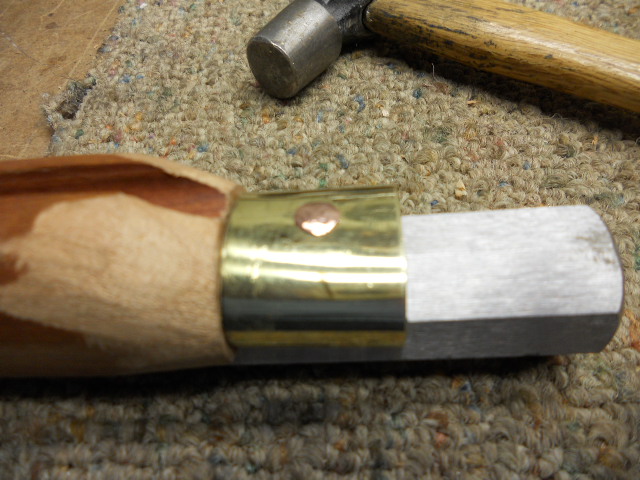
I placed the muzzle cap in reversed onto the barrel at the end of the stock. I traced the outline of the cap onto the stock. Then I drew a line 1/32" on the inside of this line. This would be the actual depth of the cap on the stock. I then measured this depth and put a line on my small saw and cut to this depth into the stock where the end of the cap meets the stock. Using a small chisel I cut inward along the cut line. This created a V cut along the line. I filed the wood on the end of the stock down to the lines on the face of the stock. Now I all I have to do is removed the wood between the two areas to level it out. At this point I can blacken the inside of the cap and work it onto the muzzle of the stock. If you look closely at the photo below with the rivet you can see I removed approximately a 1/4" of wood along the sides of the stock where the side walls of the cap meets the barrel.
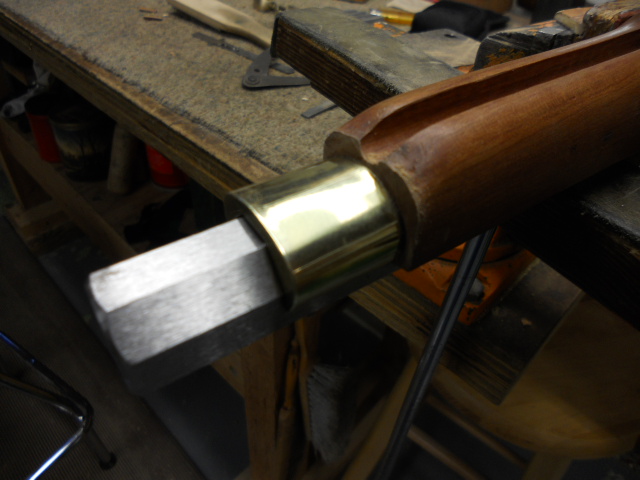
Once the cap was in position, I drilled down thru the cap and the stock till the drill hit the barrel, then stopped. The barrel was removed the and the hole was re-drilled again to finish going thru the stock. I used a copper rivet. Measuring the width of the rivet will determine the drill size to use. The rivet was inserted to ensure it fit the hole. Then I marked out the square of the rivet to fit the bottom flat of the barrel channel. Note, I put a small "X" on one end to assist me in positioning the rivet the same way during the inletting process.
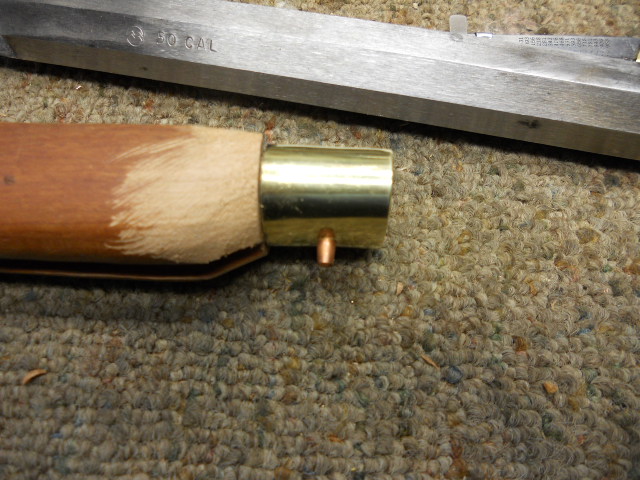
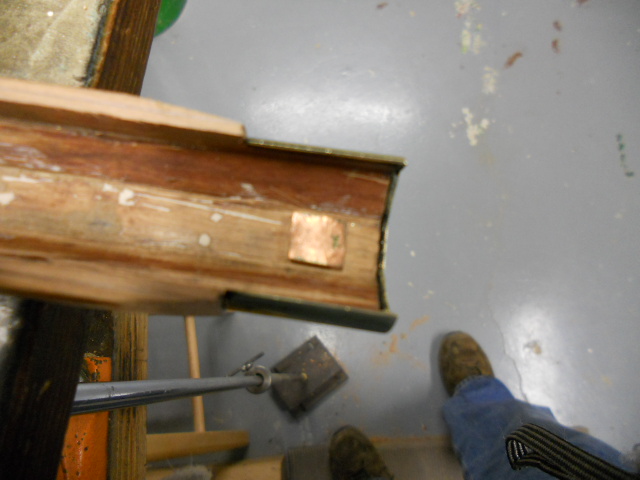
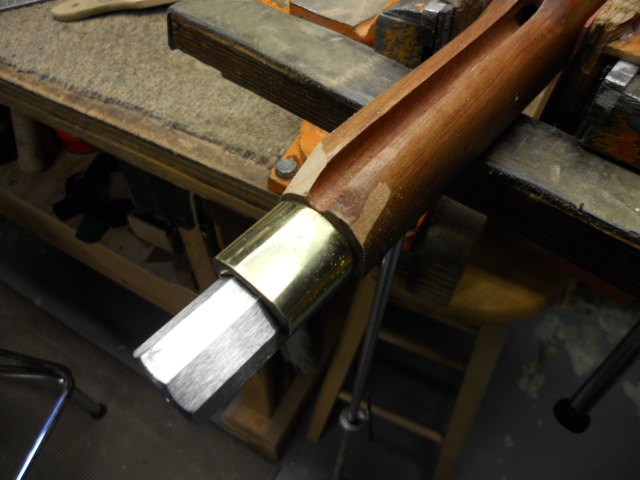
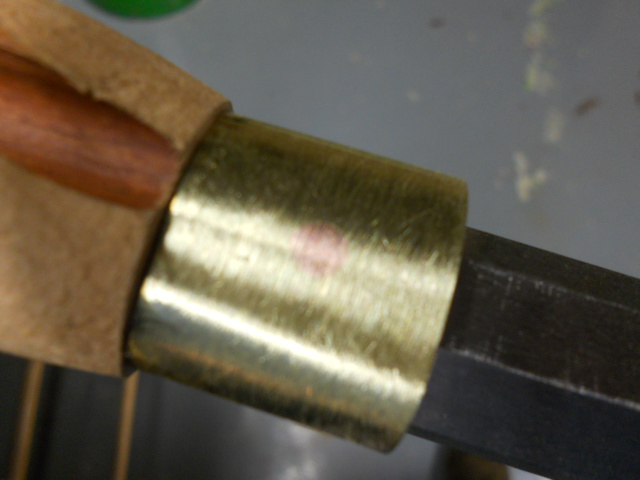
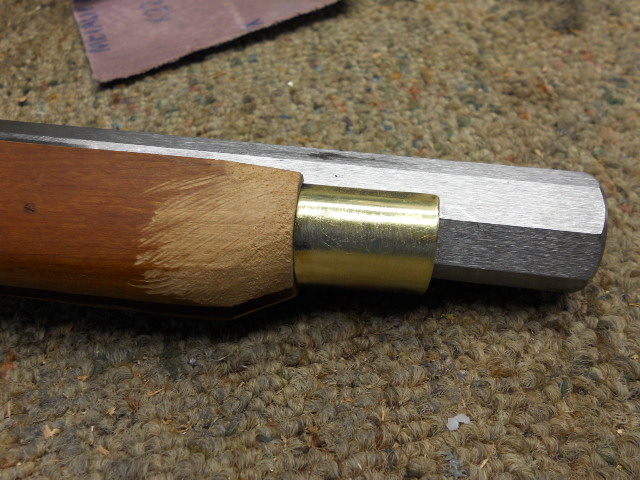
Here you can see the recess area for the rivet. The height of the rivet was reduced to 1/16". The exit hole on the cap was countersunk. Then using a peen hammer it was peened to fill the countersunk hole.
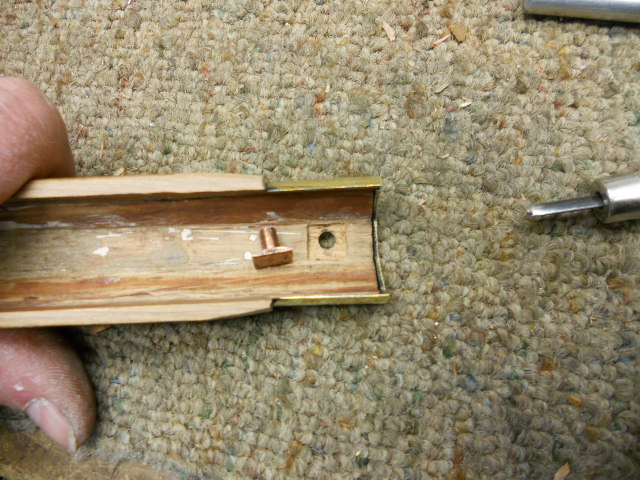
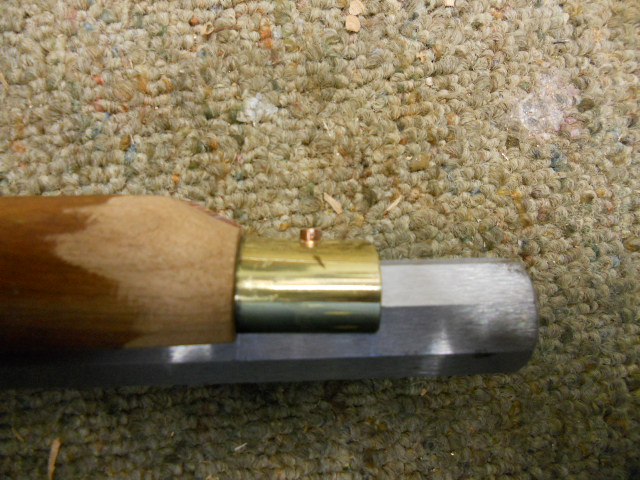
Once the hole was filled, the rivet was filed smooth and sanded flush.
Hoot AL Rifle Shop
If you like the site or have any questions, drop me a line by clicking on "Hoot" below.

(c) Copyright 2005. All Rights Reserved.