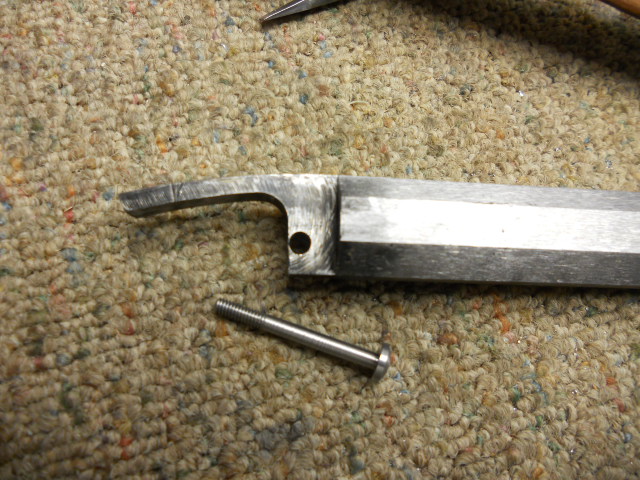
Inletting Lock & Install Lock Bolt:
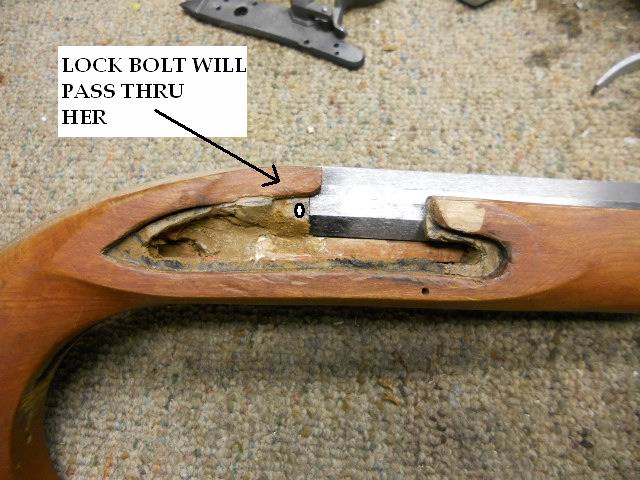
Since too much wood was removed from the lock area, I added wood putty around the circumference of the lock plate area. This will give support to the lock plate when it is inletted to the proper depth. When the bolster under the frizzen is tight and flat against the barrel with the lock in a vertical plane, you have reached the proper depth. Once this is done, I wanted to drill for the lock bolt prior to finalizing the lock being fully inletted with all the component parts. (To learn how to remove the main spring, see "Tips & Tricks" section)
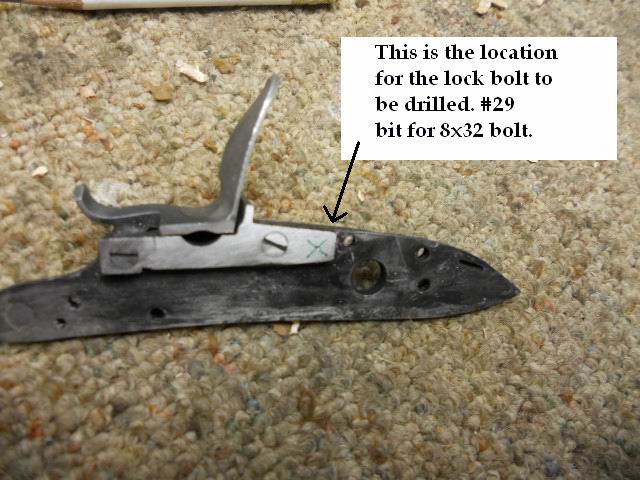
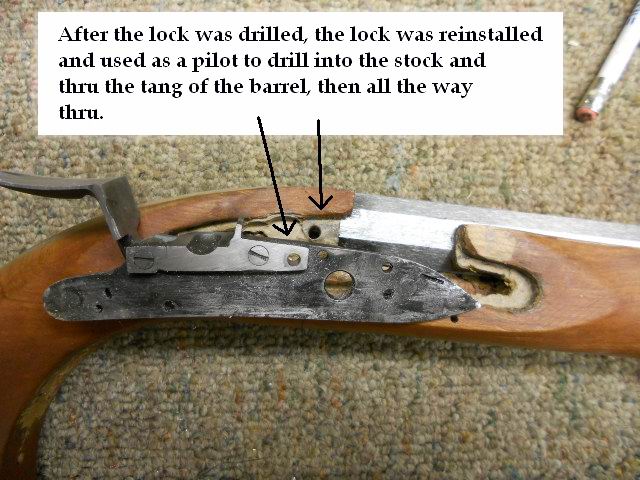
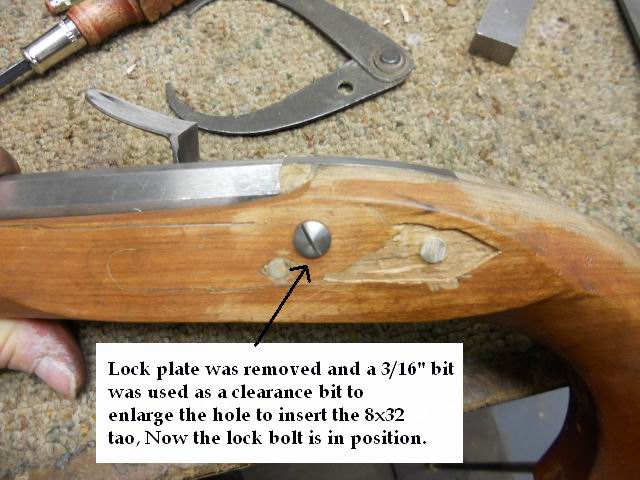
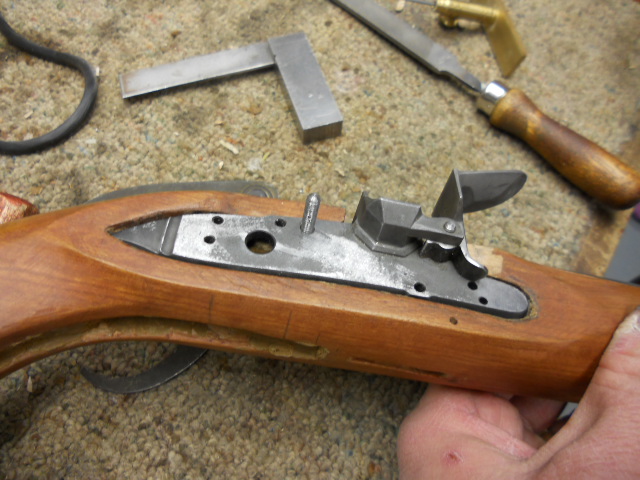
The lock bolt will be positioned on the bolster as shown by the "X" below. I used a #29 drill bit and drilled thru only the lock plate. Then the lock plate was installed onto the stock and I use this hole as a pilot hole for the drill to drill thru the lock plate, the stock, the tang and completely thru the stock. Next I remove the lock and use a 3/16" drill bit thru the same hole to make a clearance hole for the 8x32 tap.
I reinstall the lock plate and then insert the tap thru the stock from the other side. Then I tap the lock plate. Now I can install the lock bolt.
The lock bolt will extend beyond the face of the lock plate. You need to reduce this height so the hammer can pass over the top of the bolt. I use a "safe" triangular file to mark the side of the bolt, then remove it from the stock. It is placed in a vise and cut with a hacksaw. The end is filed or ground down and reinstalled and checked for proper height. You may have to do this a few times to get it semi-flush with the surface.
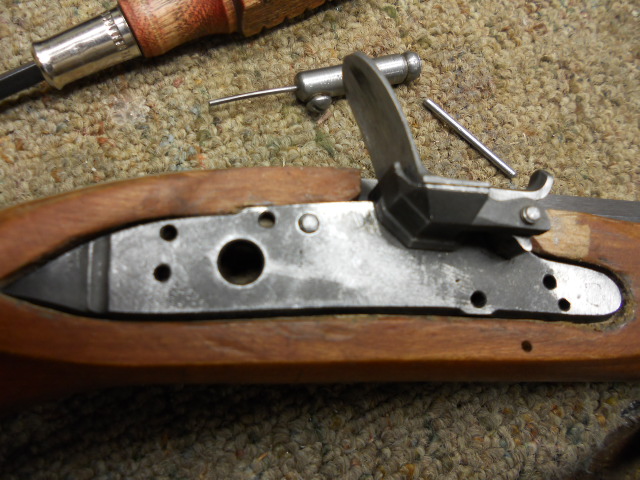
The lock components were reinstalled in pieces and inletted into the lock cavity. First the bridle, then the tumbler, the sear, sear spring and finally the main spring.
Here is a movie of the lock installed and the sear arm is being depressed to actuate the lock. MOVIE
Now for the trigger plate.
Hoot AL Rifle Shop
If you like the site or have any questions, drop me a line by clicking on "Hoot" below.

(c) Copyright 2005. All Rights Reserved.