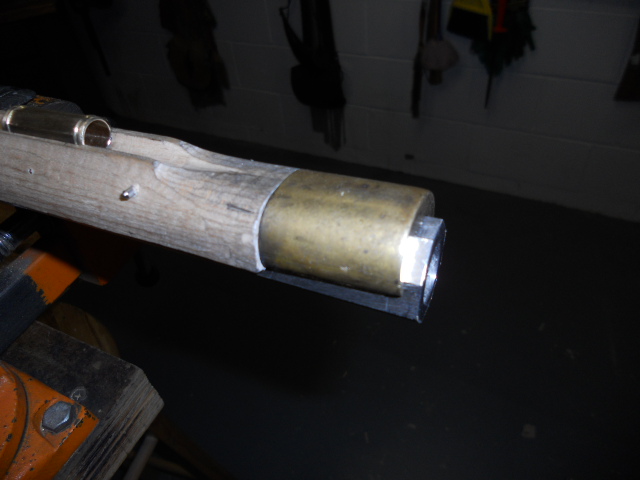
Muzzle Cap Installed:
Cap will be installed to the end of the stock with 1/8"
exposure of the end of the barrel. The cap was positioned on the top of
the barrel to indicate the location of the cap. Note: the thickness of the end
of the cap was taken into consideration, too. The stock was marked and the end
was cut off. I used a piece of thin cardboard to match the marks on either side
and traced a pencil line around the stock. 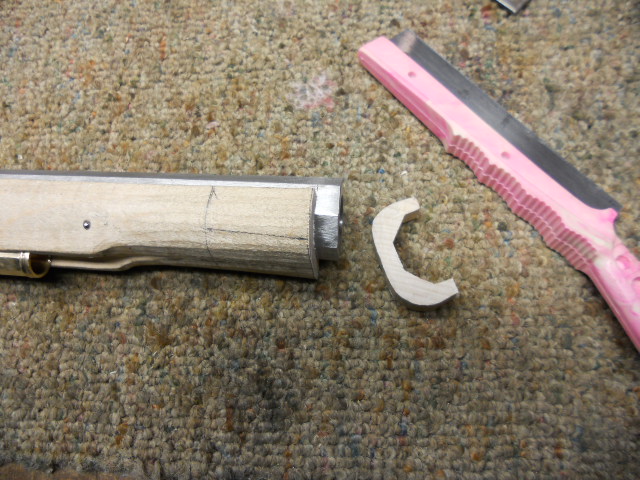
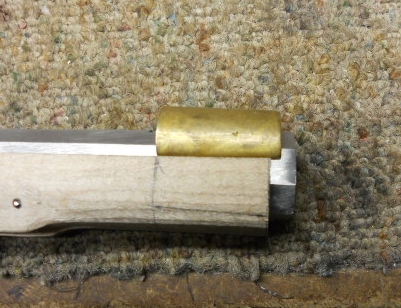
Here the cap is repositioned back on top of the barrel.
The cap was positioned now on the end of the barrel. This
allows me to trace the face of the cap onto the face of the stock. 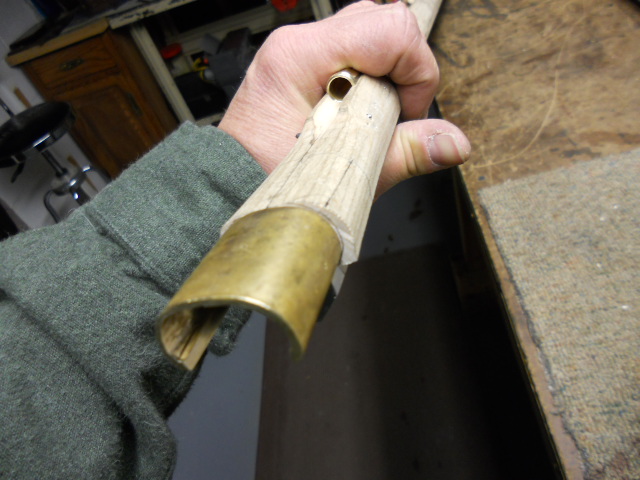 Tracing
the cap with a pencil shows me the outside
Tracing
the cap with a pencil shows me the outside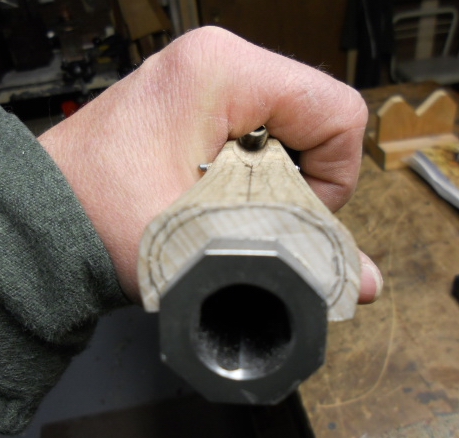 outline of the cap. Using calibers, I transferred the thickness of the cap onto
the face of the stock.
outline of the cap. Using calibers, I transferred the thickness of the cap onto
the face of the stock.
I used the thickness of the cap to make a depth line on my saw and cut down around the rear end of the cap location on the stock. Using a 1/4" chisel, I chipped out along this line to this depth.
Along the face of the stock, I filed down to the inner line.
Now I have the forward depth and the rear depth for the cap on the stock.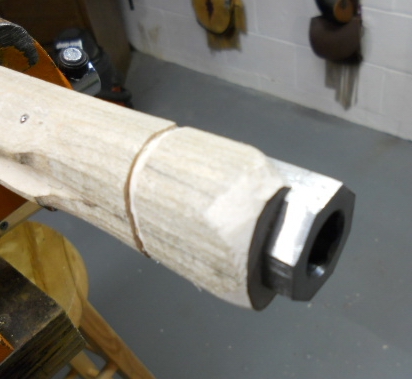 With the wood now removed reasonably to the depth indicated, I drew a line along
the lower flat of the barrel. This wood must be removed, because the cap will be
fitted up against the barrel along this line.
With the wood now removed reasonably to the depth indicated, I drew a line along
the lower flat of the barrel. This wood must be removed, because the cap will be
fitted up against the barrel along this line. 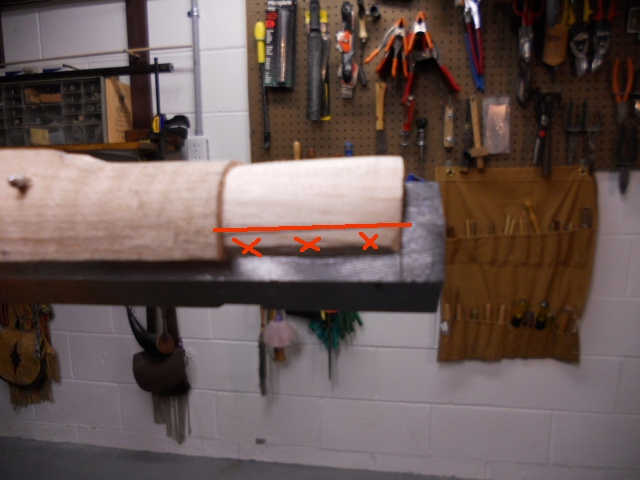
The cap was blackened with candle soot and slowly pushed onto
the stock and removed. Only the black marks were removed with my chisels or
files. 
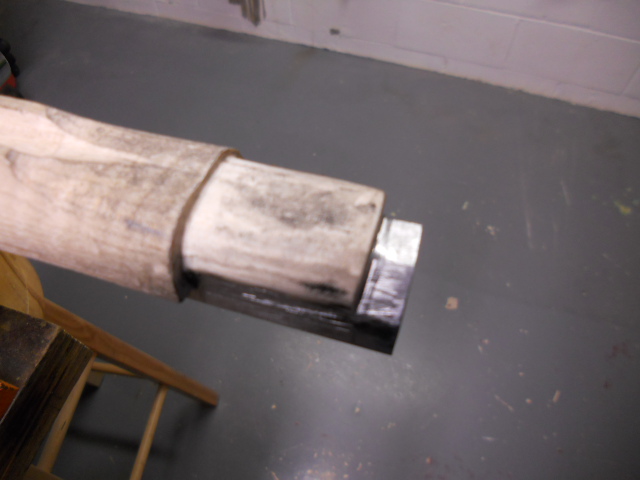
If the cap has any gaps between the cap and stock, I used a
file between the cap and the stock to reduce material and close any gaps. 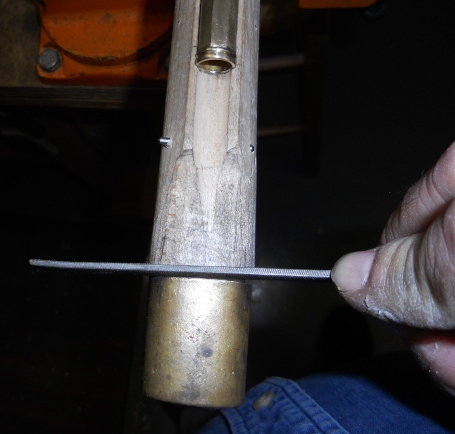
Now the cap is fully inletted to the stock.
The cap will be held to the stock using a copper rivet. I
clamped the nose cap into position and then drilled downward thru the cap and
into the wood, stopping short of the barrel. Then the barrel was removed the
nose cap served as a drilling jig and allowed me to finish drilling the hole
thru the stock. 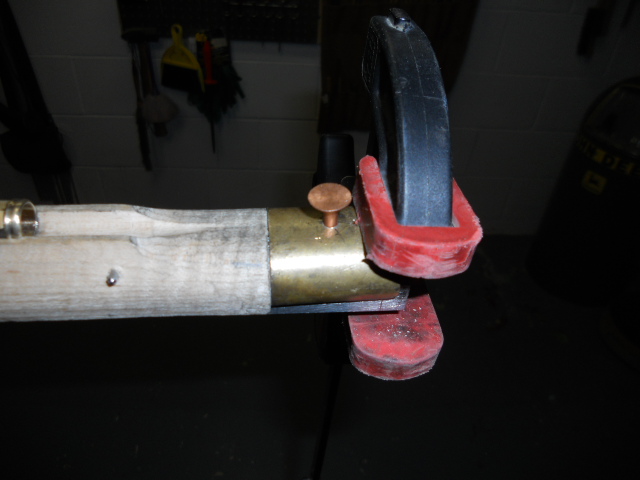 Below is a photo of the rivet in the hole for fit.
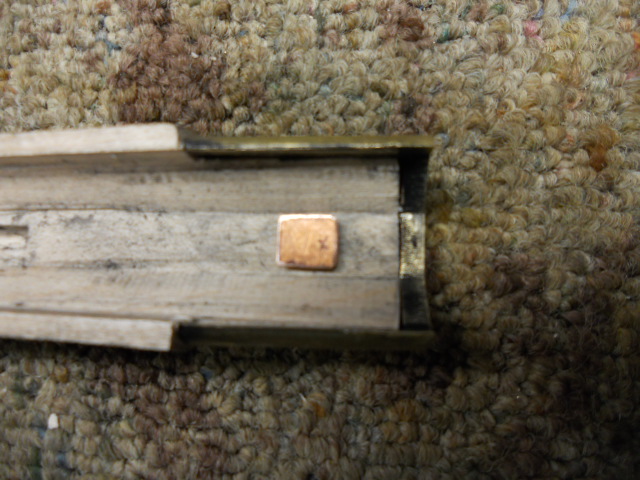
Next, I squared the head of the rivet so it was the same width as the bottom flat of the barrel channel.
Then the rivet was inletted into the stock so it was flush
with the barrel channel. 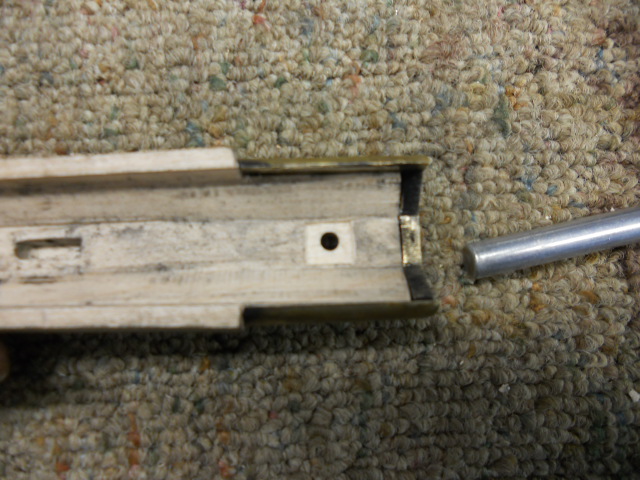 The length of the rivet was cut off so only 1/16" of the rivet was exposed
on the other side of the cap and the hole on the outside of the cap where the
rivet came thru was countersunk. This will allow the rivet to expand and
fill the countersunk area and rivet the cap to stock.
The length of the rivet was cut off so only 1/16" of the rivet was exposed
on the other side of the cap and the hole on the outside of the cap where the
rivet came thru was countersunk. This will allow the rivet to expand and
fill the countersunk area and rivet the cap to stock.

The rivet was installed and the barrel placed back into the stock and pinned in place. Setting the end of the barrel on an anvil, I then peened the rivet.
Once the rivet was fully peened into the countersunk hole on
the cap, the excess material was filed flush with the cap. 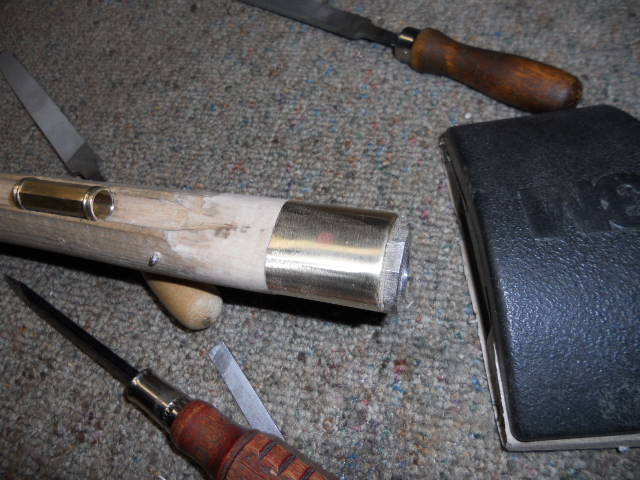 You will note, the rear end of the cap is even with the stock and the forward
end of the cap is tapered downward. This is because of the swamped barrel and
the stock. Isaac Haines caps are purposely tapered this way.
You will note, the rear end of the cap is even with the stock and the forward
end of the cap is tapered downward. This is because of the swamped barrel and
the stock. Isaac Haines caps are purposely tapered this way.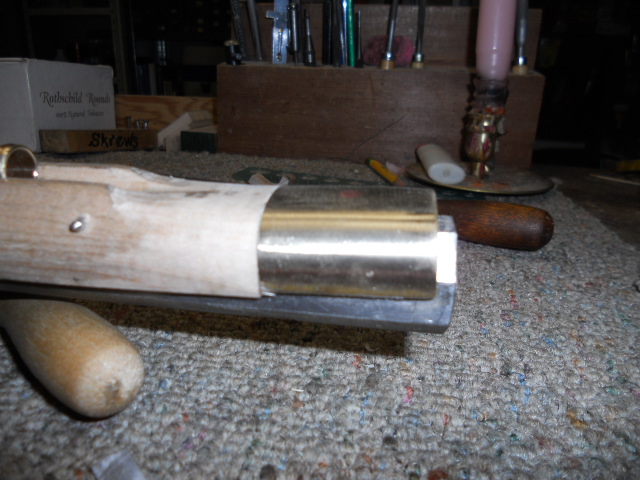
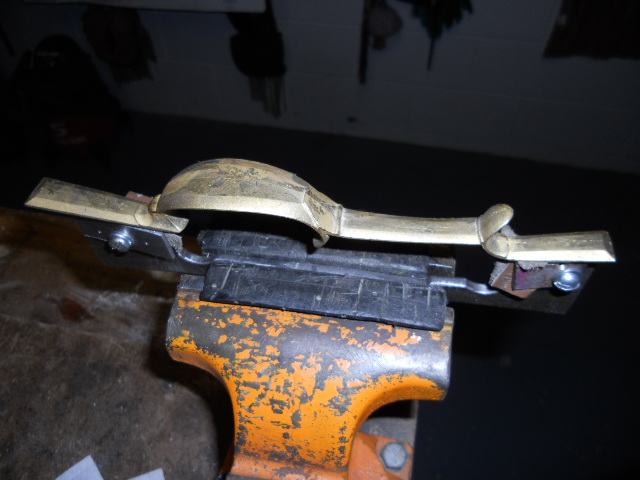
Next is the trigger guard and I've already started cleaning it up already.

Hoot AL Rifle Shop
If you like the site or have any questions, drop me a line by clicking on "Hoot" below.

(c) Copyright 2005. All Rights Reserved.