Installed Trigger Guard:
I flattened the belly enough for the trigger guard to be installed. Then I
drew a center line for the guard. Located where the front tab was to be
located and marked the stock for both tabs. 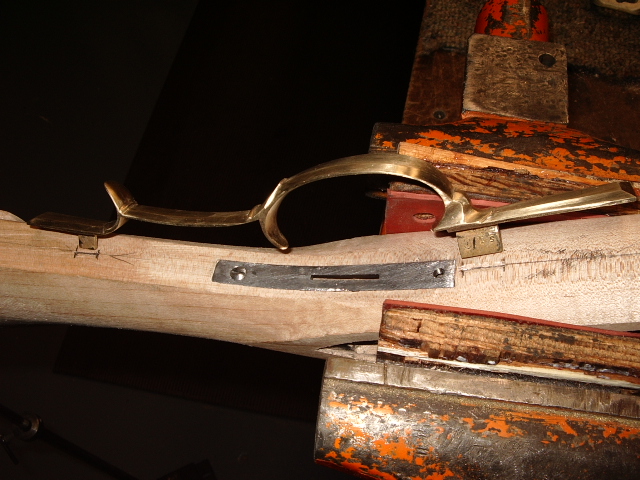
I used a "V" groove chisel between the marked tabs. This
helps keep the drill bit from wandering. I measured the depth of the tab
and marked this on my drill bit with tape. Now I can drill a series of holes in
the stock to the correct depth. 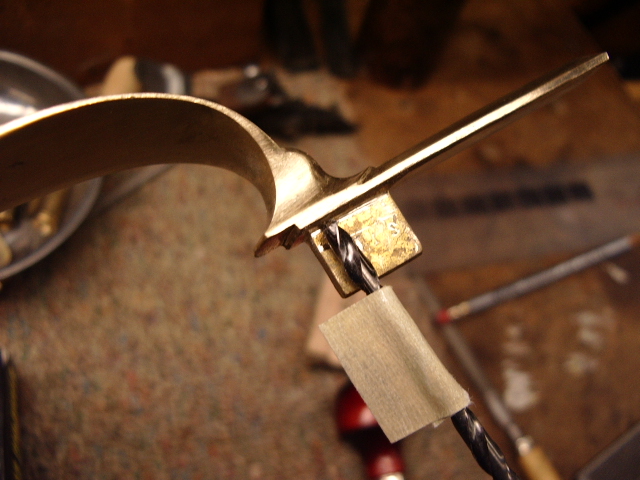
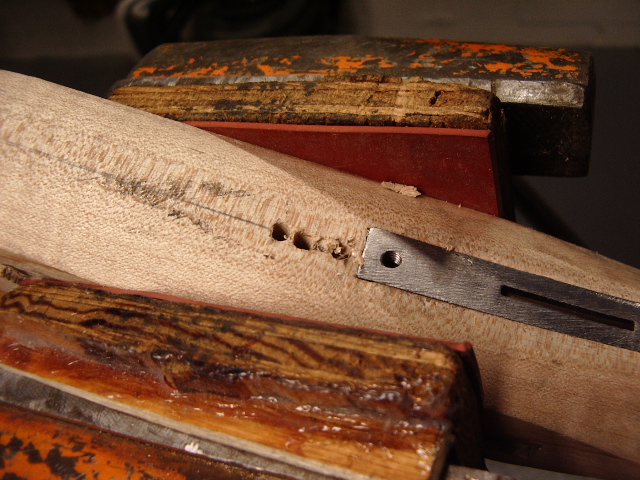
Once this is done, I use my chisels to open up the slots.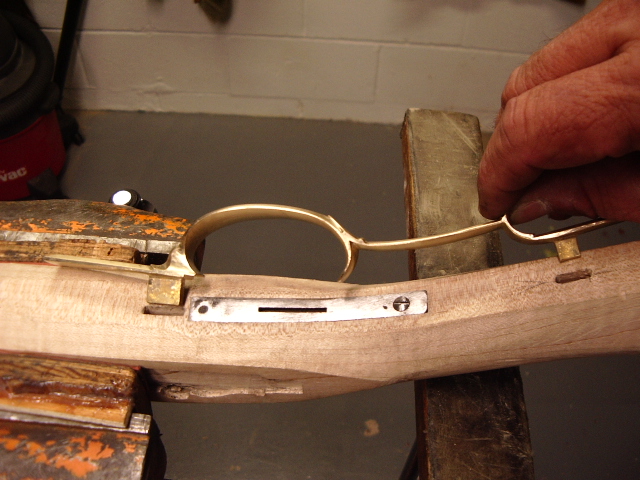
Now I inletted the front half of the trigger guard.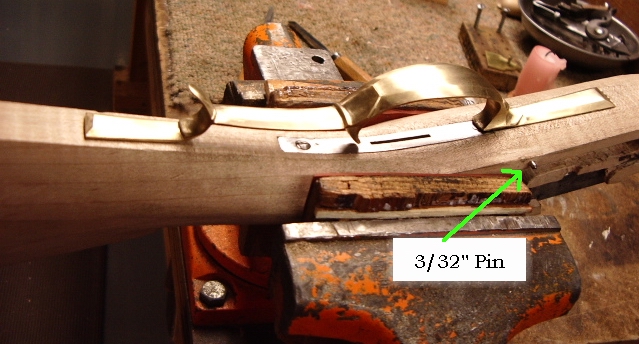
Once this was done, then I could inlet the rear half of the trigger guard.
Then pinned this tab in place. 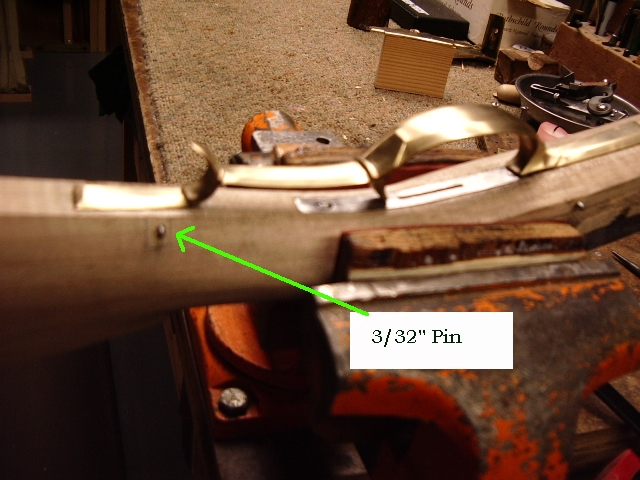
Now the trigger guard is installed.  Note:
the patchbox now has a carved out gouge in it.
Note:
the patchbox now has a carved out gouge in it.
Hoot AL Rifle Shop
If you like the site or have any questions, drop me a line by clicking on "Hoot" below.

(c) Copyright 2005. All Rights Reserved.