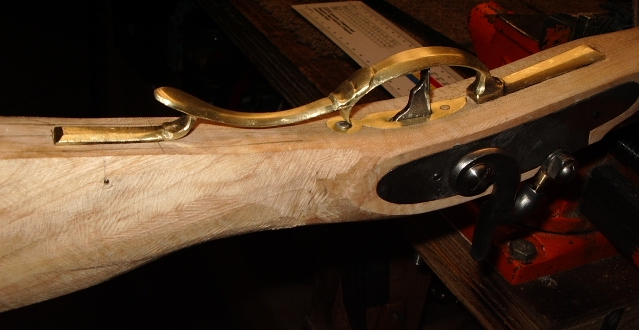
Trigger Guard Modification & Inletted:
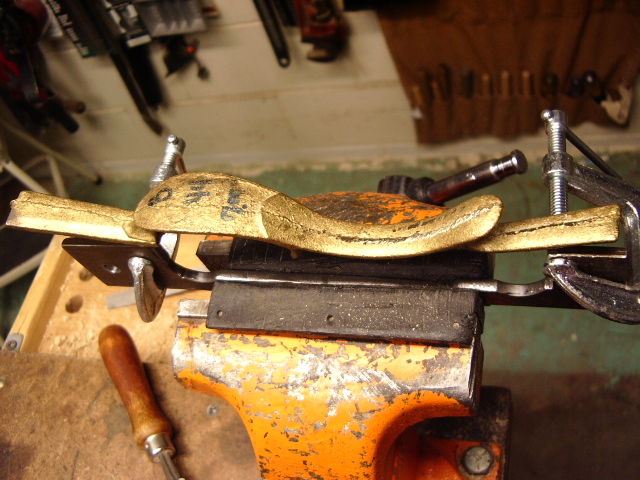
The original trigger guard was rather bulky for this youth rifle and was not in character for this Virginia rifle.
Since I did have a Grandstaff trigger
guard that I had repaired and keep it in my shop for reference, I decided to
modify this trigger guard to resemble the Grandstaff guard. 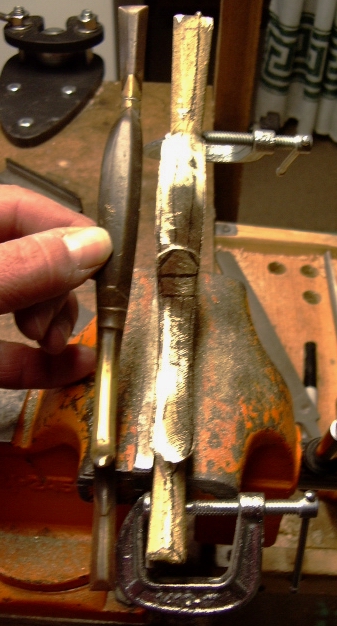
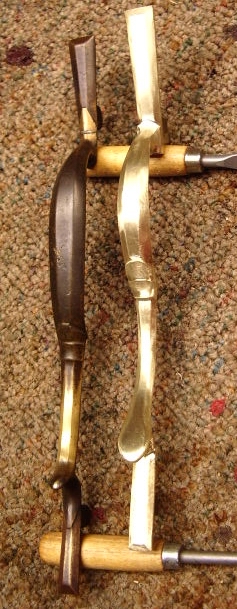
With a lot of filing, this is what I ended up with.
Not perfect, but we do not want perfection as I only wanted to typify the guard, not copy it totally.
Before I could inlet the guard, I had to shape the forearm belly and lay out both the lock side panel and the opposite side of the stock.
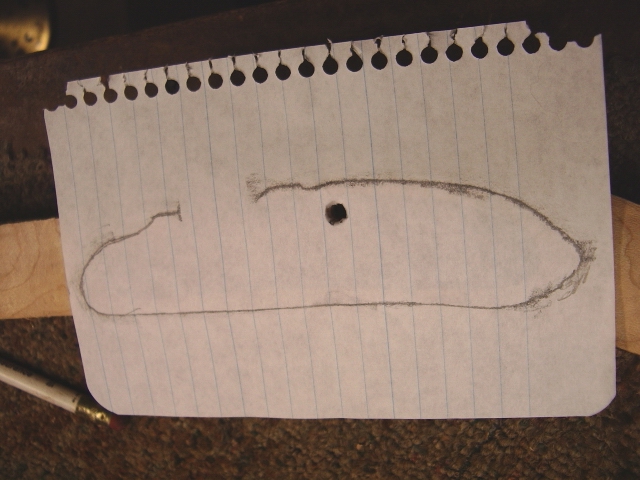
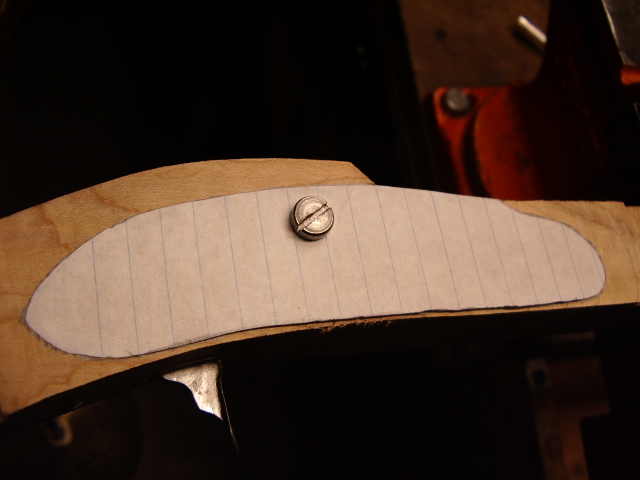
To do this, I removed the lock and laid a piece of paper on to the lock area and traced out the lock panel area after I removed the surrounding wood. Then I cut out the traced paper and laid it on the other side of the stock. Traced out the wood and removed the surrounding wood.
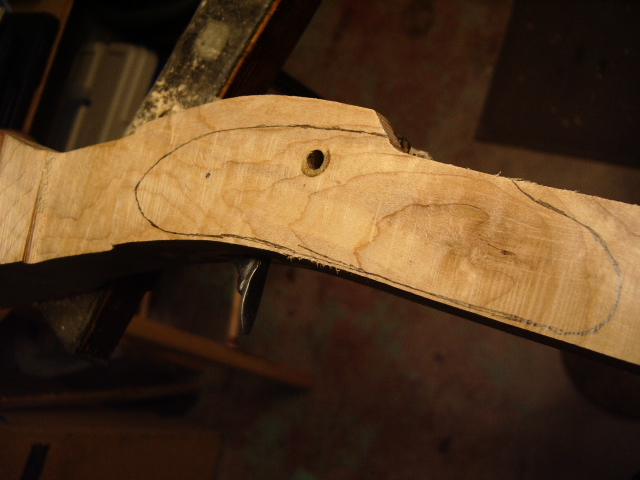
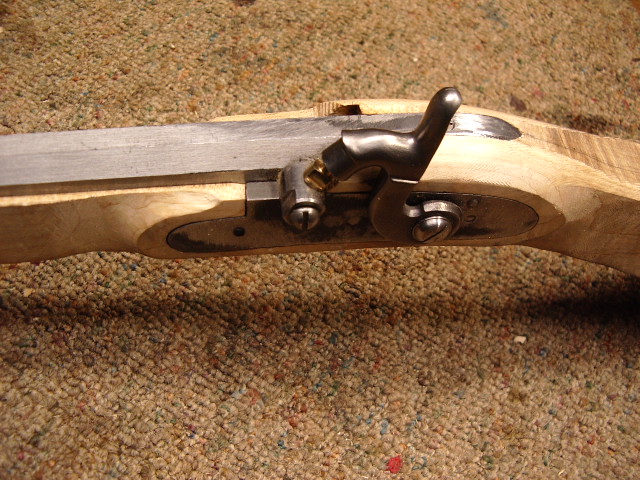
After the wood was removed I divided the belly
of the forearm into fifths and started rounding the belly. This will be the area
where the trigger guard will be installed.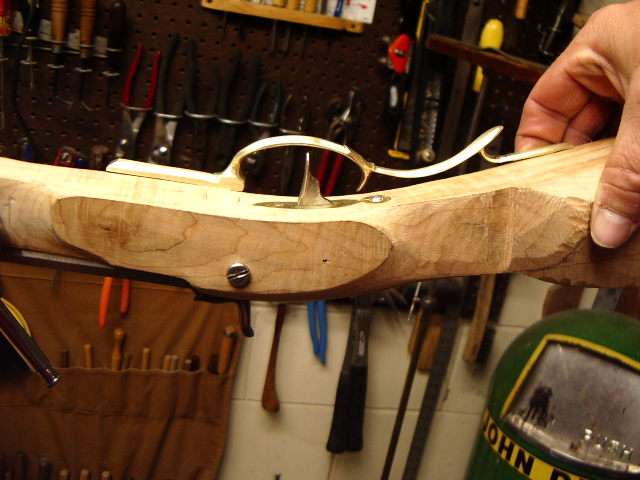
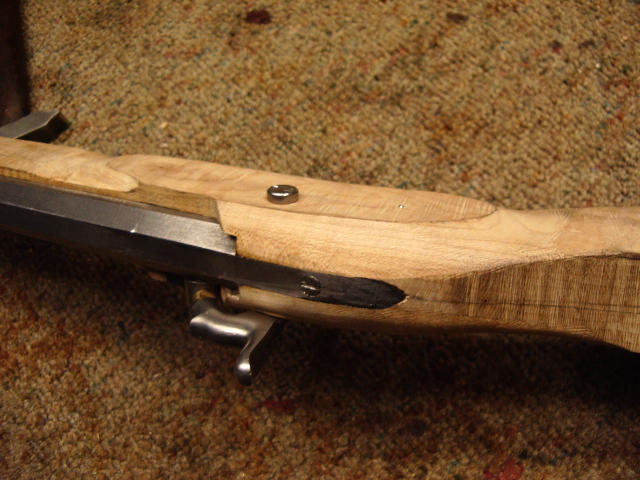
Here I held the guard up to the stock for fit.
Here you can see the roundness of the belly
and the locations where I marked the slots to be drilled to for the triggerguard
tabs to be inletted into the stock. I measured the thickness of the tabs, and
matched this to my drill bit. 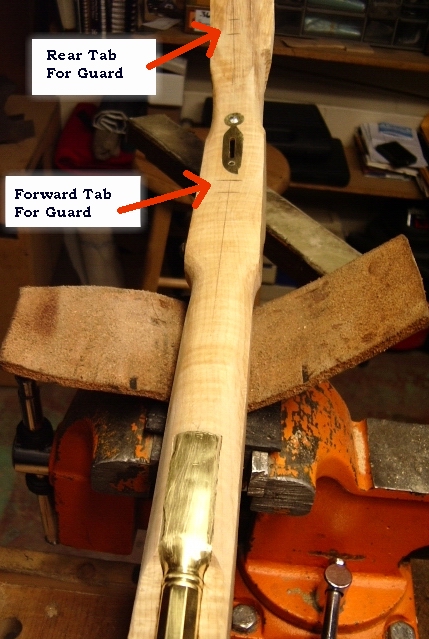 Using
tape on the bit, I drilled to the depth of the tabs. Once the holes were
drilled and slots cleaned out, the guard was inlet to a depth of 1/32". The
forward tab was drilled and pinned with a 1/16" pin and then the rear tab
was drilled and pinned the same way.
Using
tape on the bit, I drilled to the depth of the tabs. Once the holes were
drilled and slots cleaned out, the guard was inlet to a depth of 1/32". The
forward tab was drilled and pinned with a 1/16" pin and then the rear tab
was drilled and pinned the same way. 

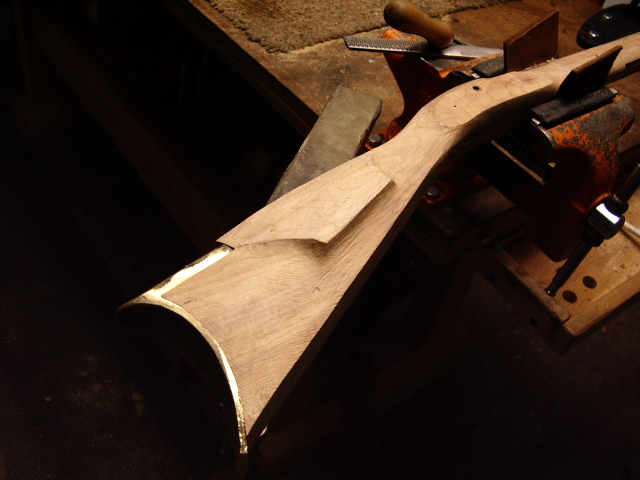
For kicks and giggles, I started shaping the butt stock, too.
Hoot AL Rifle Shop
If you like the site or have any questions, drop me a line by clicking on "Hoot" below.

(c) Copyright 2005. All Rights Reserved.