Making & Inletting the Toe Plate:
I wanted to make my toe plate for this rifle. I took a pattern from a gunsmith who was a mentor of J.P. Beck, named Nicholas Meyer.
Started with a piece
of .062" brass and glued my paper pattern to the brass and then cut the
segment out of the sheet. 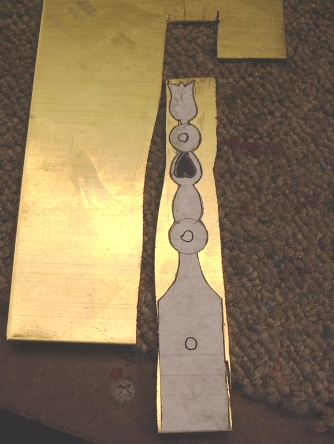 Then
with a combination of various files, I filed the metal down to the pattern.
Then
with a combination of various files, I filed the metal down to the pattern. 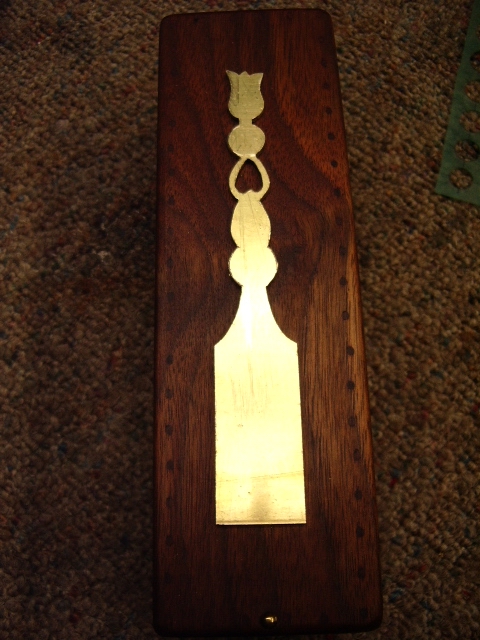
Next I drilled the
pilot mounting holes into the toe plate with a 1/16" drill bit. 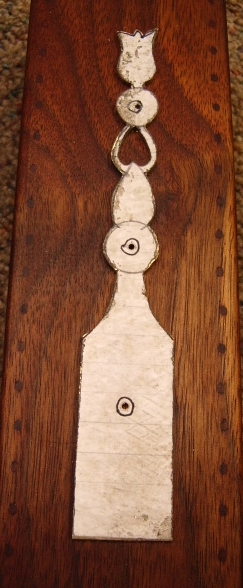
With the hole
drilled, I positioned the toeplate on to the stock, with the toeplate hanging
about 1/16" over the end of the stock.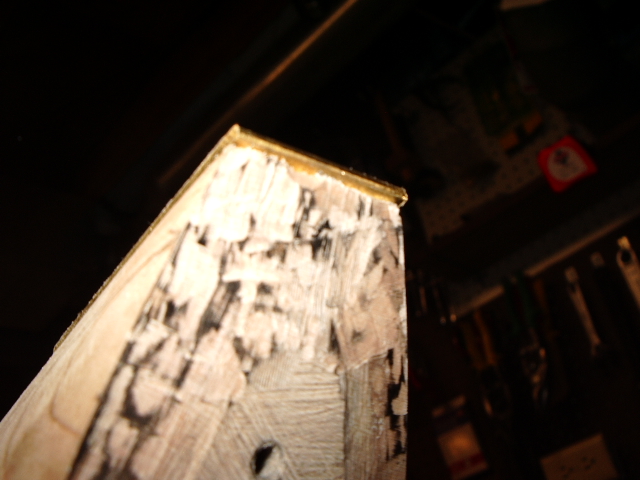
Now I could clamp the
toe plate to the stock. With the toe plate secured to the stock, I drilled thru
the 1/16" pilot holes in the plate into the stock. 
Once the holes were drilled, I redrilled the pilot holes in the toe plate with a 9/64" bit to serve as clearance hole for the #4 screws I wanted to mount the toe plate with. Using a countersink bit, the surface holes in the plate were counter sunk for the heads of the screws.
The plate was then remounted onto the stock and the the screws were driven into the 1/16" pilot holes previously drilled in the stock. This held the plate in position for inletting.
Once the plate was
inletted. it was removed and the butt plate was reinstalled. A "safe"
file was used with the safe side down on the stock and the file's teeth on the
side were used to cut into the butt plate. This was done to the same depth as
the toe plate overlap on the stock. (you may have to do a little trial and error
to get a good fit.) Now the toe plate was reinstalled. Using a peen hammer, peen
the bottom of the butt plate over the end of the toeplate. You may have to file
down the excess brass above the plate to make this easier. 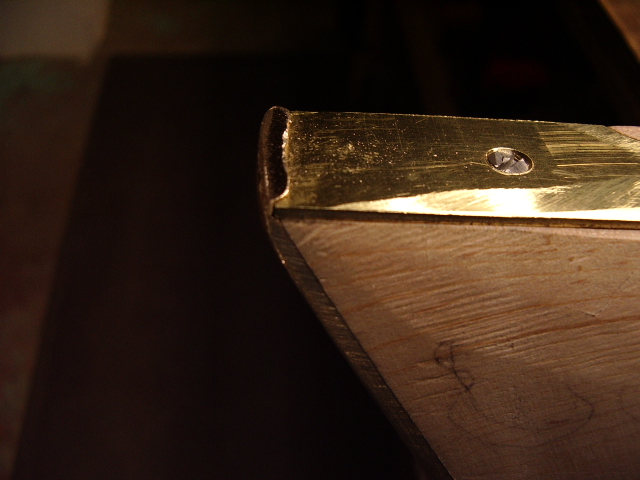 Here
is how it should look.
Here
is how it should look. 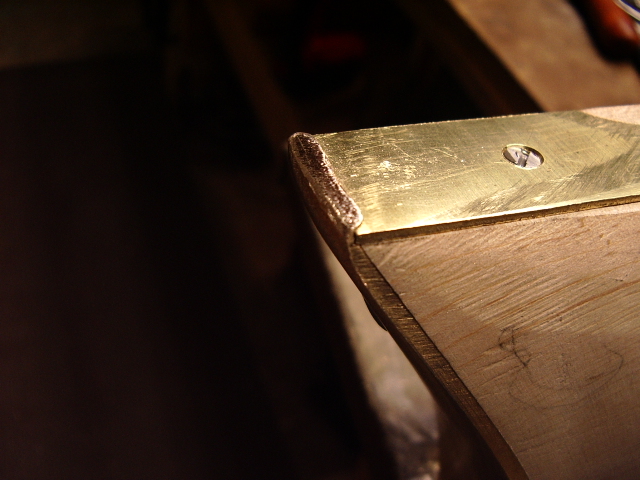 If you look closely, you can see the toe plate overlapping into the butt plate.
Next I filed the excess metal off and cleaned it up.
If you look closely, you can see the toe plate overlapping into the butt plate.
Next I filed the excess metal off and cleaned it up.
Here is the final
result.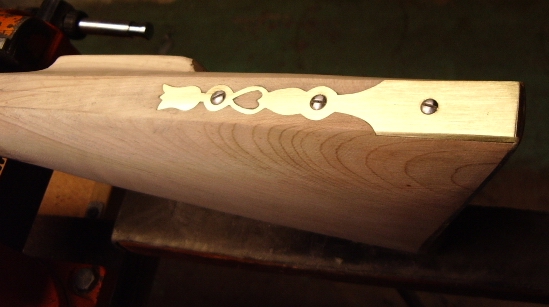
With the toe plate
installed, I then redrew the lines along the belly of the stock up to the
trigger guard and then evened up the sides leading up to the trigger guard. 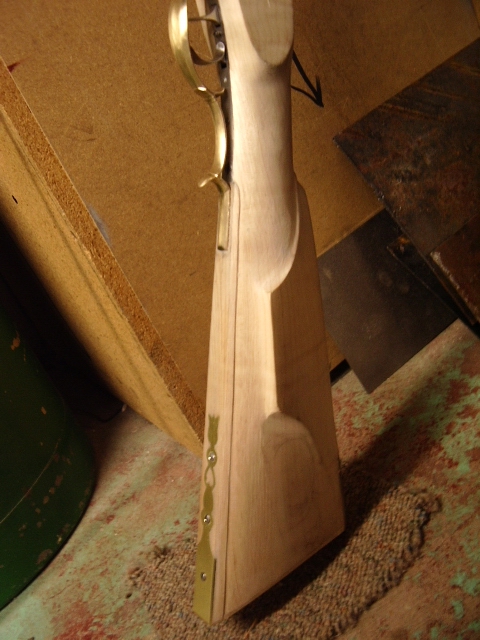
Then I put in an incised relief line on either side of the stock along the lower edge of the butt stock.
Next I will work on the patchbox installation.