Inletting The Thimbles:
The first thing I did was take the
thimbles I bought and modify they by filing wedding bands into the thimbles.
This gave them a little more character than being flat. 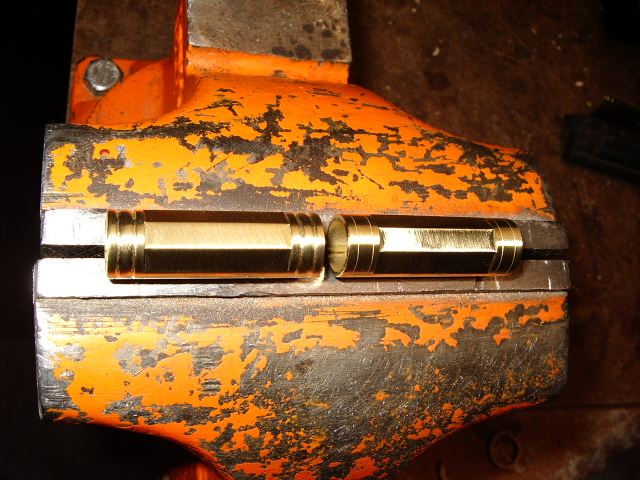

I then laid out the thimbles on the rifle. The front thimble was 4" from the end of the barrel muzzle, the rear thimble was at the end of the ramrod channel. The middle thimble was positioned in between the two, but about 1/4" toward the muzzle. By doing so, this gives the illusion the barrel is slightly longer than it is.
I draw a pencil mark where the face
of thimble will be. Then draw a pencil mark down the center. Then with a
"V" gouge I cut out  a
groove. Drill a 3/32" hole at either end. Now a s
a
groove. Drill a 3/32" hole at either end. Now a s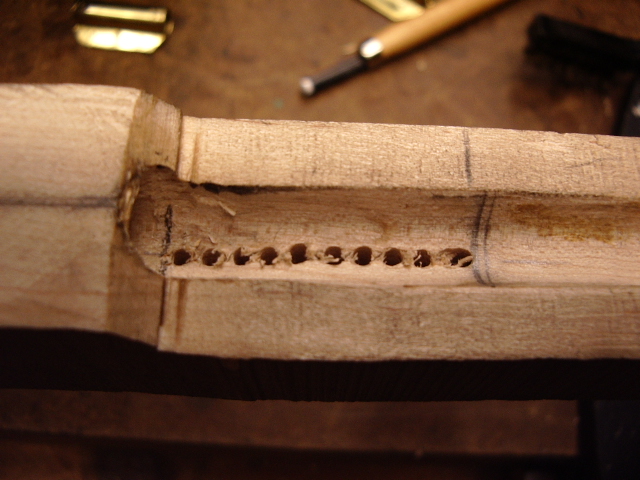 eries
of holes are drilled between the two holes.
eries
of holes are drilled between the two holes.
Using my knife and small chisels, I remove the wood between the holes to clean out the slot for the thimble. Blacken the thimble with candle black and place the thimble into the slot. Remove the thimble and remove the black marks on the wood. Repeat this process until the lower rim of the thimble is flush with the bottom of the ramrod channel.


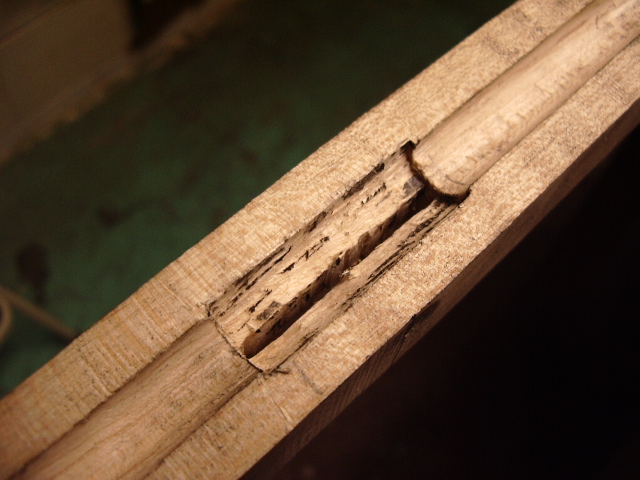
Repeat this for all three thimbles.
After each thimble is inletted, drilled (drill just above the barrel of the thimble; the
 same
distance from the bottom of the rifle to keep them aligned.) and pinned, I mark
the tail of each thimble with a notch. One notch for the forward thimble, and
two for the middle thimble.
same
distance from the bottom of the rifle to keep them aligned.) and pinned, I mark
the tail of each thimble with a notch. One notch for the forward thimble, and
two for the middle thimble.
Note: In the case
of the rear thimble. You need to remove the surrounding wood along the
tail of the thimble. This allows you a better chance not to have a gap between
the brass and the wood. 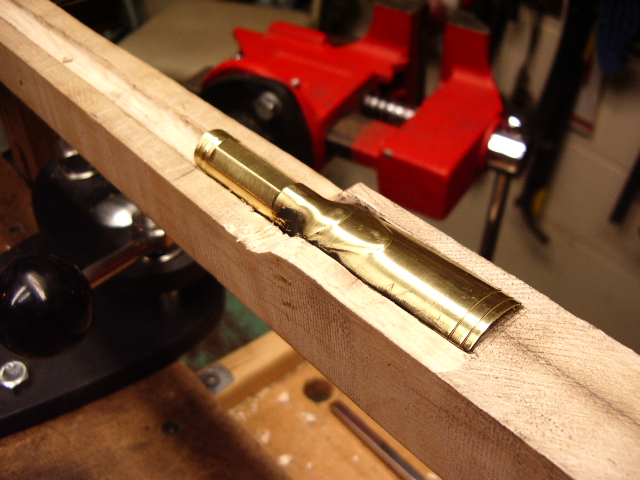 Next
I inlet one of the forward thimbles into this position. This makes inletting the
rear thimble easier.
Next
I inlet one of the forward thimbles into this position. This makes inletting the
rear thimble easier.
When finished, the
thimble will be flush with the  surrounding
wood and the tail will be parallel with the top flat of the barrel. Do not let
it taper downward, which is easy to do and a mistake made by many beginning
gunmakers.
surrounding
wood and the tail will be parallel with the top flat of the barrel. Do not let
it taper downward, which is easy to do and a mistake made by many beginning
gunmakers.