Inletting The Thimbles:
The front thimble was inlet position
was identified by defining the length of the pending poured nose cap (2").
Locate the front barrel pin and then positioning the thimble so it was about
4" from the end of the muzzle. This allows an ample amount of length to the
exposed ramrod, making it easier to remove from the rifle.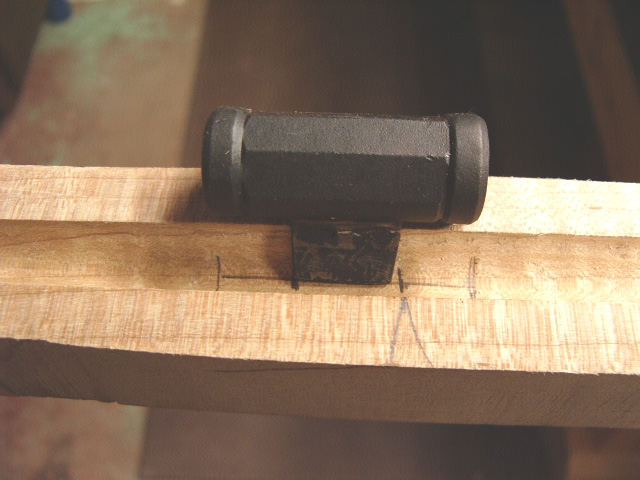
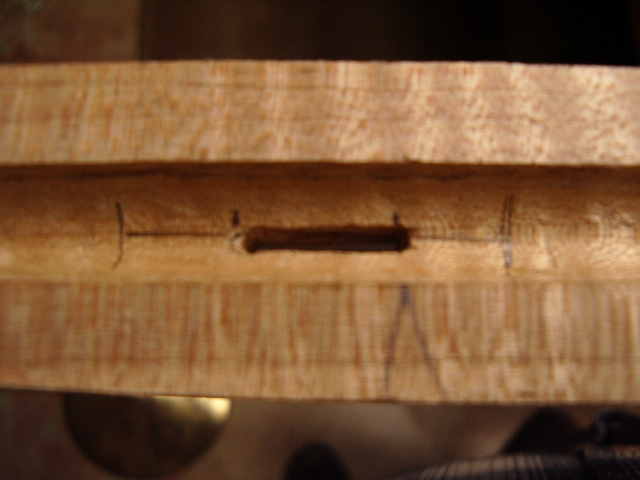
The thimble was laid down on the ramrod channel and a line was penciled to indicate the position of the thimble. A center line was drawn along the bottom of the ramrod channel. With the thimble laying outside the channel, the tab was set down into the channel and lines were drawn to indicate the length of the tab.
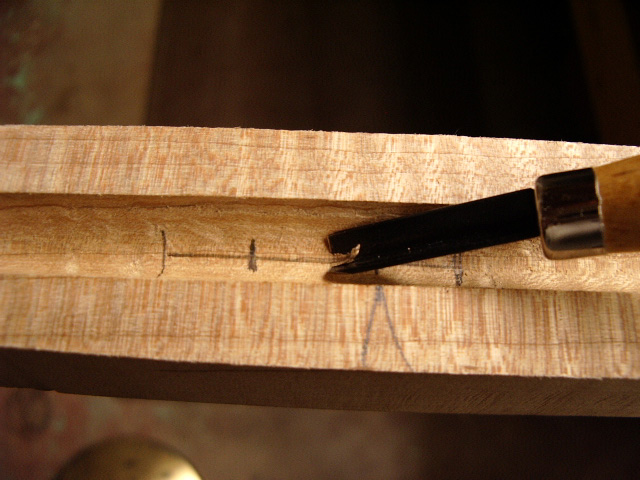 I used a "V" carving tool to
cut out this line.
I used a "V" carving tool to
cut out this line.
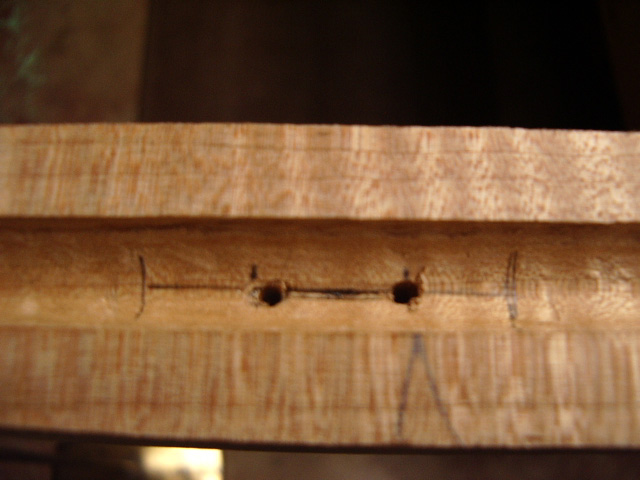
Then I using a 3/32" drill bit, I drilled a hole at either end of the V cut and then progressed drilling holes along the channel.
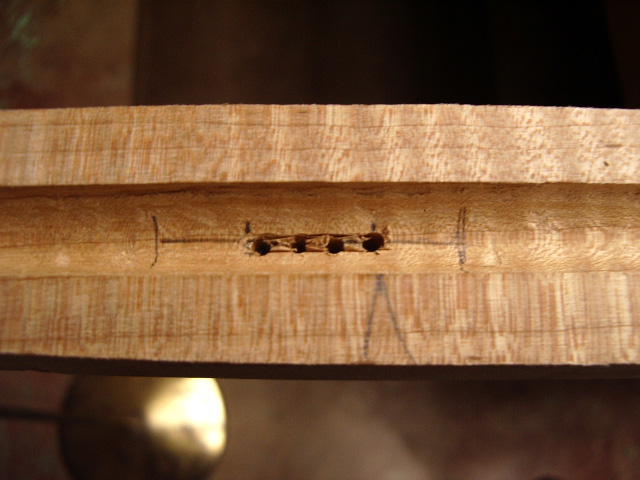 Then a knife was used to cut along
the outside of the drilled holes and the wood was removed using a 1/16"
chisel.
Then a knife was used to cut along
the outside of the drilled holes and the wood was removed using a 1/16"
chisel.
Once the slot was cleared, I set the thimble into the slot.
 Using a
sharp pencil I traced the profile onto the stock around the perimeter of the
thimble.
Using a
sharp pencil I traced the profile onto the stock around the perimeter of the
thimble. 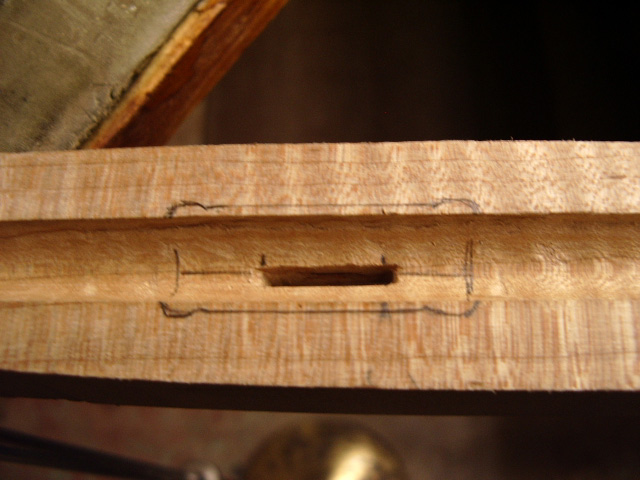
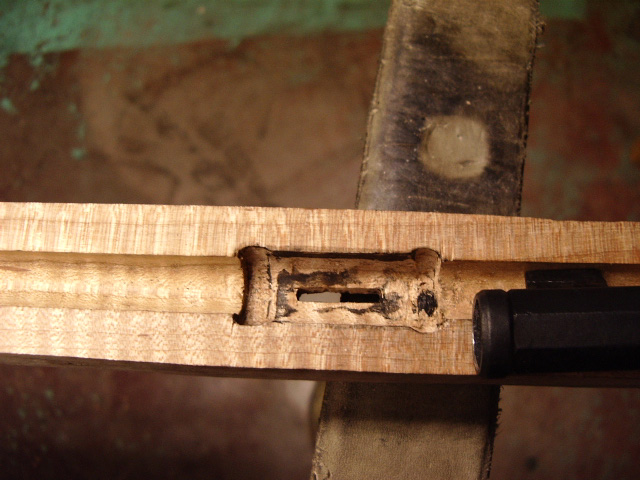 Then I used various carving tools to remove the wood inside the
lines. Using candle soot on the thimble, I slowly inlet the thimble 1/2
the depth into
the stock
Then I used various carving tools to remove the wood inside the
lines. Using candle soot on the thimble, I slowly inlet the thimble 1/2
the depth into
the stock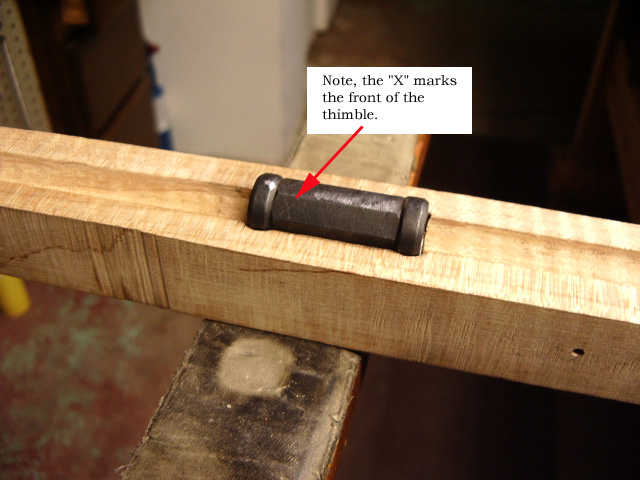 ,
until the inside of the thimble is flush with the ramrod channel. .
,
until the inside of the thimble is flush with the ramrod channel. .
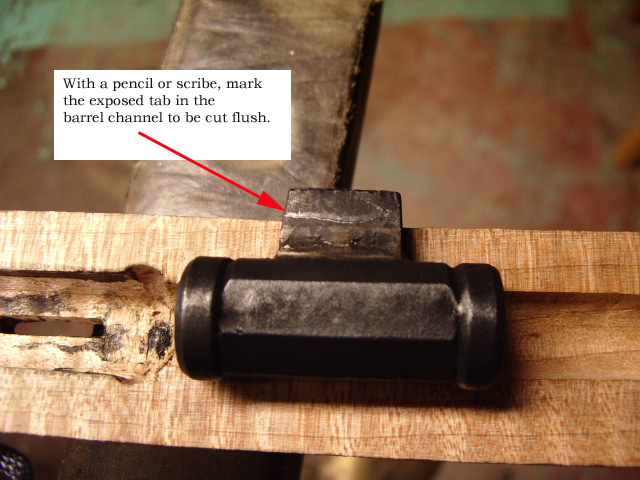
Once the thimble is inlet, I then scribe a line on the exposed tab in the barrel with a pencil or a scribe. After it is cut off and filed smooth, I check for fit and make sure it is flush.
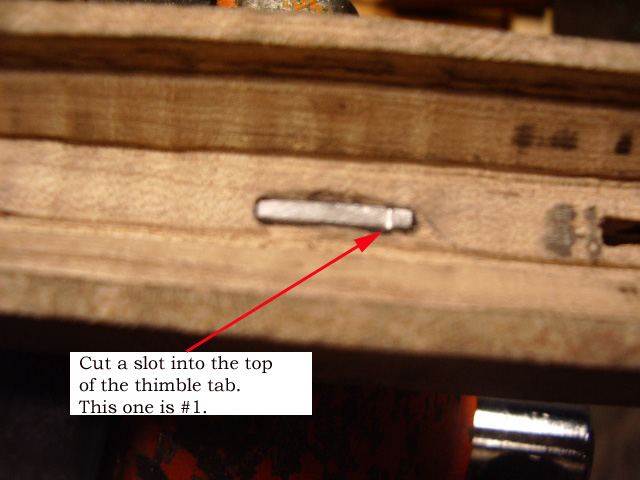 Then
I cut a "V" notch in the top of the thimble tab to identify the
thimbles (i.e. 1 notch = #1, 2 notches = #2) and I put the notch at the head of
the thimble for proper alignment later when it is removed and reinstalled.
Then
I cut a "V" notch in the top of the thimble tab to identify the
thimbles (i.e. 1 notch = #1, 2 notches = #2) and I put the notch at the head of
the thimble for proper alignment later when it is removed and reinstalled.
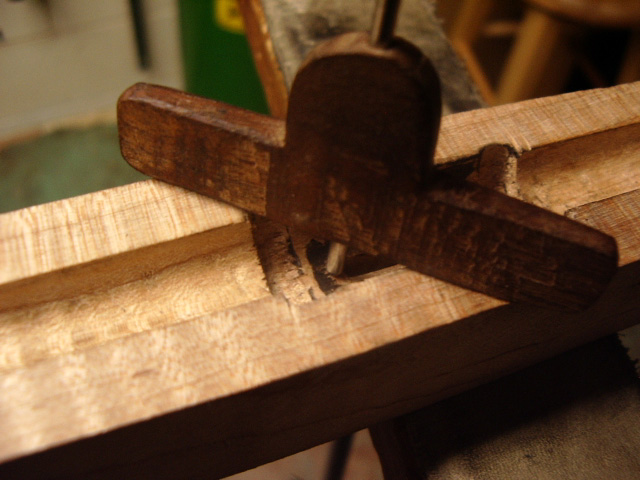
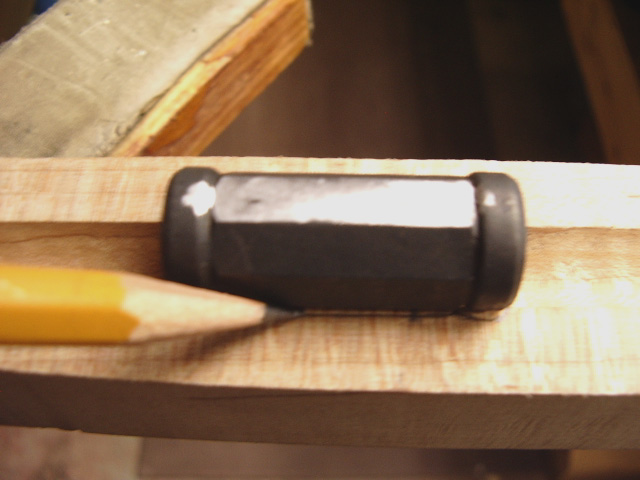
To locate the pin location for the thimble, I use my depth gauge inside the inletted cavity.
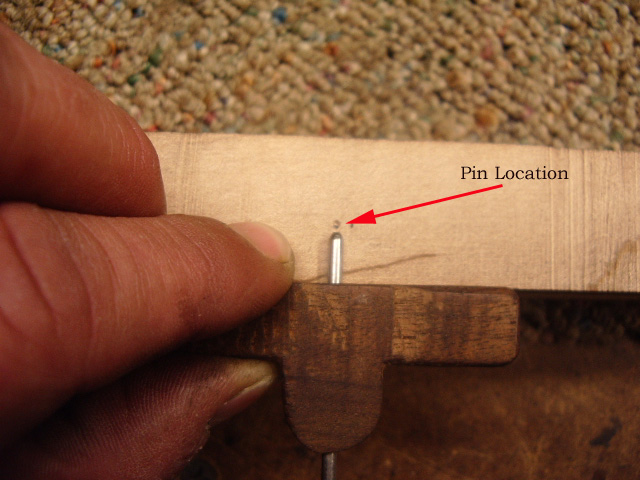 Then
I transfer this to the outside of the stock and allow for the thickness of the
1/16" pin. Then I put a clamp on the thimble and drill a 1/16" hole
thru the stock and the thimble tab. Remove the thimble and then slot the hole
horizontally to allow for wood expansion of the stock.
Then
I transfer this to the outside of the stock and allow for the thickness of the
1/16" pin. Then I put a clamp on the thimble and drill a 1/16" hole
thru the stock and the thimble tab. Remove the thimble and then slot the hole
horizontally to allow for wood expansion of the stock.

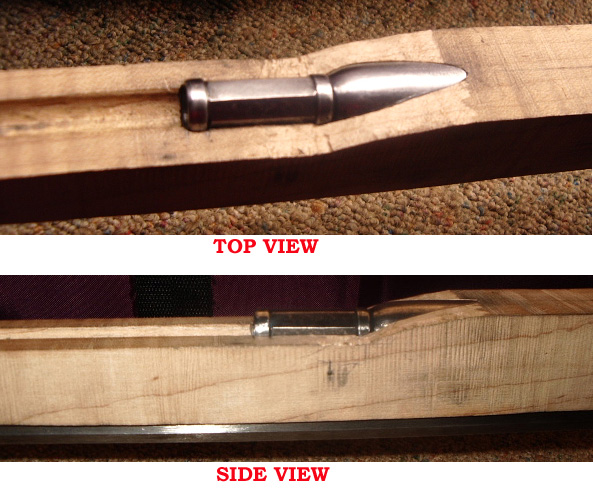
 Here is the front thimble inlet.
 Then
the middle thimble is inlet.
Then
the middle thimble is inlet.
 Finally
the last thimble was inlet.
Finally
the last thimble was inlet.
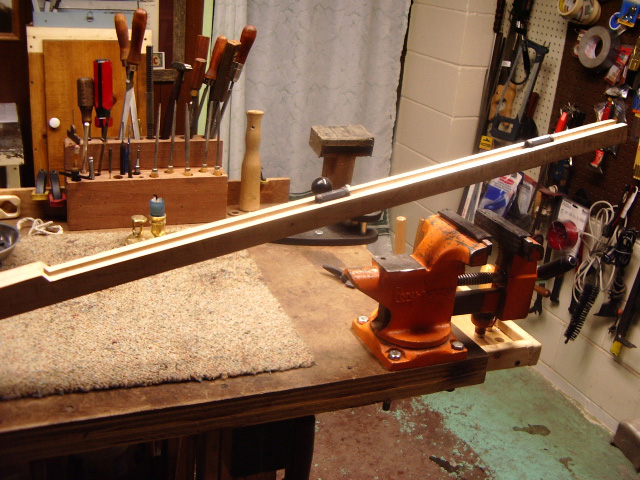
Now
all three are inlet into the stock.
Hoot AL Rifle Shop
If you like the site or have any questions, drop me a line by clicking on "Hoot" below.

(c)
Copyright 2005. All Rights Reserved.