(Click on images for a larger view)
Today we reinstalled the breechplug in the barrel and proceeded to inlet the tang into the stock. We had to remove a little wood to allow the breech plug to extend back into the inletted area. Then we 'blackened' the tang and started the inletting process.
The barrel was lowered into the stock and then removed. The
black marks were removed. 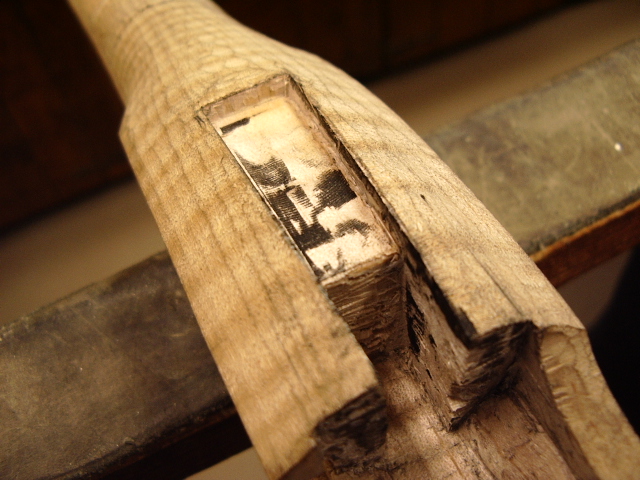
This was continued till the tang was recessing into the
stock. Note the end of the tang needed to be bent to conform to the shape
of the wrist. 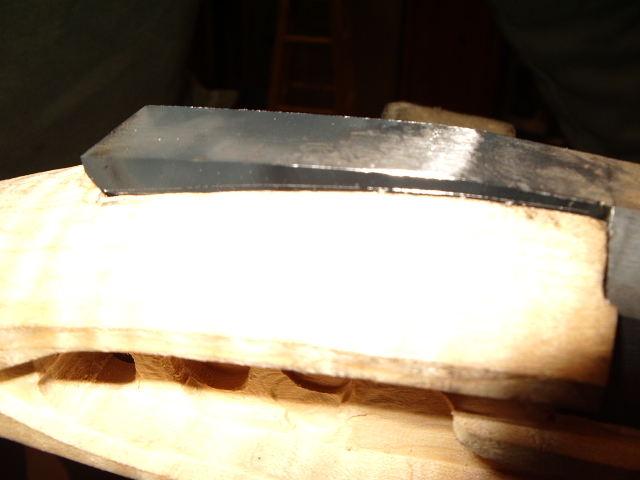 The tang was bent to conform to the shape of the wrist and the bottom of the
tang was filed with a bevel along the lower edges. This gave us more
clearance as the tang was inletted. You must note the bevel was not extended to
the very top of the tang.
The tang was bent to conform to the shape of the wrist and the bottom of the
tang was filed with a bevel along the lower edges. This gave us more
clearance as the tang was inletted. You must note the bevel was not extended to
the very top of the tang. 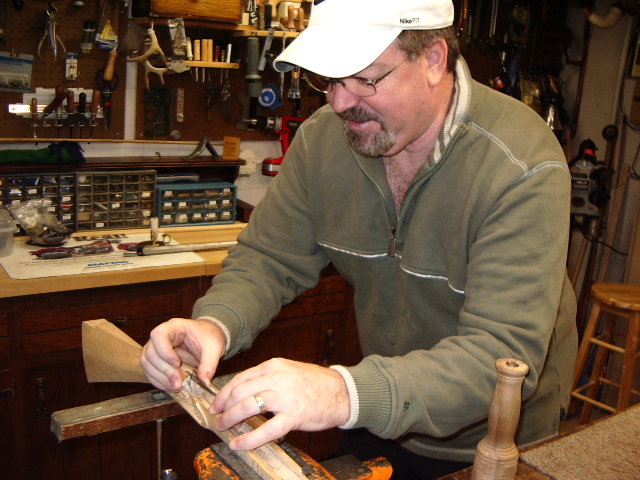
Brian kept removing removing the black marks on the wood, removing the barrel from the stock, blackening the tang and then reinstalling the barrel into the stock. This kept him pretty busy.
Finally we had a nice solid black floor under the tang and the
tang was now just below the surface of the wrist and the bottom of the barrel
was making marks on the bottom flat of the barrel channel. 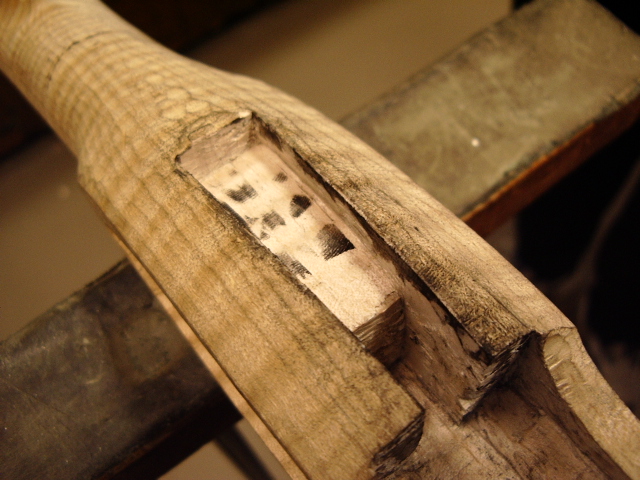
Now he was ready to file off the top of the wrist and 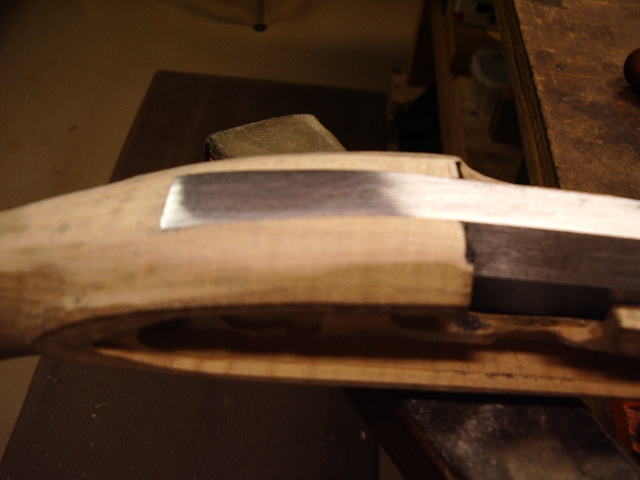 blend
the wood and metal together on the tang.
blend
the wood and metal together on the tang.
Since the stock was already pre-inlet for the barrel tenons, we
used them to lay out the location of them on the barrel. To further aid us, we
marked the stock with a pencil. Then the barrel was installed into the stock.
Now we could transfer the pencil marks on to the barrel. 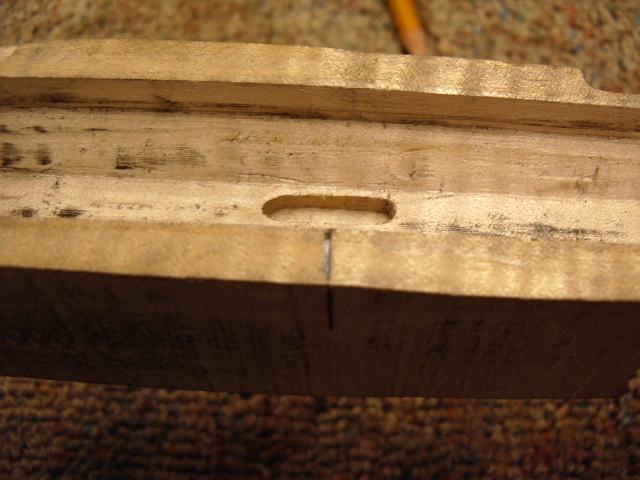
Now he removed the barrel and we placed the tenon onto the
barrel to mark out the location for the tenon. A mark was made along the outside
of the tenon and then a second line was make inside this line to compensate for
the dovetail to be cut into the stock for the tenon. 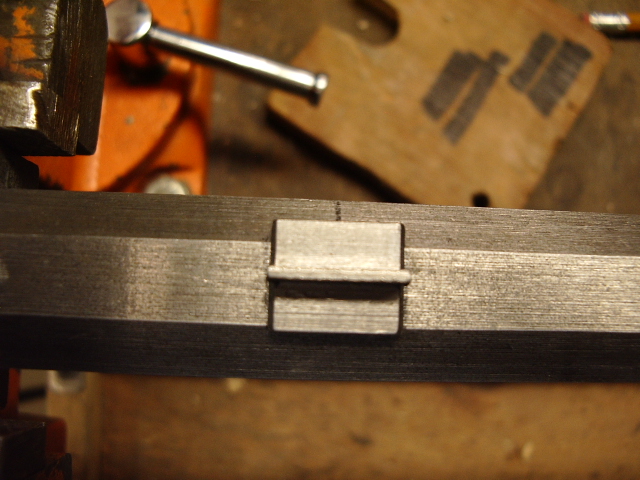 Note,
we centered the tenon with the line we transferred from
Note,
we centered the tenon with the line we transferred from 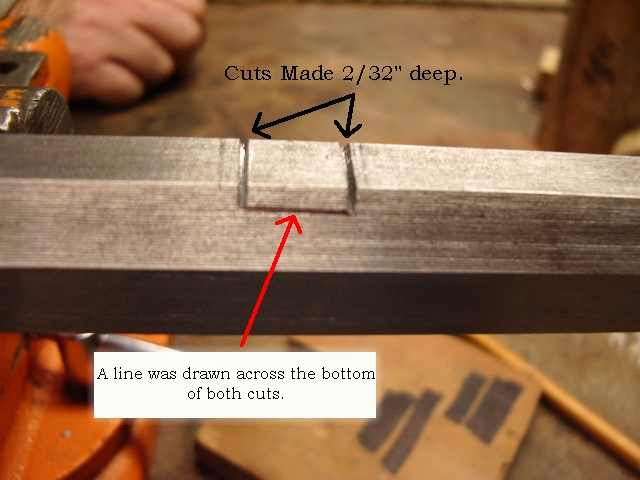 the
side flat to the lower flat of the barrel.
the
side flat to the lower flat of the barrel.
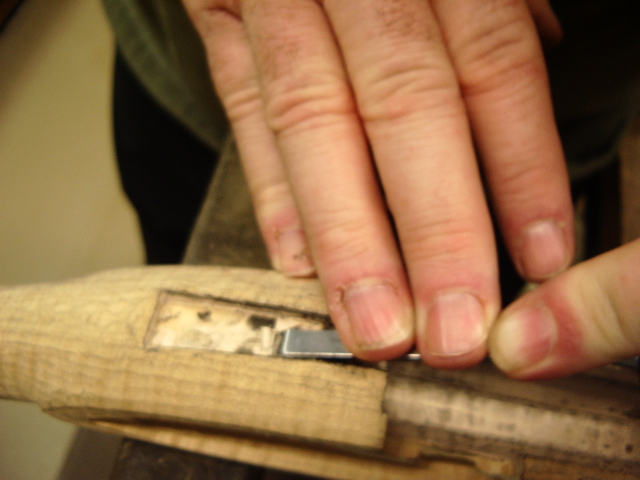
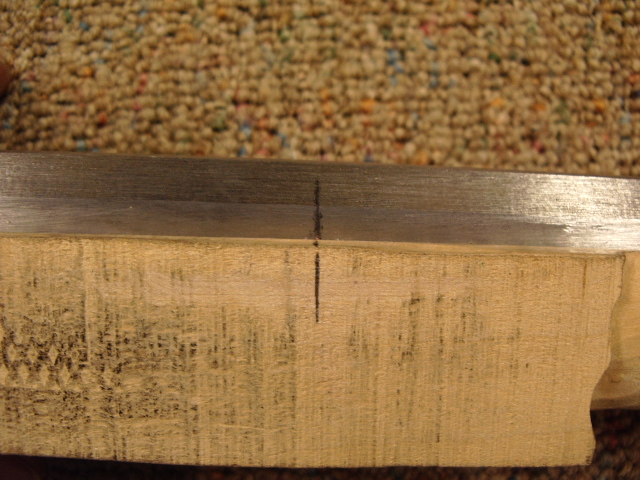
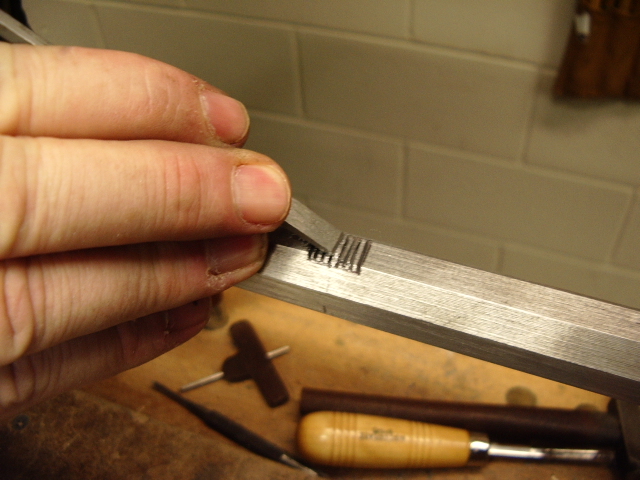
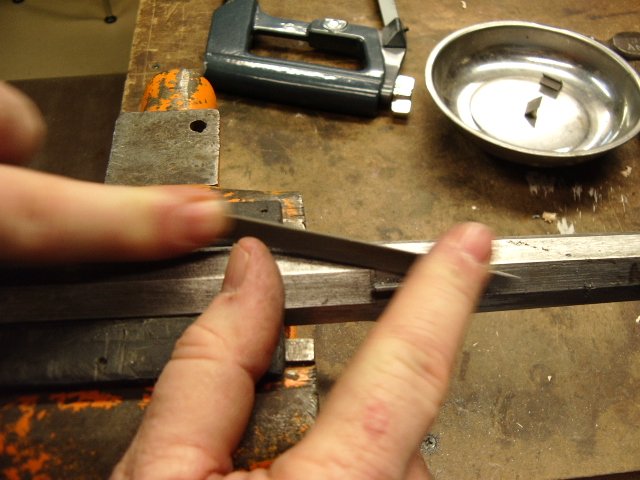
The thickness of the tenon was 2/32" (1/16") so the depth of dovetail will be this depth. After making the two cuts on either end, a line was drawn across the bottom of both cuts. This serves as a depth gauge to make a series of cuts in the steel between these two cuts.
Note: we installed one tenon at a time starting with the tenon closest to the breech.
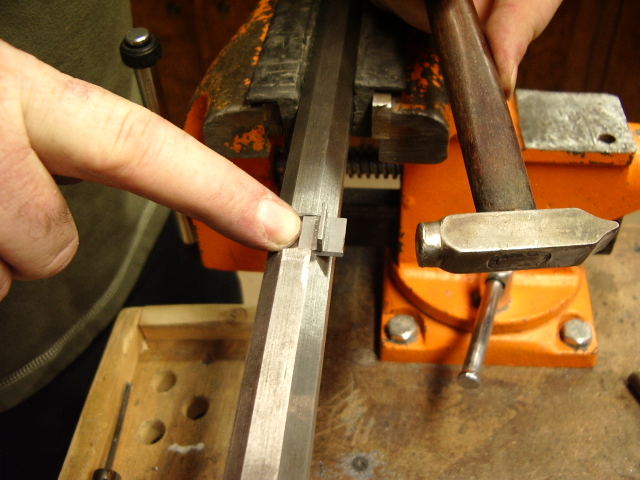
Then a small chisel is used to remove the metal. Once this done,
then the area is filed down flat. You do not go any lower than the cut grooves
you cut in the metal. 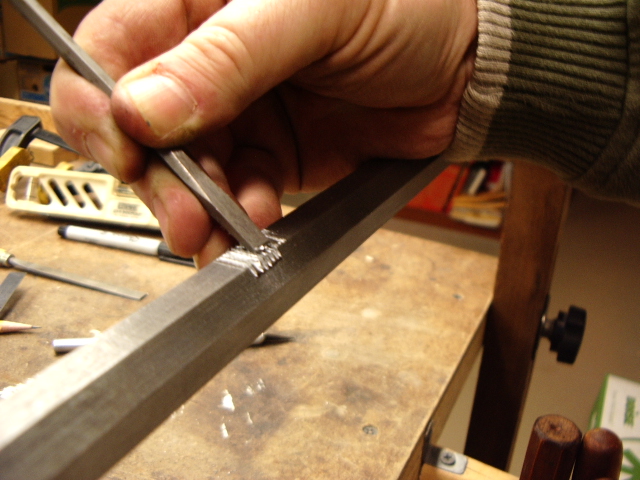
 With the area now flat, a triangular 'safe' file was used to file the dove tails
into the sides. This resulted in a lot of trials to see if the tenon fit
over time. Then eventually the tenon was able to be started into the new
dove tail.
With the area now flat, a triangular 'safe' file was used to file the dove tails
into the sides. This resulted in a lot of trials to see if the tenon fit
over time. Then eventually the tenon was able to be started into the new
dove tail.
 Once
the tenon was in place, the sides of the tenon extended past the flats of the
barrel. To remove this material, Brian filed the excessive metal away till
the surface was smooth.
Once
the tenon was in place, the sides of the tenon extended past the flats of the
barrel. To remove this material, Brian filed the excessive metal away till
the surface was smooth.
Here you can see the smooth surface. 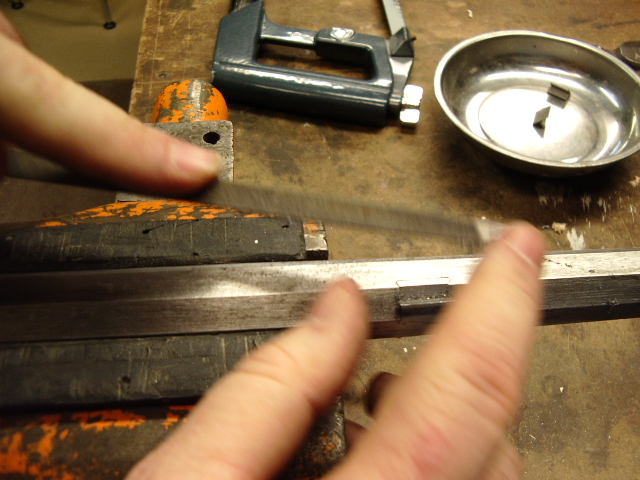 When both sides were flush with the barrel, we blackened the tenon and try
fitted it into
When both sides were flush with the barrel, we blackened the tenon and try
fitted it into 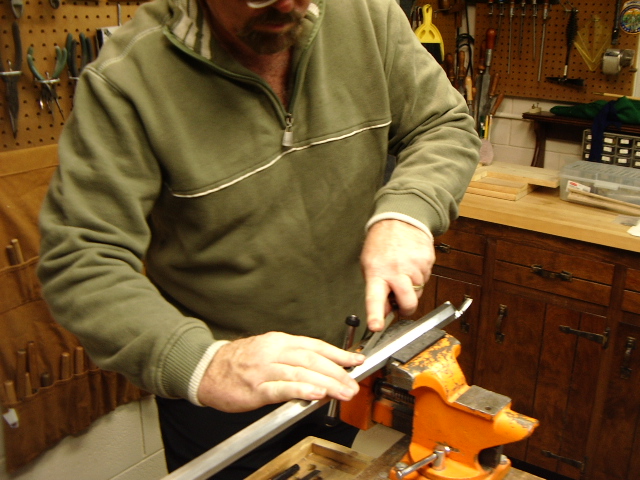 the
stock. We found out we had to remove some wood from the stock for the
barrel to lay flat in the channel. Once this was done, we then used my
depth gauge for the depth of the barrel at this location and transferred
this mark to the outside of the stock. Below this mark, is where we drilled our
3/32" hole thru the stock, tenon and out the other side of the stock for
the barrel pin.
the
stock. We found out we had to remove some wood from the stock for the
barrel to lay flat in the channel. Once this was done, we then used my
depth gauge for the depth of the barrel at this location and transferred
this mark to the outside of the stock. Below this mark, is where we drilled our
3/32" hole thru the stock, tenon and out the other side of the stock for
the barrel pin.
We continued with the same process for the remaining two tenons on the barrel. To keep the barrel square for the drilling, a block of wood was held up against the barrel when the tenons were being drilled. This allowed for a straight hole thru the stock.
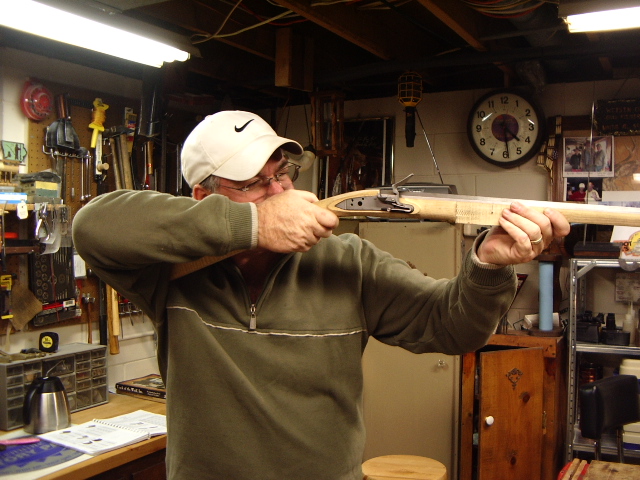
The barrel is now pinned to the stock. While Brian was playing with the tenons, I showed him how to disassemble his lock and then started inletting the lock plate into the stock.
Brian says it is now starting to look like a rifle now. Hoot AL Rifle Shop If
you like the site or have any questions, drop me a line by clicking on
"Hoot" below.

(c) Copyright 2005. All Rights Reserved.