Side Plate Panel Work:
 Lay
paper over the lock panel and using a #2
Lay
paper over the lock panel and using a #2  pencil
shade around the perimeter to outline the lock panel. Cut out the pattern and
lay it back onto the lock panel. Then I use a light from underneath to
illuminate the bolt holes and trace them on the top of the pattern. This is
where the bolts will be passing thru on the other side.
pencil
shade around the perimeter to outline the lock panel. Cut out the pattern and
lay it back onto the lock panel. Then I use a light from underneath to
illuminate the bolt holes and trace them on the top of the pattern. This is
where the bolts will be passing thru on the other side.
Trace around the pattern and see how the
pattern lays out on the side panel. You may have to readjust the pattern, so the
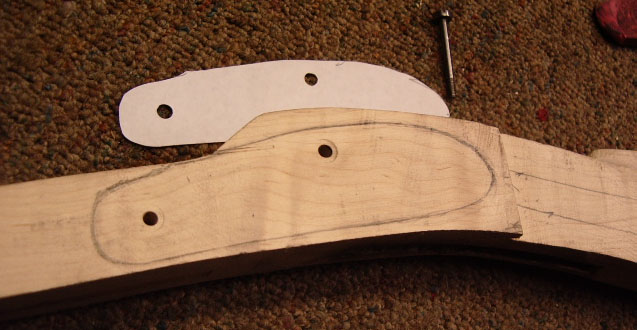 pattern
is aligned better with the wrist. Using gouge along the lines, remove the
wood.
pattern
is aligned better with the wrist. Using gouge along the lines, remove the
wood.

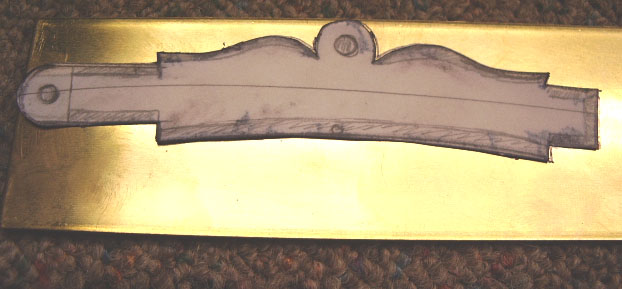
Side Plate:
To make the side plate, I took an 1/8" piece of brass and traced out a pattern onto a piece of paper and glued it to the plate. Cut out the rough pattern and then filed it down to shape.
1)
2)
3)

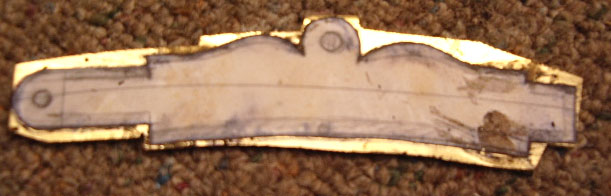
4)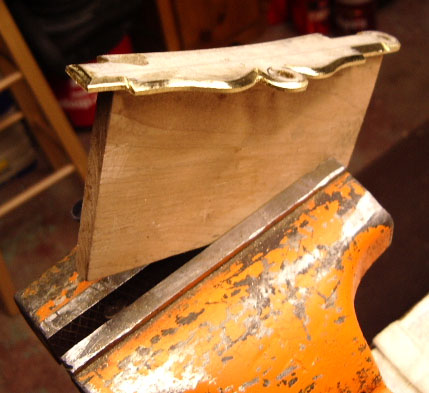 To aid me in adding the bevel along the edges, I epoxied the side plate to a
piece of wood and held it in the vice.
To aid me in adding the bevel along the edges, I epoxied the side plate to a
piece of wood and held it in the vice.
5)
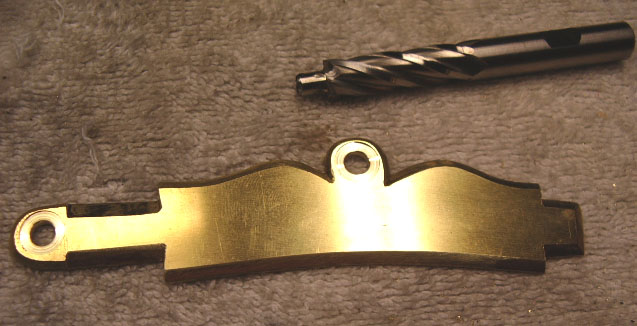 Next I drilled a slight flat countersink for the lock bolt heads.
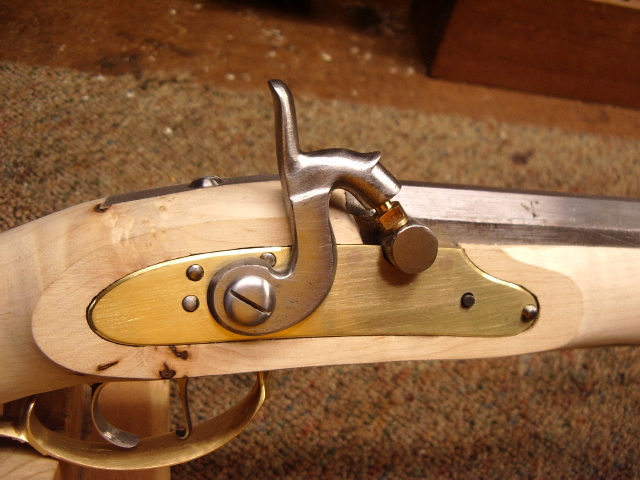
Here
the side plate is just mounted to the stock: 
Note
the side plate and the lock are the same  length,
also I flattened the portion under the front lock bolt area on the
sideplate. J.P. Beck always flattened this area on his side plates. I have
yet to put a slight bevel on this transition yet. I also added a slight
bevel along the edge of the lock and then lowered the lock panel to expose the
bevel on the lock, too.
length,
also I flattened the portion under the front lock bolt area on the
sideplate. J.P. Beck always flattened this area on his side plates. I have
yet to put a slight bevel on this transition yet. I also added a slight
bevel along the edge of the lock and then lowered the lock panel to expose the
bevel on the lock, too.