Side Plate Panel:
 With
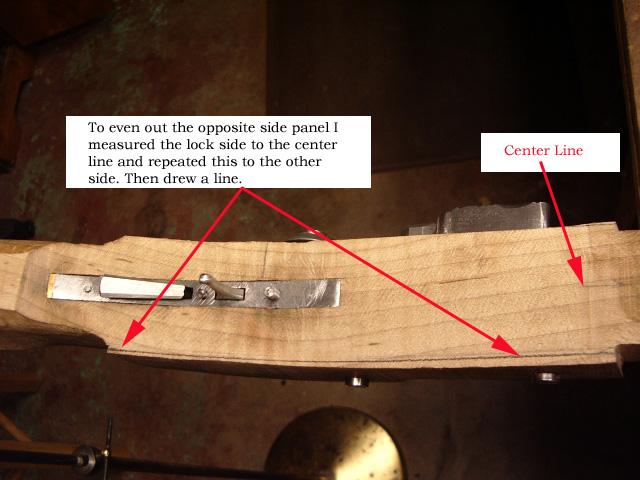
the lock panel completed, I then had to match the thickness of the side plate
panel to match. I measured from the center line on the stock to the edge of the
lock panel. Then I transferred these marks to the side plate panel side. Drew a
line and then again filed this side down to the line, using a square
occasionally to make sure the side was square.
With
the lock panel completed, I then had to match the thickness of the side plate
panel to match. I measured from the center line on the stock to the edge of the
lock panel. Then I transferred these marks to the side plate panel side. Drew a
line and then again filed this side down to the line, using a square
occasionally to make sure the side was square.
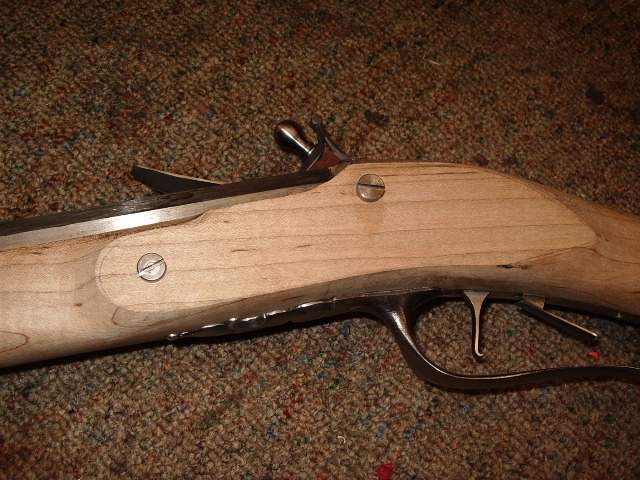
Once the side was taken down, the next step
was match the shape of the raised lock panel on the other side of the rifle. 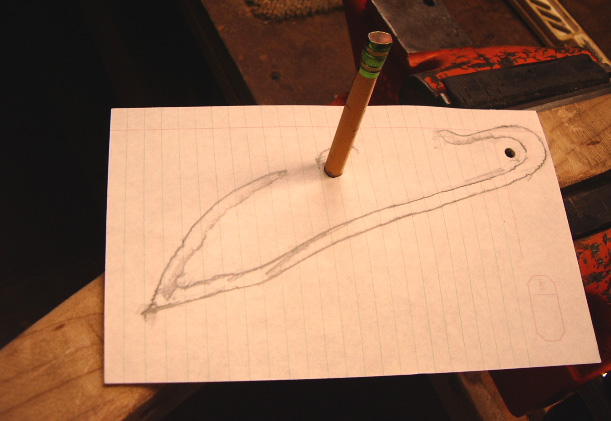 To
do this, I used a piece of paper and a #2 lead pencil. I rubbed the pencil
against the paper and the stock. This made a imprint on the paper. I also
located the bolt holes in the paper, so I when I rotated the paper to the other
side, I could reinsert the lock bolts thru the holes and help in the alignment
of the pattern.
To
do this, I used a piece of paper and a #2 lead pencil. I rubbed the pencil
against the paper and the stock. This made a imprint on the paper. I also
located the bolt holes in the paper, so I when I rotated the paper to the other
side, I could reinsert the lock bolts thru the holes and help in the alignment
of the pattern.
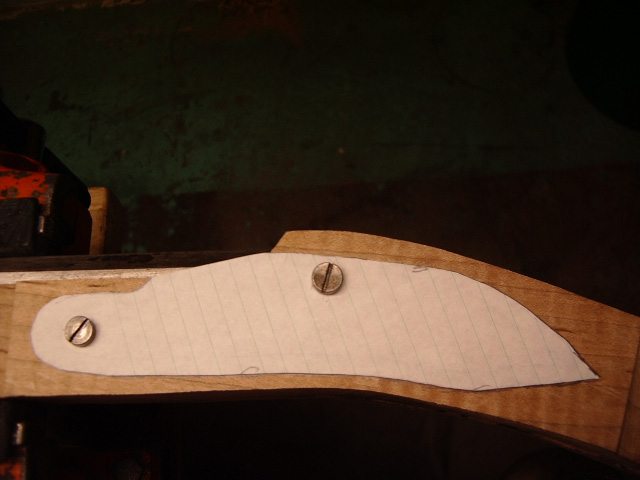 Then
I cut out the paper pattern and laid it on to the stock.
Then
I cut out the paper pattern and laid it on to the stock.
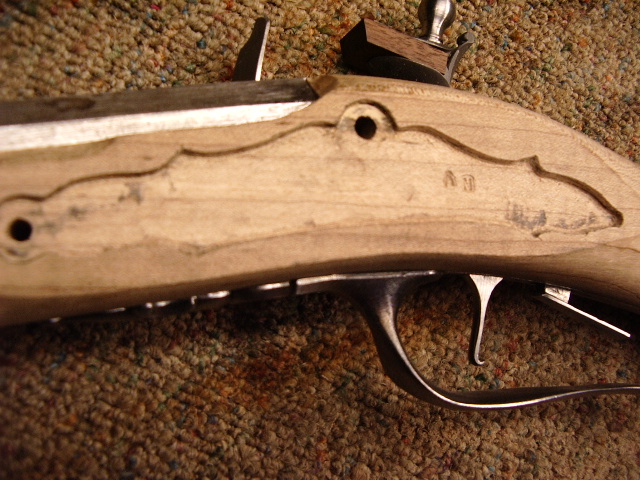
Then I traced around the pattern onto the
stock. 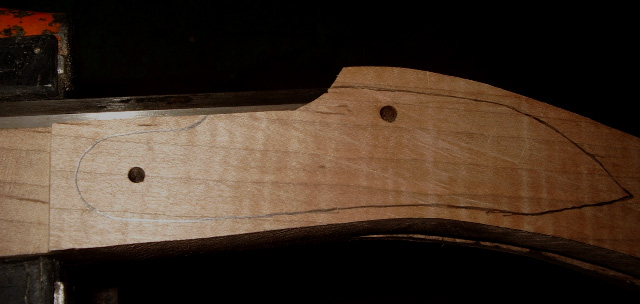
The next step was to carve away the wood to raise the side panel side.
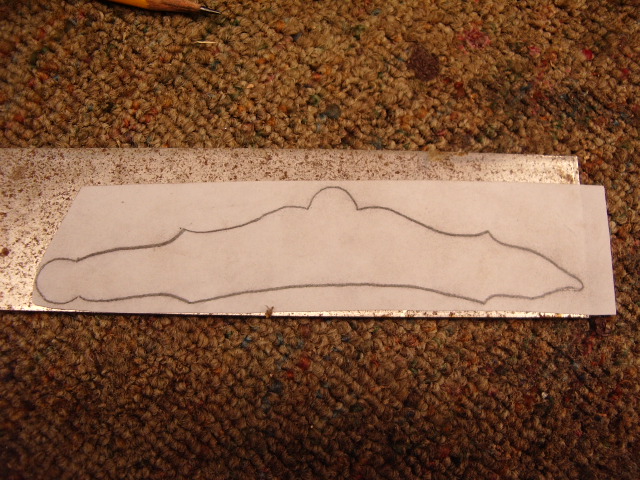
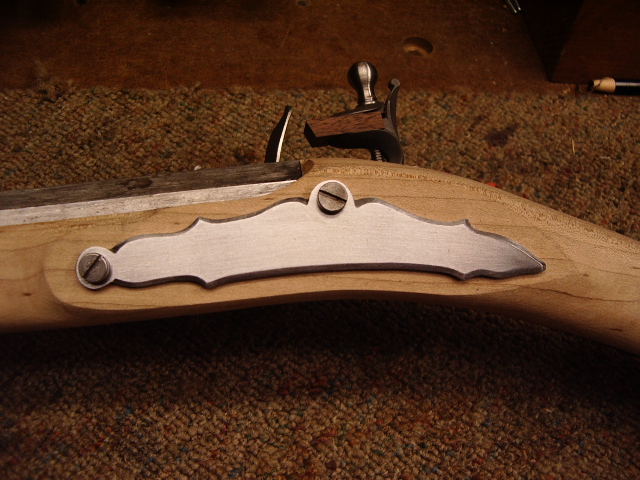
 With the panel raised, a side plate pattern for this rifle was traced onto a
piece of paper and then cut out. The pattern was then laid onto the side panel
for
With the panel raised, a side plate pattern for this rifle was traced onto a
piece of paper and then cut out. The pattern was then laid onto the side panel
for 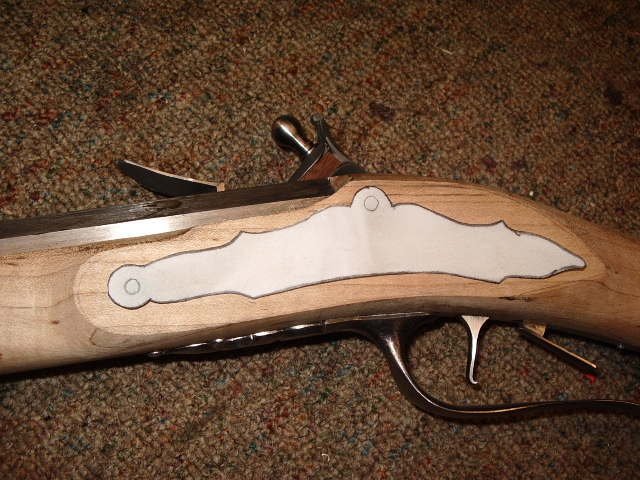 alignment
with lock plate bolts and how it will look.
alignment
with lock plate bolts and how it will look.
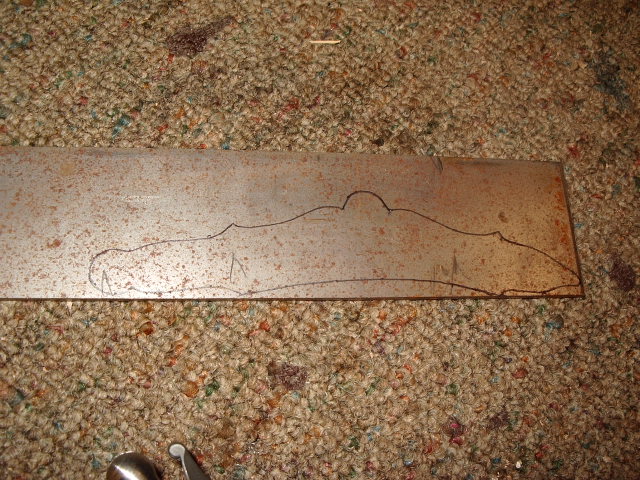
To make the side plate, an 1/8" piece of steel was salvaged from the metal pile in the shop.
The pattern was laid down onto the metal and the pattern traced onto the steel.
After the patter on the steel plate was cut out, I used files to take it down to the line. Laying the pattern on the stock, I located the lock bolts in the paper pattern. Using a center punch I located the top lock bolt. Drilled a passage hole for the #10 bolt by drilling up with a couple of small bits leading up to the 13/64" bit. With the top bolt screwed into the lock, I used a nail thru the front bolt hole inserted thru the lock panel side. Twisting the side plate up and down, this left a mark on the side plate back side. With this vertical line, I located the center of the front globe area for the front lock bolt. Center punched it and then drilled a 3/16" passage hole for the #8 bolt.
 Now
the side plate is mounted to the lock panel.
Now
the side plate is mounted to the lock panel.
Next step was to bevel the top edges of the side plate by 1/16". (Side plate was 1/8" thick) After this was done, I did the same for the back side of the side.
I remounted the side plate and then used my
knife to scratch the wood around the perimeter of the sideplate. Remove the side
plate and then using my knife, make a vertical cut along the scratched line.
Then I "V" cut along the perimeter of the cut. Using a
small "U" carving tool, I removed 1/32" of material from the
inside of the lock panel recess area. Once I had the depth ~1/16", I used
my depth tool to check for low spots. Using candle black on the side plate, I
set the panel into the recess and trimmed the perimeter of the recess so the
side panel laid flat.

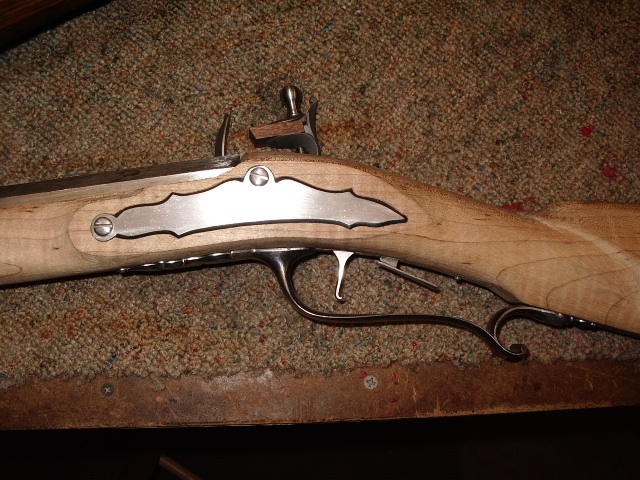
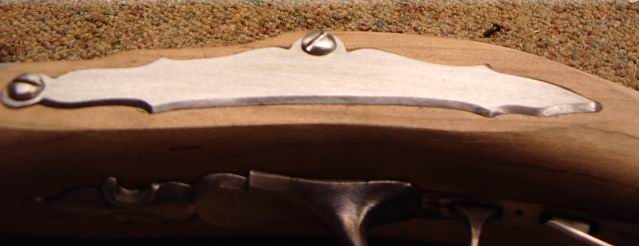
Here the side plate is inlet into the recess on the side plate side panel. Note, I rounded the heads of the bolts to make them more period correct.
Here is how the panel looks in reference to the triggers.
Next step is to cut out the side plate, bevel the upper and lower edges, then inlet it into the stock.
Once the sideplate was inlet into the stock,
tip the rifle on it's side to see if the bevel of the side 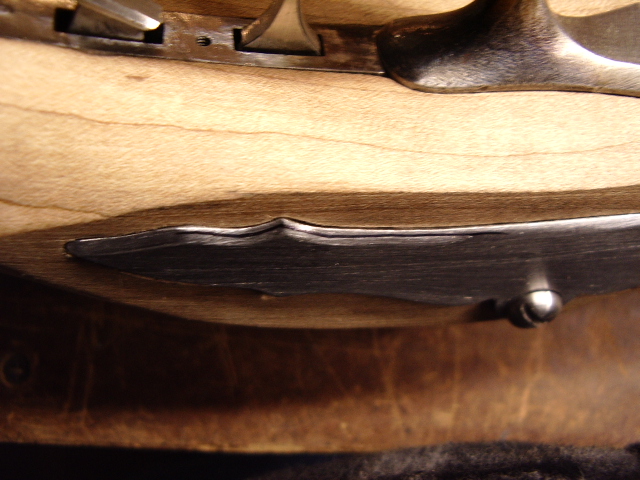 plate
is flush with the stock. If there are any high spots, I make them out and then
re-file the bevel again to take it down the the
plate
is flush with the stock. If there are any high spots, I make them out and then
re-file the bevel again to take it down the the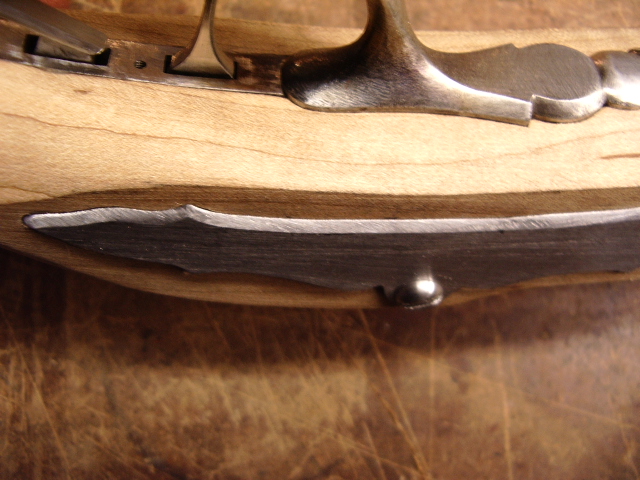 stock. This requires a lot of trial and error to get the plate flush.
When the plate bevel is flush, you are satisfied.
To allow for the side plate bolt heads to sit
flush on the side plate, I bored out the area under 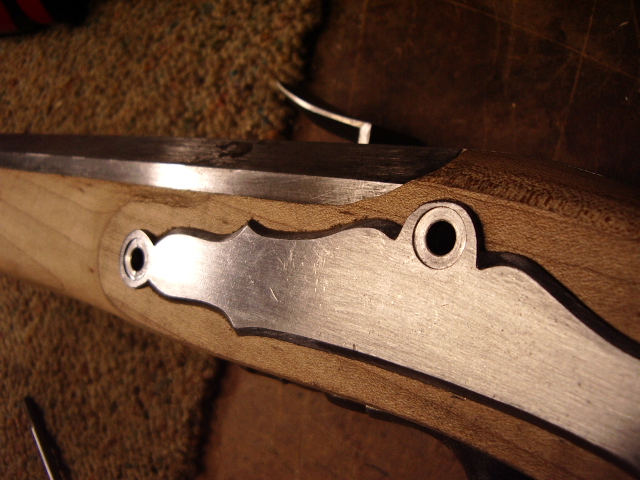 the
heads 1/32".
the
heads 1/32".
Side Plate is Finished!!
Hoot AL Rifle Shop
If you like the site or have any questions, drop me a line by clicking on "Hoot" below.

(c)
Copyright 2005. All Rights Reserved.