Installed the Nose Cap:
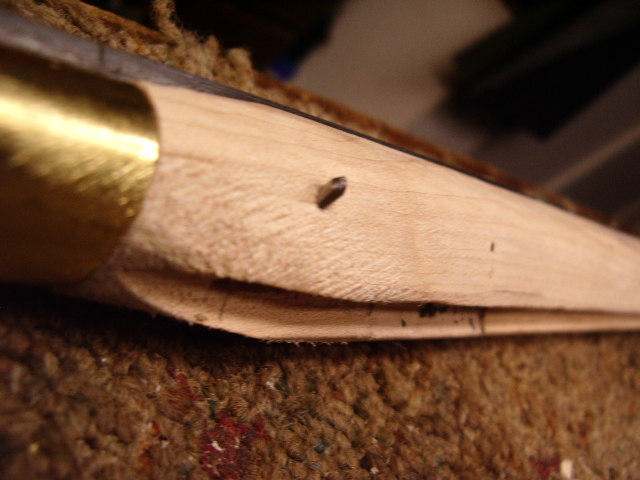
The nose cap was positioned onto the top of the barrel to indicate placement. A line was drawn around the end of the stock. A small saw was used to cut down to a depth of the nose cap's thickness. Wood was removed and then the inside of the cap was blackened.
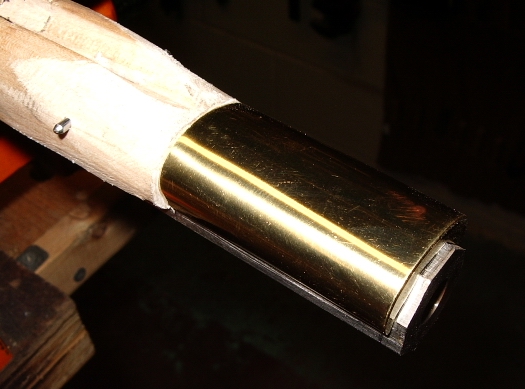
 Next I located the center of the bottom flat of the no
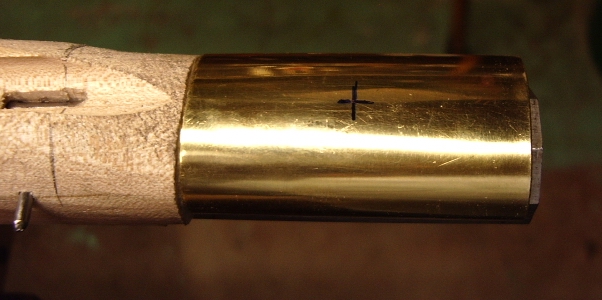 se
cap and made a mark where I wanted to pin the nose cap to the stock.
se
cap and made a mark where I wanted to pin the nose cap to the stock.
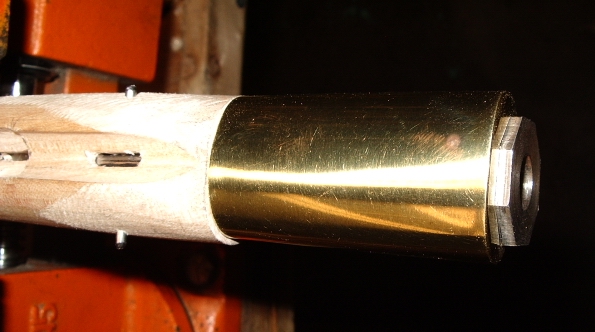
Then took a copper rivet and shaped it to fit the bottom barrel flat of the
stock and fit into the 5.32" hole drilled for the rivet thru the cap and
the stock. 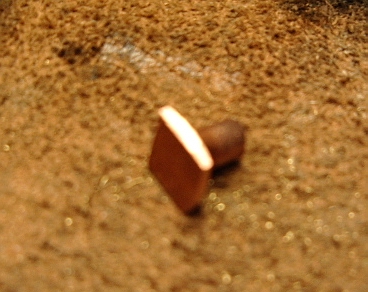
The stock was then inletted for the rivet. 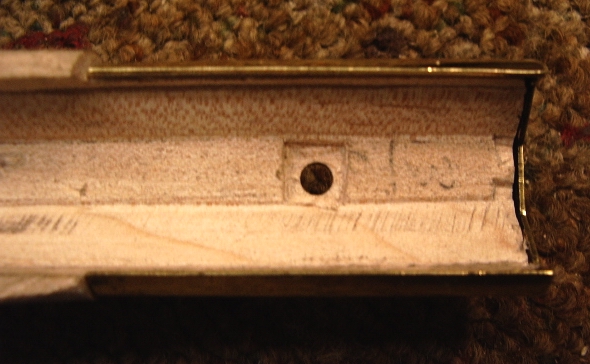 The outside hole for the rivet was champhered so when the rivet was peened, it
would fill the hole and hold the cap in place.
The outside hole for the rivet was champhered so when the rivet was peened, it
would fill the hole and hold the cap in place.
The rivet was inserted into thru the hole and the cap. The barrel was placed back into the stock and pinned into place. This served as an anvil for the rivet, so I could peen the end of the rivet.
Here is a quick photo after I peened the rivet and started to file the rivet
flush. 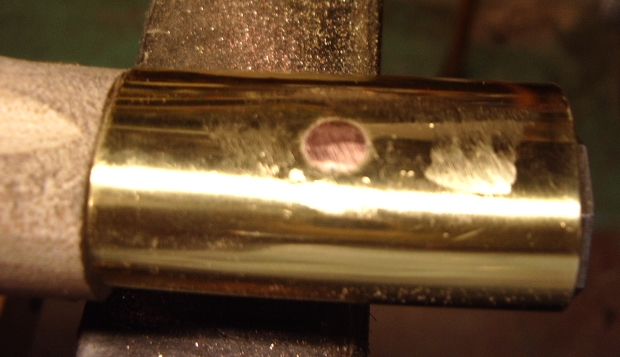 The photo on t
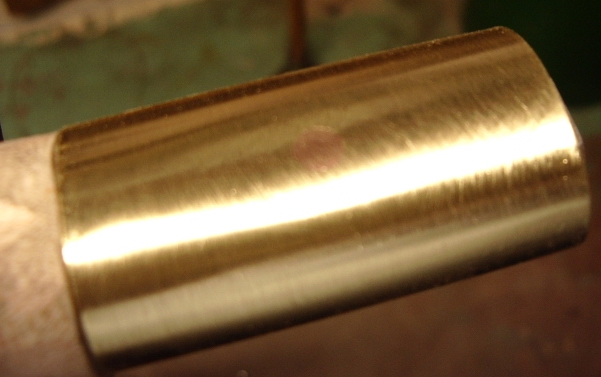 he
right is the finished rivet filed flush. Notice it almost disappears.
he
right is the finished rivet filed flush. Notice it almost disappears.
Hoot AL Rifle Shop If
you like the site or have any questions, drop me a line by clicking on
"Hoot" below. (c)
Copyright 2005. All Rights Reserved.
