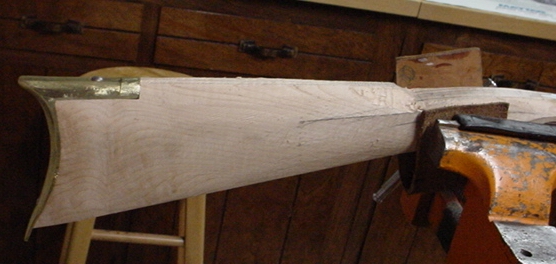
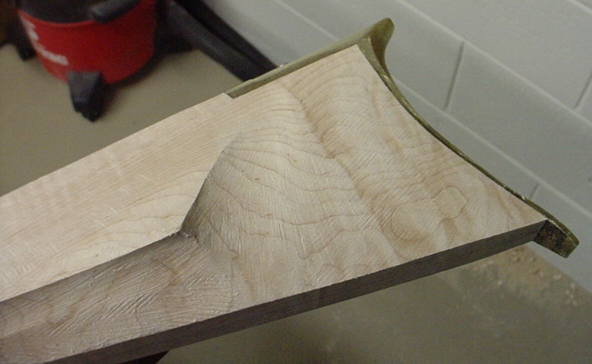
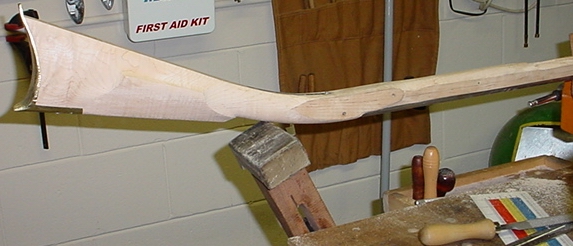
Buttplate Installed: (Note; click on photos for larger image.)
Must apologize. I took about a dozen photos involving the cut away of the stock for the buttplate and installation. However, the camera "glitched" and I lost all the photos. As you can see below, the buttplate is now installed.
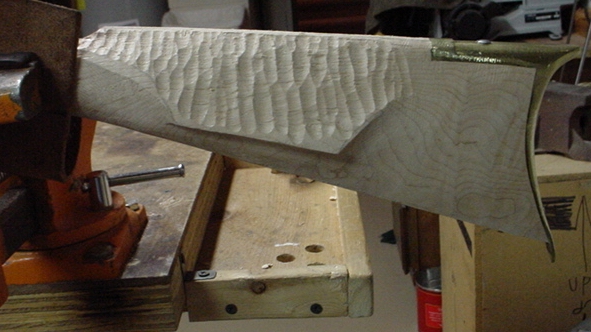
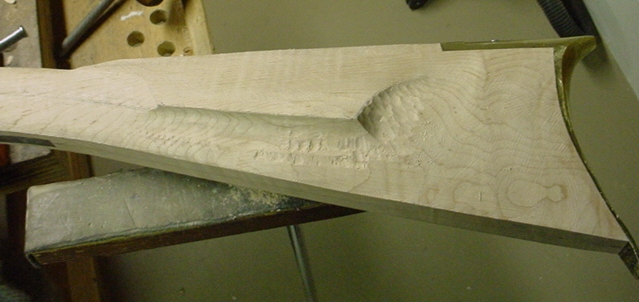
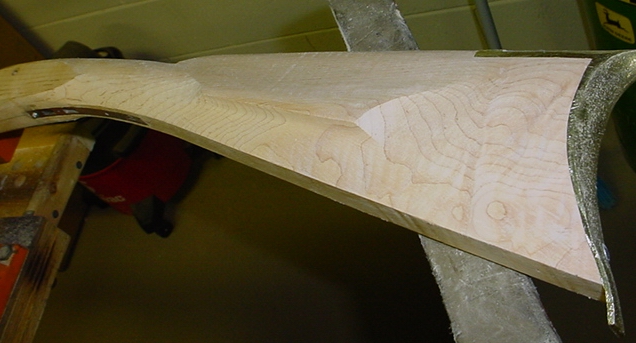
Buttstock Shaped:
The extra wood was carefully removed to get down to create a cheek on the stock. The cheek is 3-7/8" long. You will note the wood was removed using a combination of grooved chisels and a lot of filing. Still have wood to remove to get it down to my satisfaction, however, I wanted to catch you up to where I'm currently at.

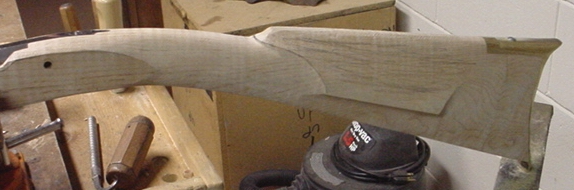

More shaping of the buttstock recently. In the cheekpiece area, I used
a template Wallace Gusler used to make sure the stock was flat on either side of
the cheekpiece. 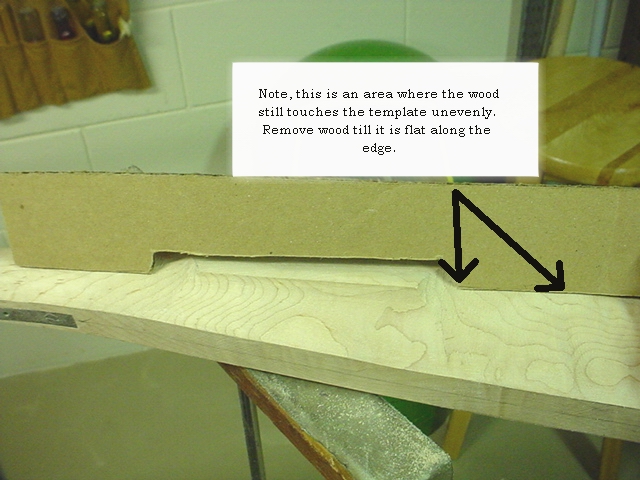
Here is the template so you can make you too. 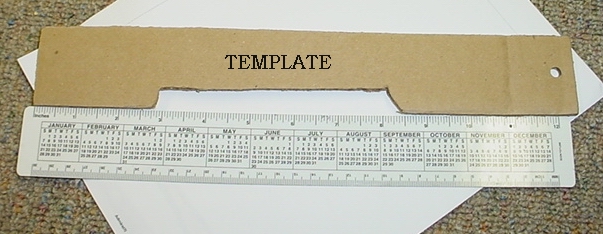
It works real good. Here's a couple more peeks at the stock. Not finished yet, but getting there.
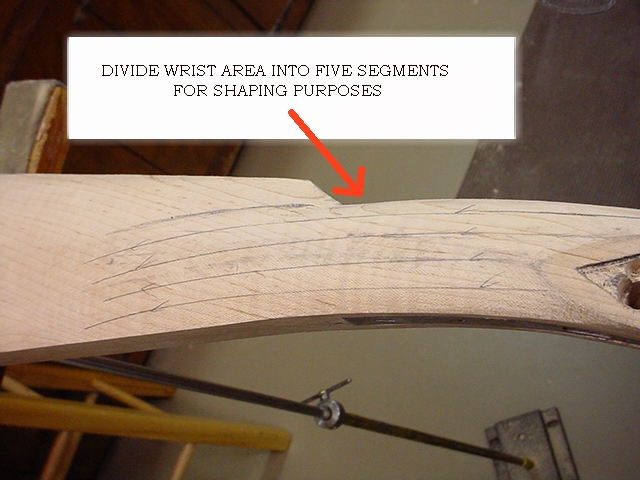
11/16/2007 More photos for an update:
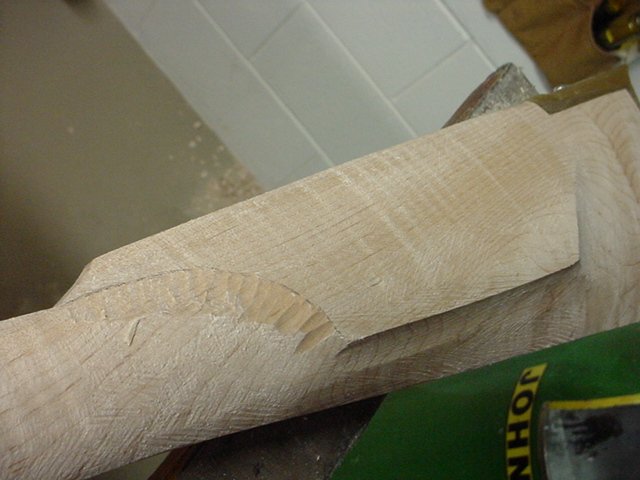
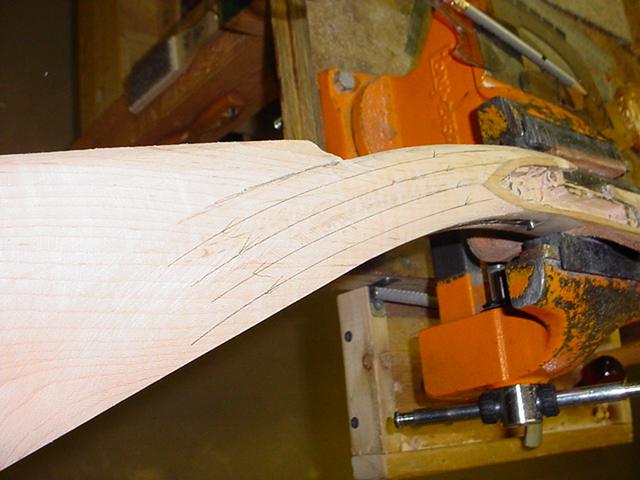
I started working more on the top and lower part of the
cheekpiece. On top, I used a black wax pencil to blacken the edge of a steel
ruler and rubbed it across the wood. This highlighted the areas which were too
high. In the photo you can see the gap on the right side. This meant I had
to remove wood from the left side. 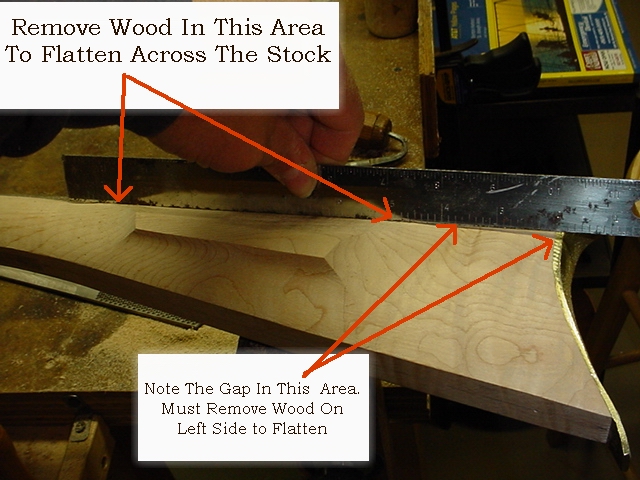
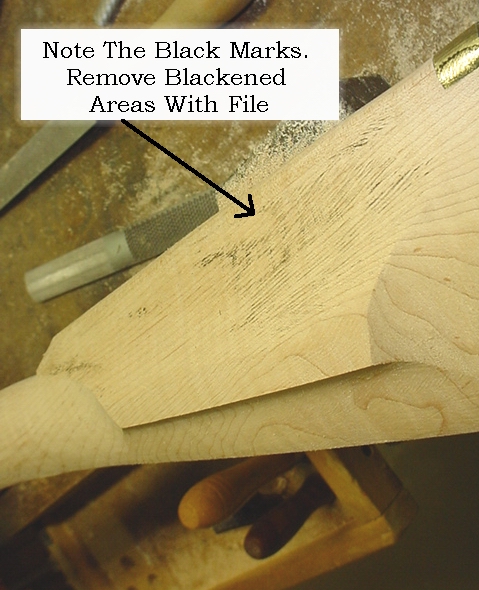
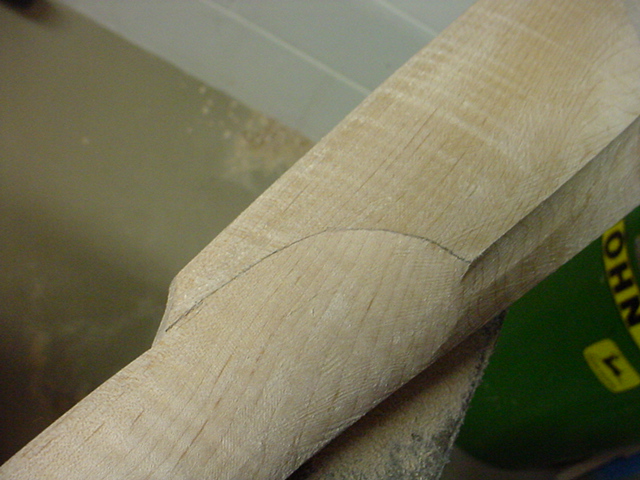
Now you can see the blackened area for me to file down.
I continued doing this till the ruler laid flat across the comb and downward from the comb.
This should now leave you with a nicely even and flat plane from the front of
the comb to the rear of the stock. 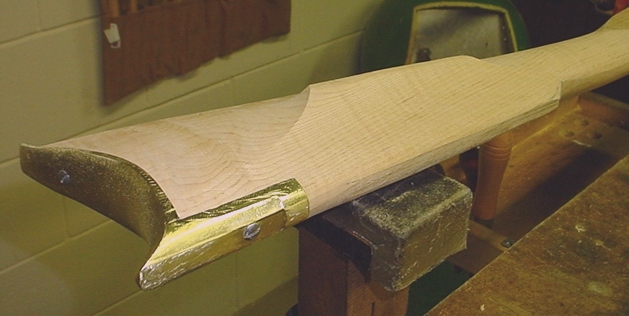
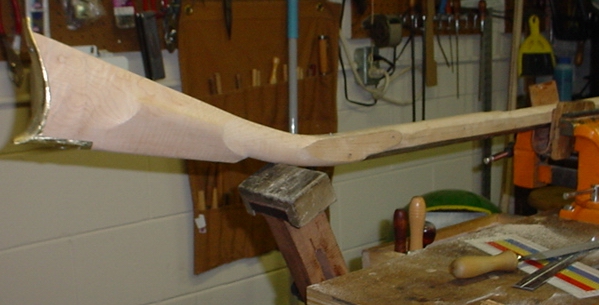
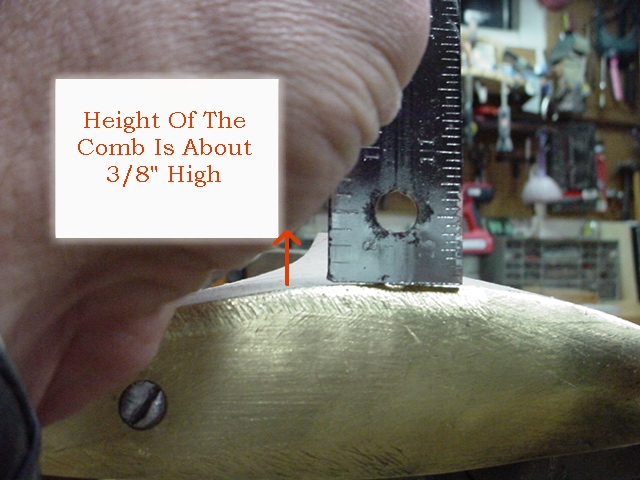
Then I lowered the height of the cheekpiece to 3/8".
Then I hollowed out the area above the cheekpiece to allow for a better fit to the face.
Here is another photo of the whole buttstock. 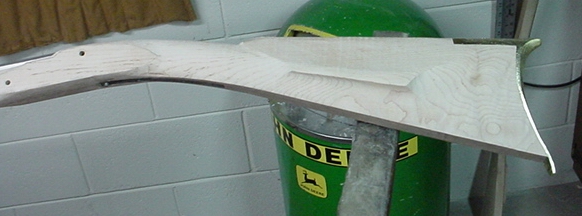
Now back to the forearm area.
Hoot AL Rifle Shop
If you like the site or have any questions, drop me a line by clicking on "Hoot" below.

(c) Copyright 2005. All Rights Reserved.