The next step will be to make the barrel tenons and then inlet them into the bottom of the barrel and then drill/pin it to the stock.
Bill
annealed some brass pieces found in the shop. Folded the pieces in half.
Measuring the from the folded end 3/16" (little less than the thickness of
the wood web between the bottom of barrel channel and the ramrod.). He
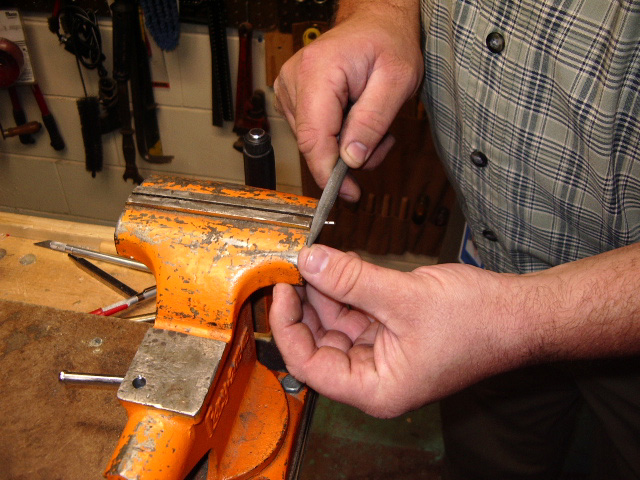
then drew a square line across the piece of folded over brass. Inserting the
folded brass into the vise to the line. Then using a flat bladed screwdriver, he
inserted it between the two halves of the folded over brass and bent each side
down. A few slight taps of a hammer, he now had a brand new tenon. Then
when all the pieces were done, we fluxed and soldered the tenons. Next the
pieces were cut to the same widths (1/2") and the side edges were squared
off. 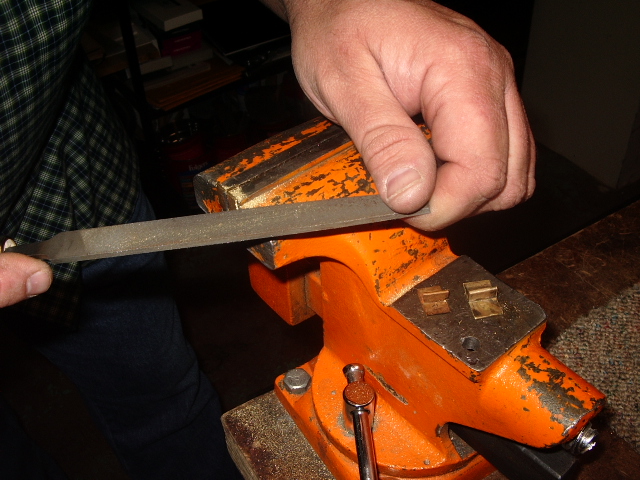
Once all the tenons matched in width and squared up, a "safe" triangular file was used to create the chamfered edge along the sides of the tenon. To do this, the "safe" (no teeth) side is positioned perpendicular to the folded over part of the tenon. Then start cutting down into the base of the tenon as though you were trying to cut it off with the triangular file. Stop periodically to see if you are filing evenly.
 When
the flat portion of the edge is gone from the tenon, then the chamfer is
complete.
When
the flat portion of the edge is gone from the tenon, then the chamfer is
complete.
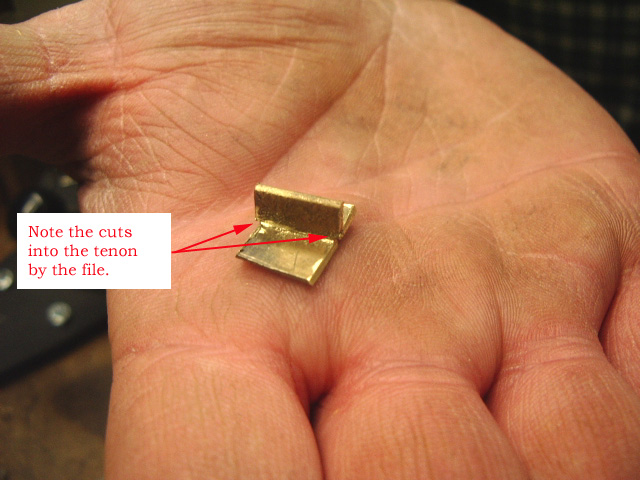 You
will note the cuts into the tenon by the file. No need to be concerned with this
at this stage. This can be cleaned up after the tenon is in the barrel.
You
will note the cuts into the tenon by the file. No need to be concerned with this
at this stage. This can be cleaned up after the tenon is in the barrel.
Next
we laid out where the three barrel tenons will be placed on the rifle. One will
be in the center of the forearm arm area. The next one will be two inches from
the end of the barrel. This allows for an 1-1/2" poured nose cap and
1/2" space to the barrel pin. The middle pin will be 1/2 way
between the other two pin locations. Pencil marks were made on the barrel and
the lines were traced down to the bottom
flat of the barrel. The first tenon to be dovetailed into the barrel will be the
pin located in the middle of the forearm. The tenon was center over the
line and a metal scribe was used to scratch the barrel on either side of the tenon
to be dovetailed. We measured the thickness of the tenon. The tenon measured
1/32". This will be the depth of the dovetail. Using a hacksaw, a cut was
made approximately 1/32" inside the scribed lines. A series of 1/32"
deep cuts were made between these two cuts. Then using a small cold
chisel, the cuts were chisel out and the floor of the dovetail was flattened
with a file. Once flattened, the safe triangular file was used again. In this
case, the safe side was down and we cut into each side of the cut out area to
create dove tails notches. This was done until there was a nice tight fit of the
tenon into the dovetail. 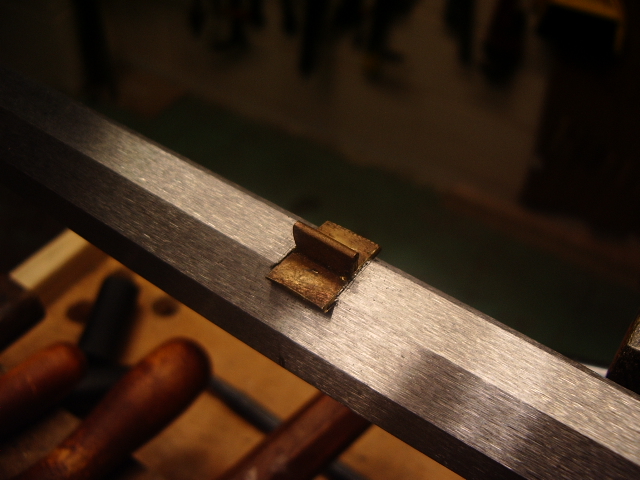
August
18, 2005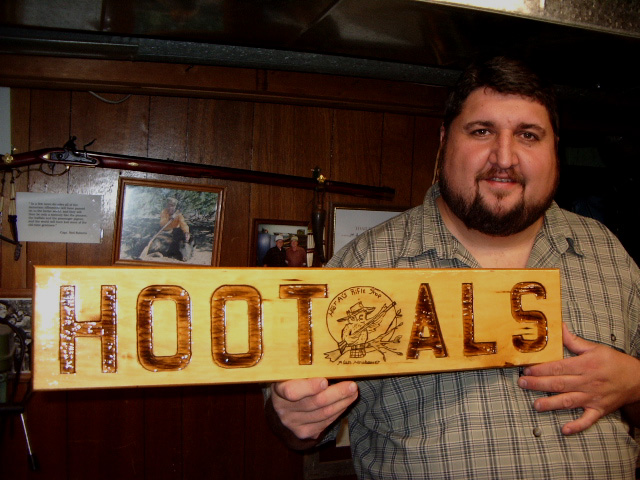
Bill is back and he brought a handmade gift. He put a lot of hours into making a sign for my shop. Bill hand carved the whole sign himself by hand. I was pretty impressed with his workmanship and just as proud to be the owner of his work.
Before Bill left last time, we filed the sides down on the tenon, blackened it with soot and then we inlet the tenon into the stock. Next we drilled the tenon in the stock for the 3/32" pin. Did not get any photos for that, so I tried to capture some of this tonight, when we repeated the process again for the second tenon.
 Put
Bill to work right away in putting in his second dovetail. We laid out the
position of the tenon, marked it out on the barrel. Measured the depth of the
tenon and proceeded to cut it out in the barrel.
Put
Bill to work right away in putting in his second dovetail. We laid out the
position of the tenon, marked it out on the barrel. Measured the depth of the
tenon and proceeded to cut it out in the barrel. 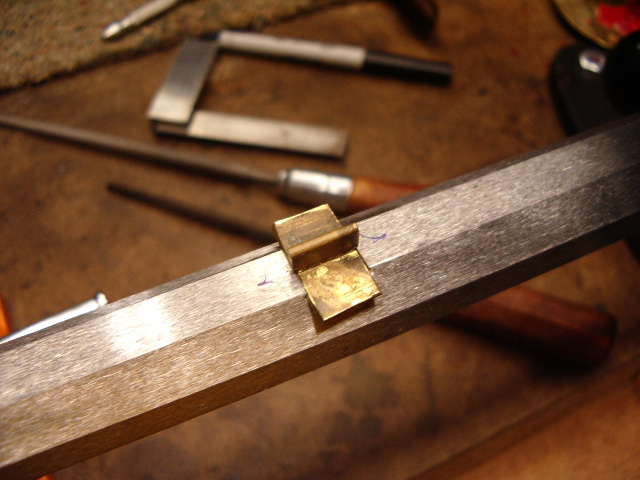
Then Bill used a safe triangular file as before and cut the dovetails.
Using a brass rod he drifted the tenon into the dove tail until the tenon was centered in the barrel flat.
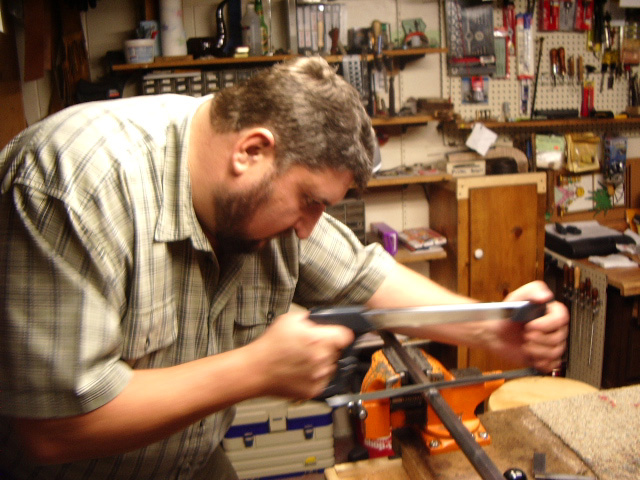
 The
next step was to use a bent triangular file (handle is off set making it easier
to file with) and he proceeded to file excess brass off the sides of the tenon.
The barrel is rotated one flat so when he filed, he was filing a flat surface to
the barrel flat. This makes a nice beveled end for the tenon.
The
next step was to use a bent triangular file (handle is off set making it easier
to file with) and he proceeded to file excess brass off the sides of the tenon.
The barrel is rotated one flat so when he filed, he was filing a flat surface to
the barrel flat. This makes a nice beveled end for the tenon.
Once
the sides were flat to the barrel flat, we blackened it and then set the barrel
into the stock. He used a "V" carving tool to create a small channel
where the mark was. Then using a pencil we re-darkened the line again. Then with
a 3/32" bit in a drill he drilled a series of holes across trench. Using a
knife, he cut along the sides of the series of holes to make his slot. Next
after repeated sooting of the tenon and placement into the stock, he had the
tenon fully inlet so the barrel made a black imprint on the bottom of the barrel
channel. The next step was to determine the depth of the barrel and make a mark
on the outside of the stock. A second mark for the pin was made slightly more
than 3/32" lower than the barrel. This way when the drill passes thru the
stock, it does not go too high and breaks thru the barrel flat in the stock and
hits the tenon. 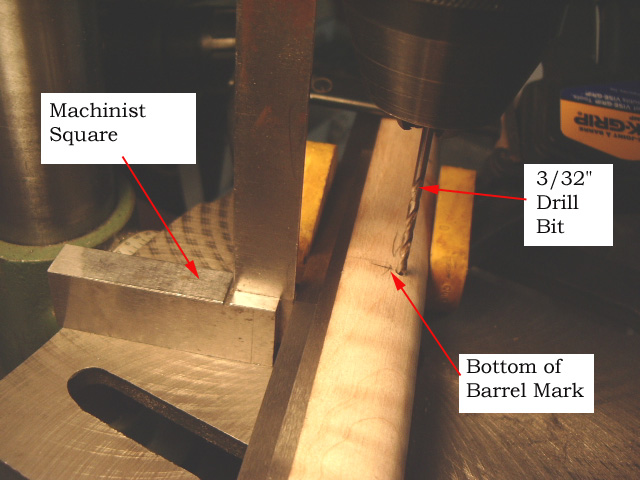
When drilling a barrel pin into a rounded forearm, we used a machinist square against the barrel and kept the stock flat against the drill platform. A clamp was used to secure the barrel into the stock so we knew the barrel was fully into the stock.
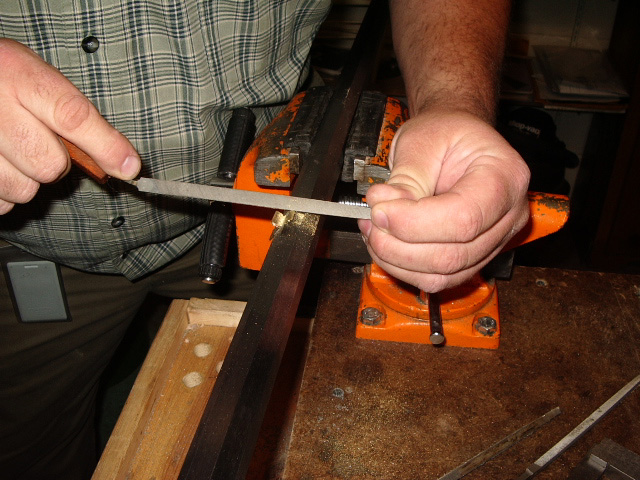
Then a piece of 3/32" steel rod was cut to length = width of the stock. The ends were ground into a taper with a flat spot on the end. This gives it a flat surface to push against to remove from the stock.
 Now
Bill files two notches into the pin to identify the second pin.
Now
Bill files two notches into the pin to identify the second pin.
The pin was inserted and now we have one pin left to go. In the meantime, I introduced Bill to his next project. Putting together the Chamber's Siler Flint Lock kit. Bill took the kit home and will be busy filing and preparing the lock for drilling, tapping and assembling the next time he comes back.
Now let's make the lock.
Hoot AL Rifle Shop If
you like the site or have any questions, drop me a line by clicking on
"Hoot" below.

(c) Copyright 2005. All Rights Reserved.