Shaped comb on stock and started inlaying patchbox
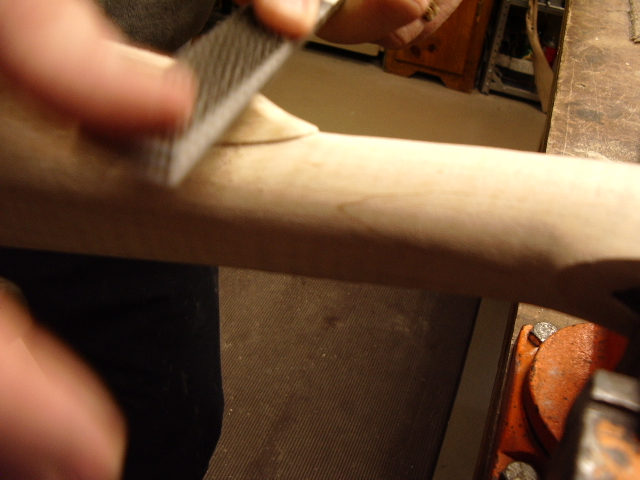
 We shaped the cheek on the stock. Then we divided the top of the comb into
segments so we could remove wood and narrow it down.
We shaped the cheek on the stock. Then we divided the top of the comb into
segments so we could remove wood and narrow it down.
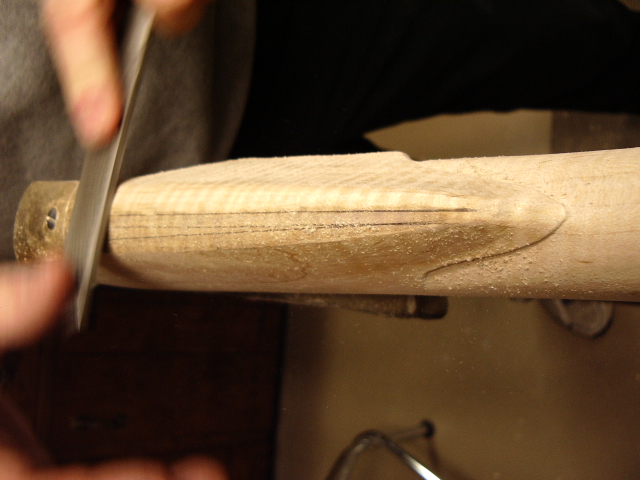
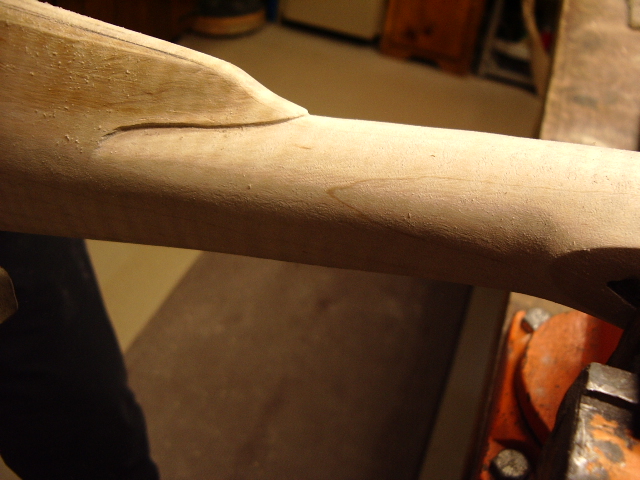
Then we shaped the front of the comb to give it character. Note, these are rough photos and we took the wood down so the wood is much thinner and not so drastic.
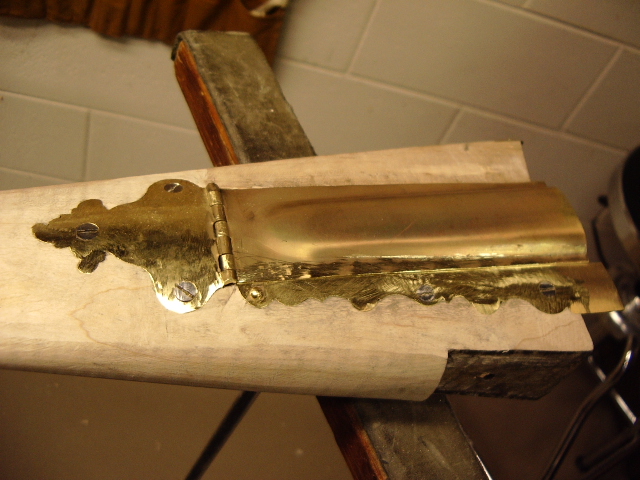
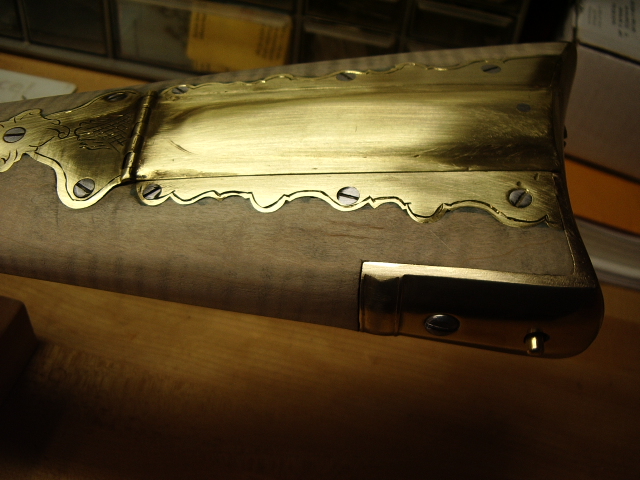
Then we started on the patchbox. The finial was inletted in along with the hinge, after we annealed the brass to soften it. We pressed it in a wooden form to make it conform to the shape of the gun stock.
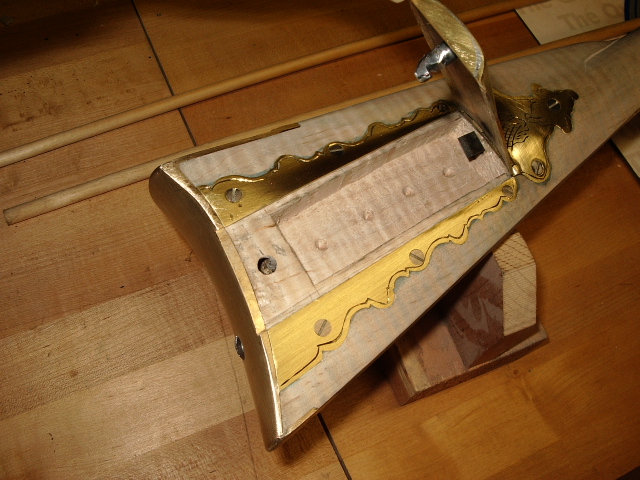
Here Brian is removing the wood with a groove tool so we can then use the knives to remove the remainder wood.
After this we installed one of the side finials.
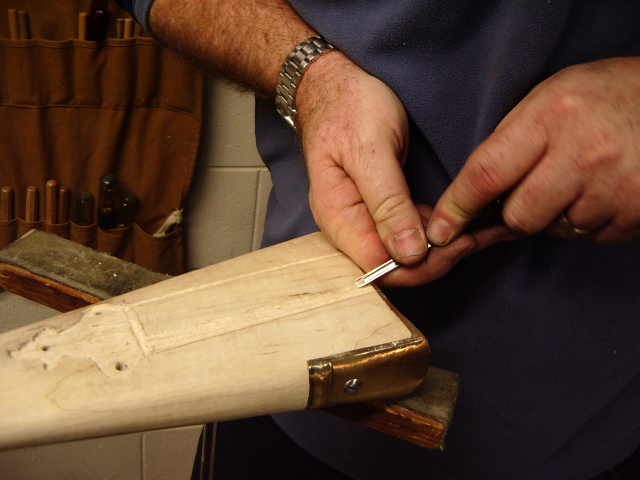
Here Brian is inletting in the second side finial. 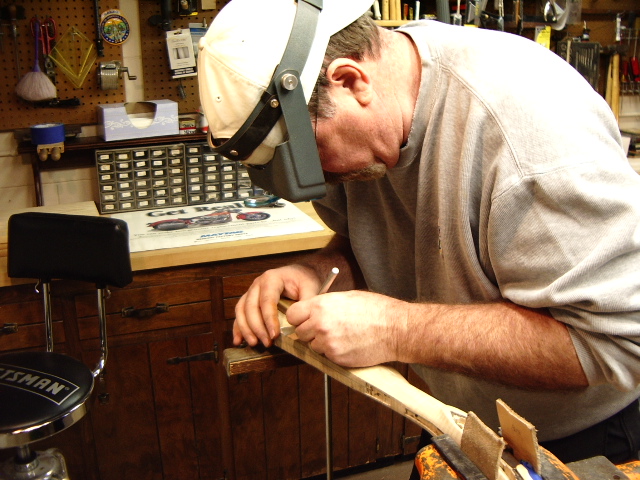 With the 2nd finial inletted, we cut out a piece of brass to be soldered to the
end of the patchbox lid.
With the 2nd finial inletted, we cut out a piece of brass to be soldered to the
end of the patchbox lid. 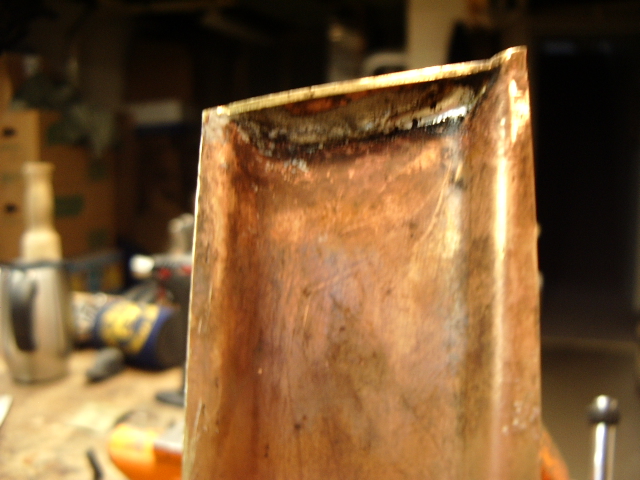 To the right, you can see what the inside of the lid looks like.
With a little finish filing, the excess brass was removed for a tighter fit
to the buttplate. 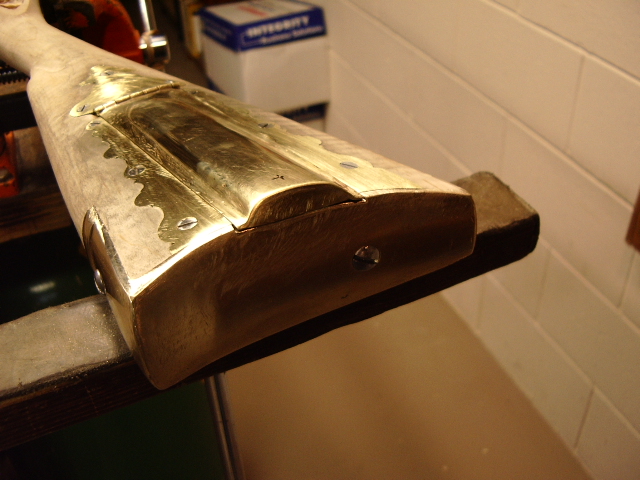
The small "X" on the lid marks out the location for our latch
in the lid. An 1/8" hole was drilled down thru the closed lid into the
stock. The lid was then lifted and a 1/4" hole was drilled into the stock.
This will be the path for the latch we will install later. 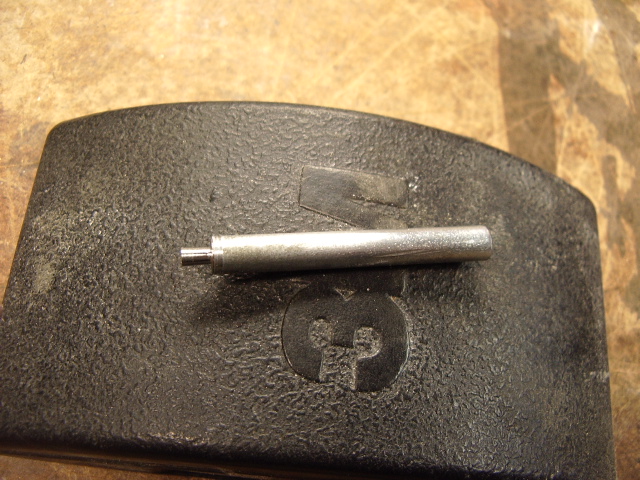
After this was done, we took a 1/4" bolt and cut the head and threads off the bolt. This gave us a 2" long steel rod. Brian turned down the end of the rod to 1/8". This end was then inserted up into the lid and peened in place. This will now be out latch.
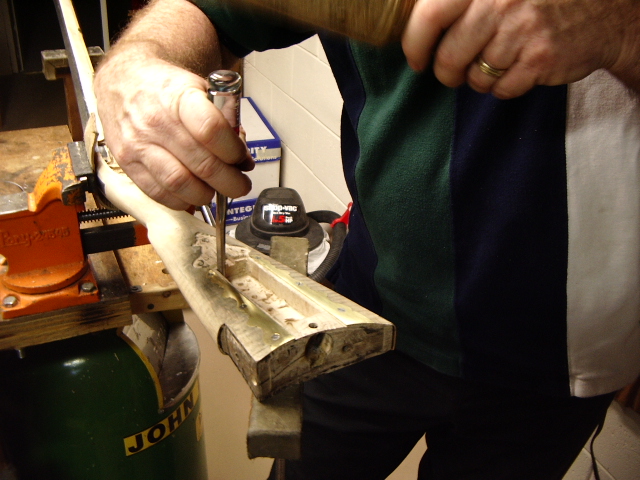
We removed the buttplate and bored a 7/8" diameter hole into the end of the stock to meet the 1/4" hole we drilled into the stock. Then we made a spring to serve as a latch. The rod was shortened to ~1" so the lid could close. We used candle soot on the latch and pressed it into the hole and shut the lid tight. The spring left a mark against the rod. At this point, we cut into the rod slightly above the mark and then filed downward to meet the spring by trial and error. Then we drilled a 5/32" hole thru the top of the buttplate into the stock. Then redrilled the 5/32" hole by angling the hole toward the spring. This was for our push rod. The rod presses against the spring, which then releases the latch so the lid opens.
 Now Brian is removing the wood for the patchbox hole, so we can mount our lid
pop-up spring.
You can see the hole on the end of the
Now Brian is removing the wood for the patchbox hole, so we can mount our lid
pop-up spring.
You can see the hole on the end of the 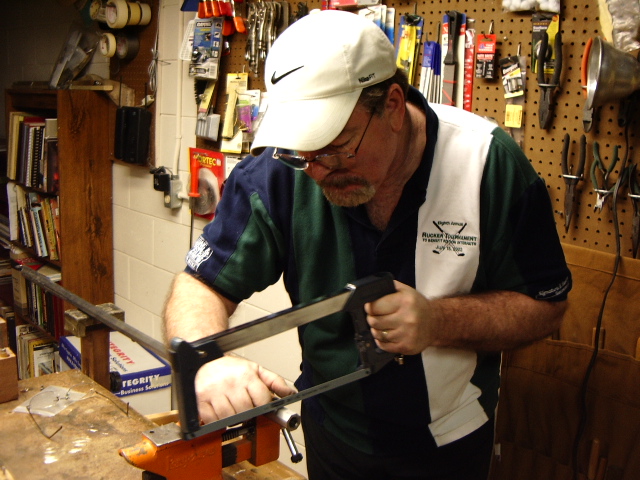 stock. Also, note we did not remove any
wood in this area for our latch. This keeps items in the patchbox area from interfering
with the mechanism. The latch was shortened and cleaned up for appearance. We
will have more photos of this later.
stock. Also, note we did not remove any
wood in this area for our latch. This keeps items in the patchbox area from interfering
with the mechanism. The latch was shortened and cleaned up for appearance. We
will have more photos of this later.
Next, I showed Brian how to install the front sight by making a dove tail. Here he is using a hacksaw to cut into the barrel.
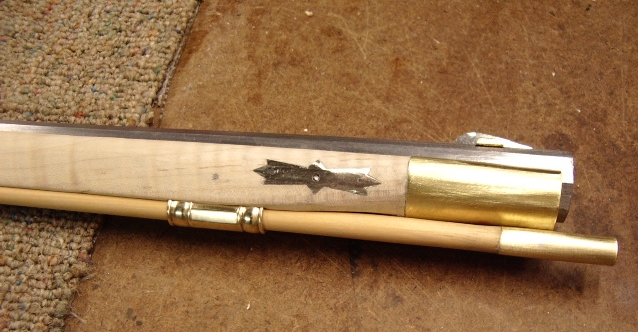
Now with the front sight installed, I showed Brian how to install inlays for the barrel pins. We installed large diamonds for the rear pins and used bowties for the forward pins.
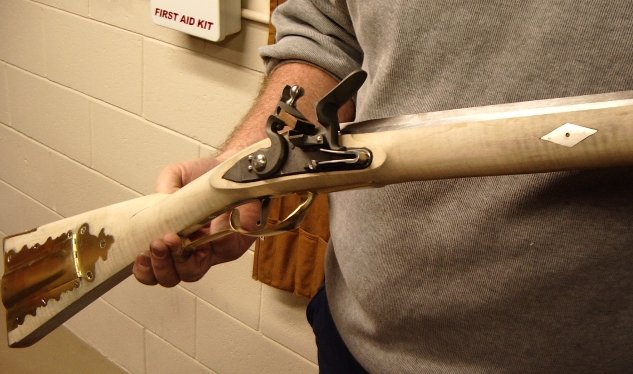
Here is Brian holding his fine rifle. 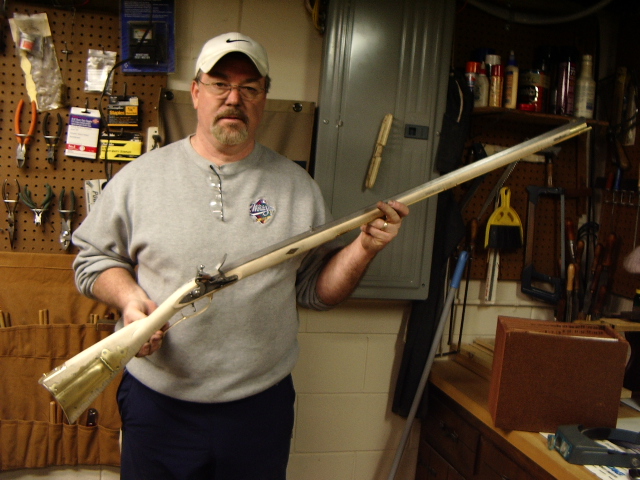
The next day, I showed Brian how to engrave his patchbox, but he wanted me to do it for him. Here is results.
Now I'll show him how to do wire inlays.
Hoot AL Rifle Shop
If you like the site or have any questions, drop me a line by clicking on "Hoot" below.

(c)
Copyright 2005. All Rights Reserved.