Inlet Patchbox:
Before I began the inletting process, I had to prepare the patchbox by annealing the brass. The brass was heated up till it glowed red and dropped it into a container of cold water. I did the same to the side plates, too. By doing so, this softens the brass so it can be bent to conform to shape of the stock. I placed the patchbox onto a slab of hard maple I had rounded out the inner surface to match the contour of my stock. Then I used one of my wooden mallets and placed it on top of the patchbox and hit it with another mallet. This bent the patch box. Due the the hinge, I did the finial and then the patchbox lid separately by hanging each piece off the end the wood mold.
Using the Golden Mean calibers, I positioned the patchbox onto
the buttstock. With the pieces bent, I located where I wanted to place the
mounting screws into the finial. Drilled 1/16" holes thru the final.
Located the patchbox onto the rifle. I traced with a pencil where the
hinge needed to be inletted. Then I carved out the wood for the hinge into the
stock. 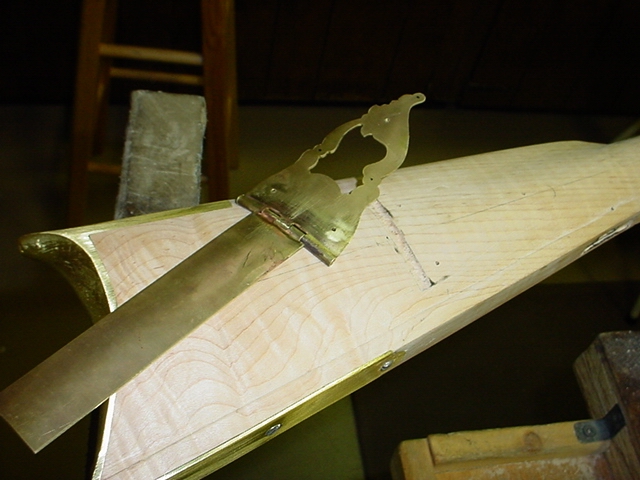
Then I beveled the inside of the finial for the wood center inlay for a nice tight fit. Proceeded to position the finial onto the stock. Clamped it in place and then drilled 1/16" holes thru the finial into the stock. Removed the finial, enlarged the holes in the finial for #4 screws. After that, I then countersinked the holes for the screws to be semi-flush with the brass finial. Also, the slots in the screws were deepened for my screw driver.
Removed the buttplate from the rifle, since I will be inletted below the surface of the buttplate.
I screwed the finial onto the stock and using my knife, I cut around the finial and along the patchbox lid. (Note, I de-soldered and removed the steel cam from the bottom of the lid. This made it easier to inlet.)
Here the finial and lid are inlet into the stock. 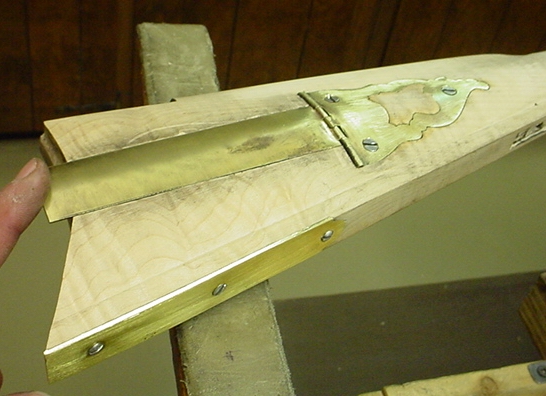
Here is a handy little tool I made to hole my screws so I can
ensure I put the same screws back into their original holes when I have to
remove an reinstall them several times. 
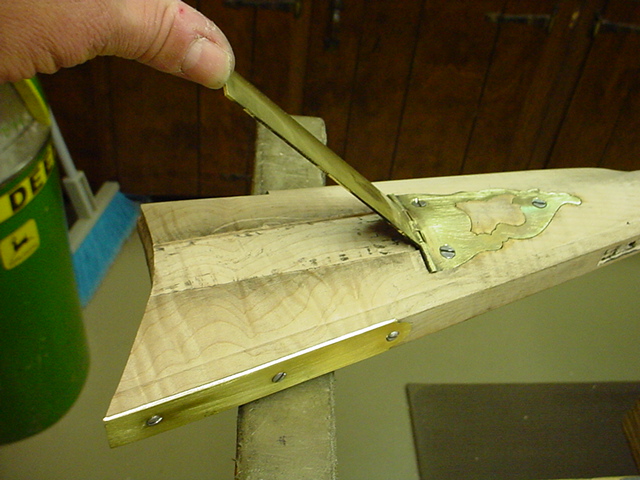
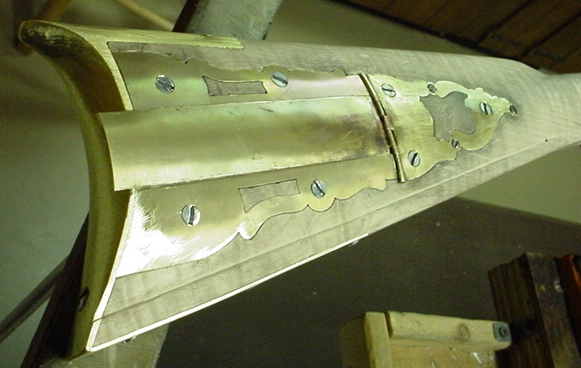
Next I inlet the two side plates using the same process,
whilst holding the side plates tight up against the lid. After then are
inletted, I scribe a line along the bottom of each plate where the end of the
buttstock is. Then I use a jeweler's saw to cut along this line to remove the
excess brass. You can also cut the place roughly with a hacksaw and then have to
reshape the side plate later. Holding on the brass plate, you can use a
metal grinder and remove material down to your line, too. 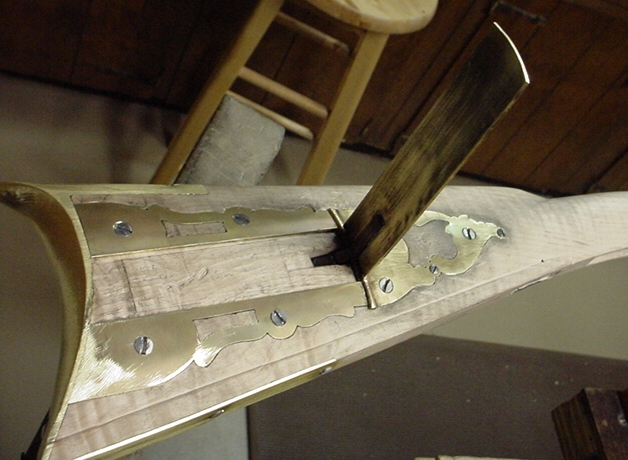
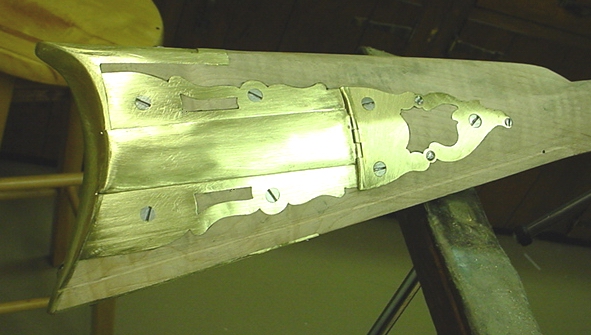
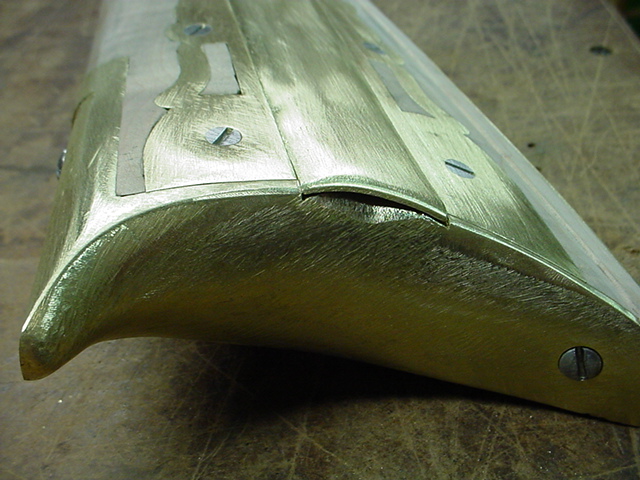
Here are the two side plates inletted and the butt plate reinstalled.
Using a triangular file, cut down vertically on either side of
the lid recess on the buttplate. This will allow the lid to seat properly. 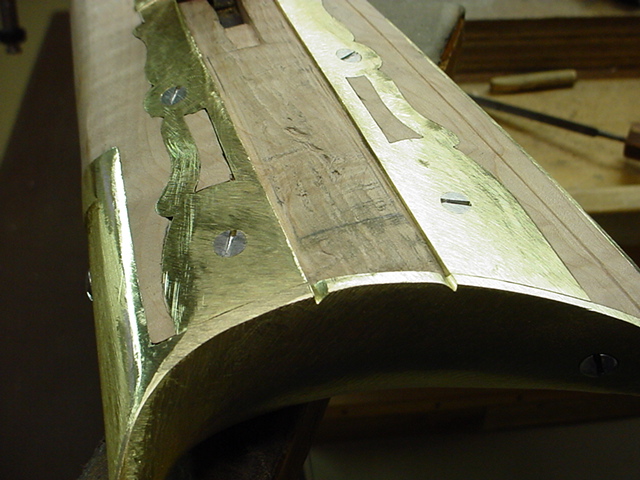
I will then seat the lid to check if the grooves are at the correct depth.
I then trace a line on top of the lid indicating where I need
to remove the excess brass on the lid. (Note, I leave a little excess, since I
intend to tap down the edge of the lid to the buttplate. 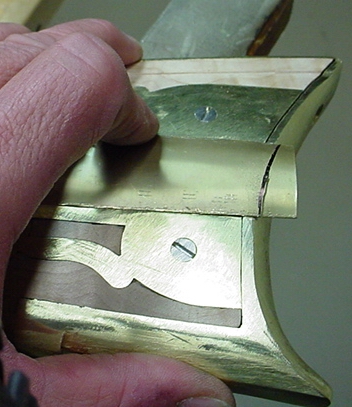
Now I'm ready to drill out the inside of the patchbox area. I measured
in 1/2" from the buttplate and back 1/2" from the hinge. I
used 7/8" auger bit. 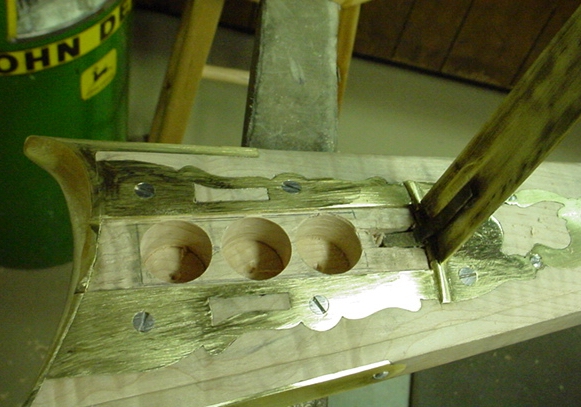
Using chisels and knives, I squared up the recess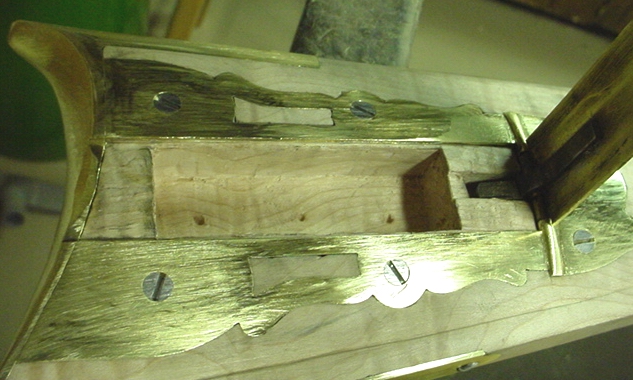 hole. Now the recess is ~3" long, 7/8" wide and 3/4" deep.
Hoot AL Rifle Shop If
you like the site or have any questions, drop me a line by clicking on
"Hoot" below. (c)
Copyright 2005. All Rights Reserved.
