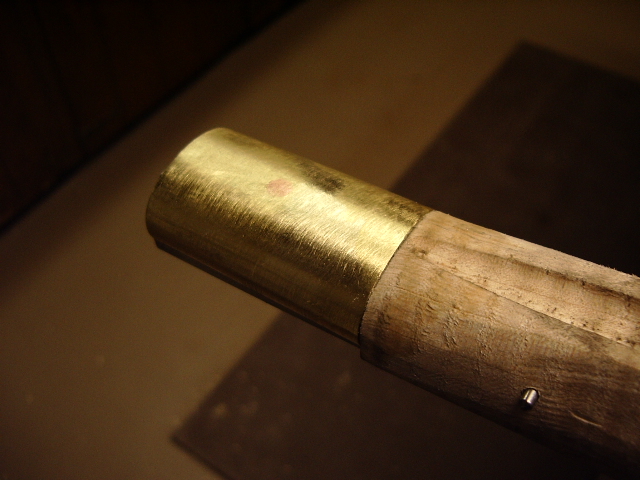
Installed nosecap and the ramrod tip:
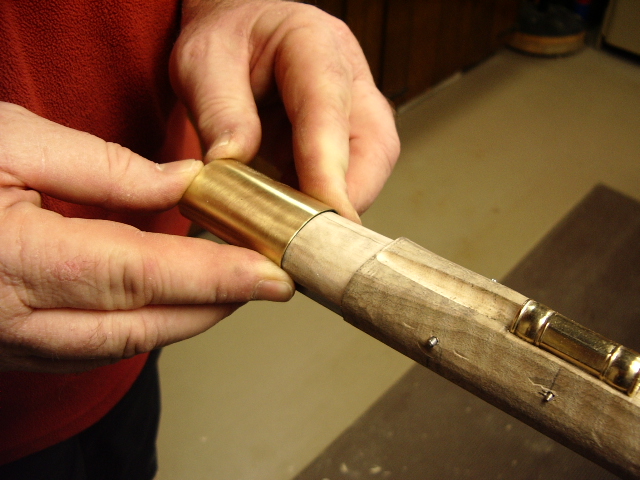
 End
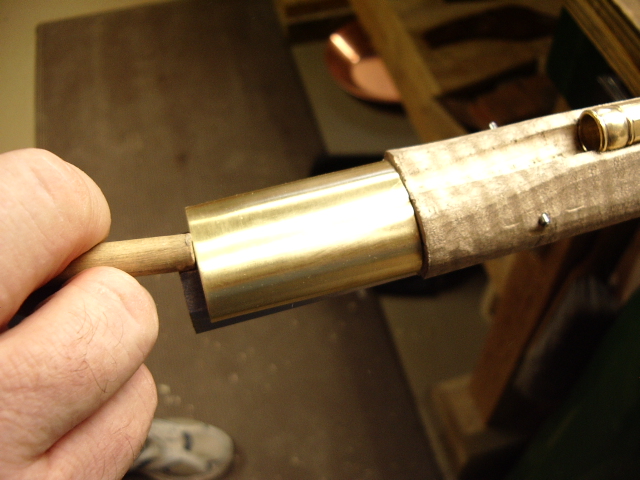
of the stock was shaped down to allow the nosecap to be slid onto the
stock. This was a tight fit and Brian had to put it on, pull it off and
reinstall several times.
End
of the stock was shaped down to allow the nosecap to be slid onto the
stock. This was a tight fit and Brian had to put it on, pull it off and
reinstall several times.
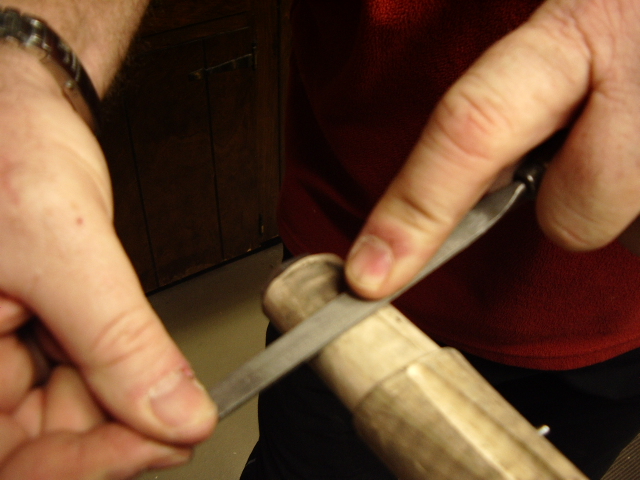
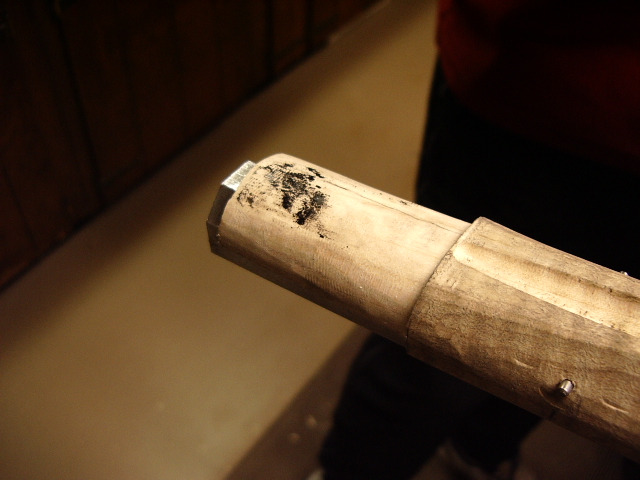
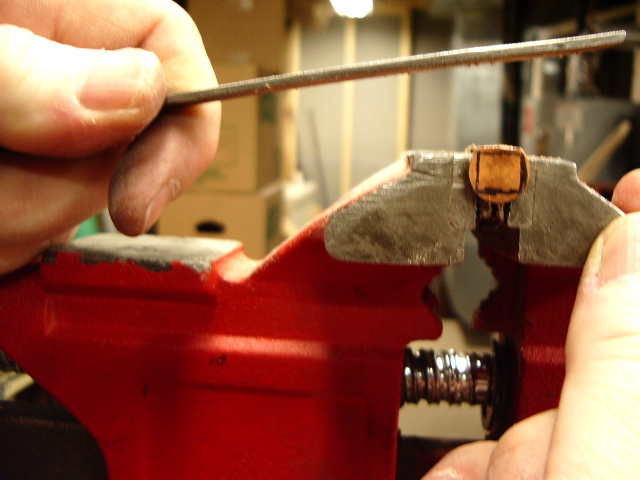
He used a file to remove the black soot marks the nosecap left on the wood.
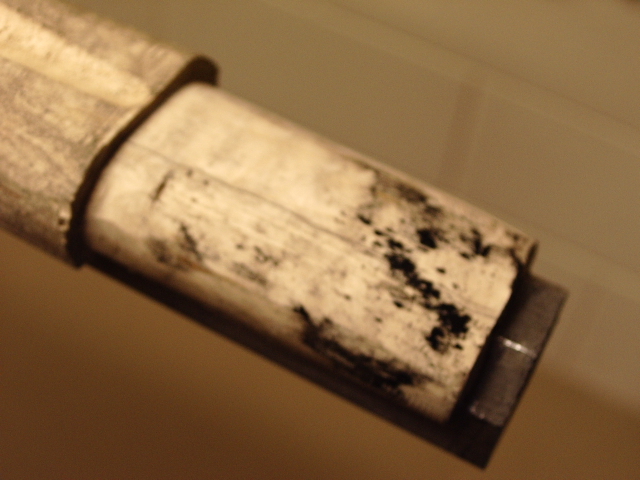
Eventually the nose cap fit tight up against the wood and along the sides of the barrel.

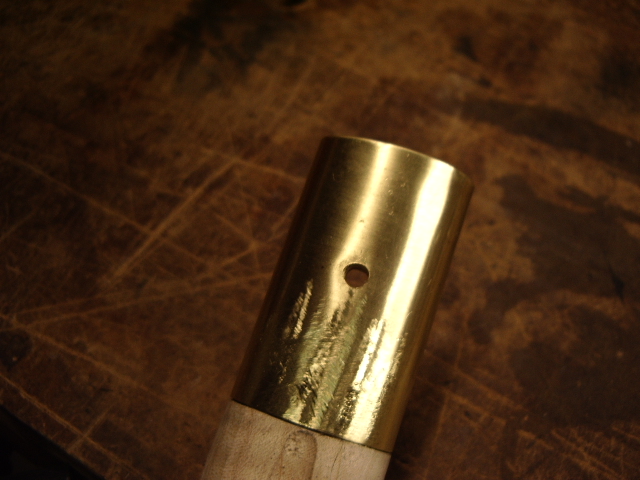
Once this was accomplished, a hole was drilled thru the nosecap and and the stock. A copper rivet will be inserted thru the hole.
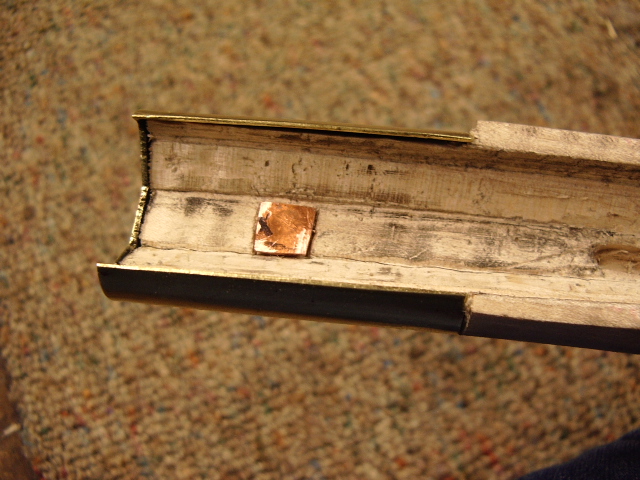
 To
make it easier to inlet, the round head of the rivet was squared to fit within
the bottom flat in the barrel channel. Then the rivet was inletted flush with
the bottom of the barrel channel.
To
make it easier to inlet, the round head of the rivet was squared to fit within
the bottom flat in the barrel channel. Then the rivet was inletted flush with
the bottom of the barrel channel.
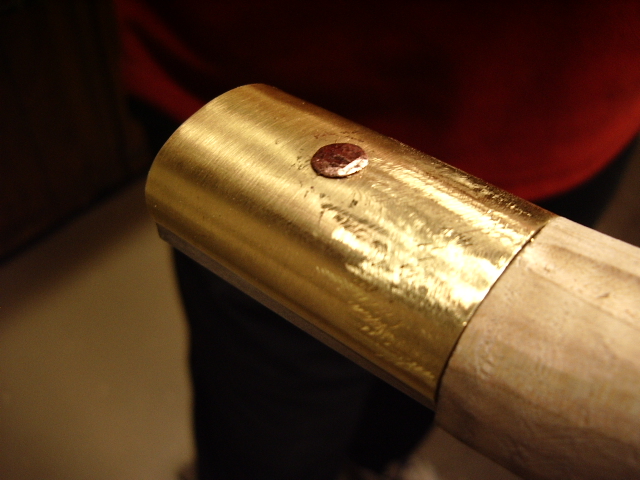
 A
countersunk tool was used on the outside exposed edge of the rivet hole prior to
placing the rivet into the nose cap. Now when the rivet is peened into place,
the copper can expand and fill this voided area around the hole. This rivets the
cap to the stock. Note, prior to peening, the height of the rivet was
1/8" high.
A
countersunk tool was used on the outside exposed edge of the rivet hole prior to
placing the rivet into the nose cap. Now when the rivet is peened into place,
the copper can expand and fill this voided area around the hole. This rivets the
cap to the stock. Note, prior to peening, the height of the rivet was
1/8" high.
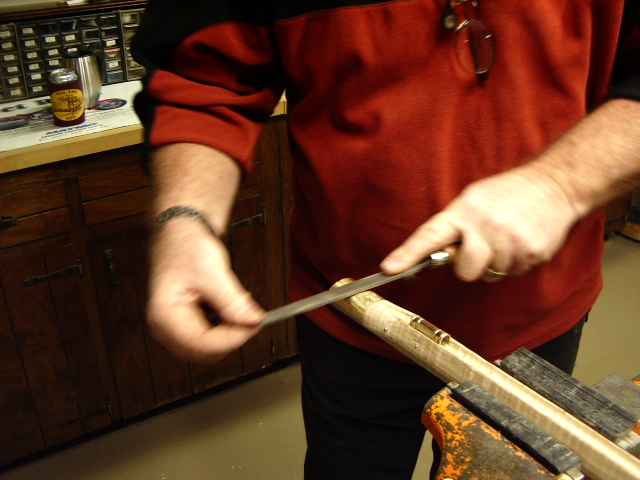
 After
the rivet was peened, Brian filed on the rivet to make it disappear.
After
the rivet was peened, Brian filed on the rivet to make it disappear.
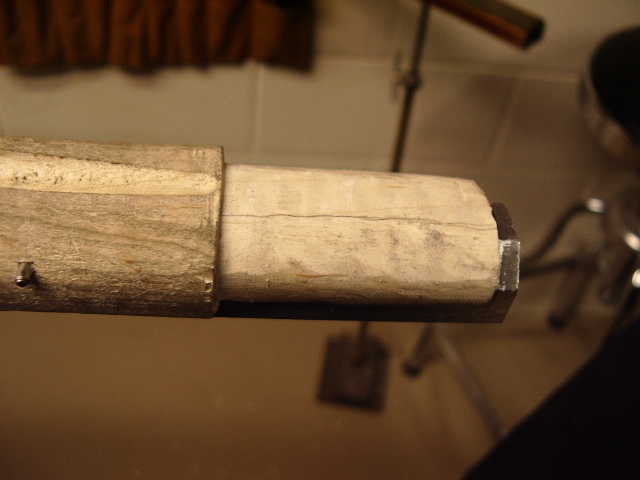
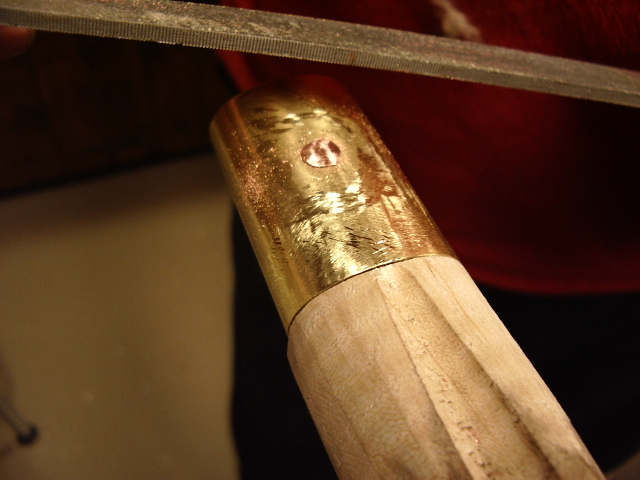
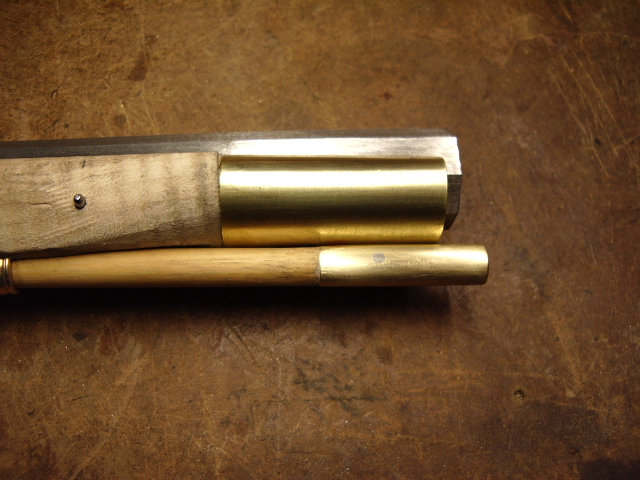 The photo to the left is the finished nosecap and the ramrod tip was fitted onto
the end of the ramrod, then a 3/32" pin was used a rivet to pin it to the
ramrod. If you look closely, you can see the rivet.
The photo to the left is the finished nosecap and the ramrod tip was fitted onto
the end of the ramrod, then a 3/32" pin was used a rivet to pin it to the
ramrod. If you look closely, you can see the rivet.
(Note if you click on all the photos, they will open up larger in size. )
Hoot AL Rifle Shop If
you like the site or have any questions, drop me a line by clicking on
"Hoot" below.

(c) Copyright 2005. All Rights Reserved.