An Ol'e friend of mine a few years back asked me to make him a replacement mainspring for his rifle. All he had was the broken spring. He sent it to me and the rest of the story unfolds below. When he received the spring, he said if was better than the store bought one he had bought earlier.
To start with you make a paper pattern of the
spring you want to make by tracing the original spring laid out on a piece of
paper. 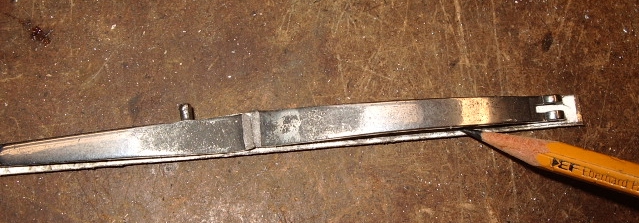
Then you cut out the pattern and glue it onto a
piece of 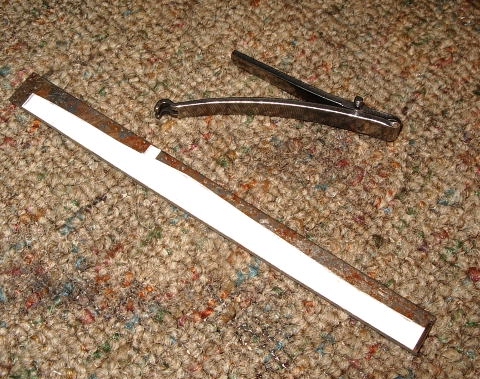 spring
stock of the same thickness.
spring
stock of the same thickness.
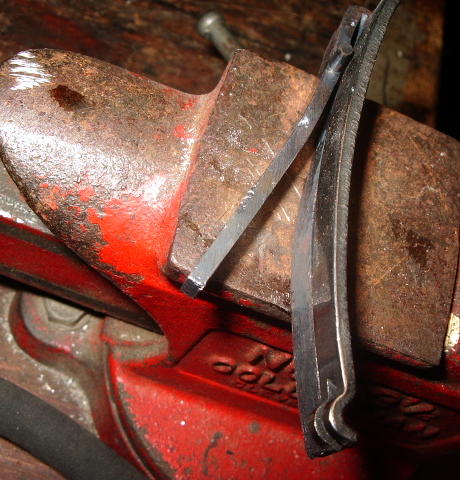
Then using a hacksaw and files, you trim away the excess material down to the pattern. Then the spring stock is placed into a vice and you proceed to round the pin on the side of the spring to the same diameter as the original spring and match the height.

Now can lay the two pieces side by side to make
sure the pin is in the right location. Note, I gave myself some extra length on
either end to allow for the bend and I can always trim it down for length later.
I measured from the short end to the initial bend of the original spring. Using a piece of soap stone I marked across the new spring. This is where the bend will be formed. I heated up the metal till it glowed and then bent the spring over in a vice. Reheated the spring again and bent it more by pressing down in the center of the bend with a flat bladed screwdriver. This now allowed me to heat it up again and use the vice to close the bend on the spring keeping close attention on where the bend was in perspective to the pin on the side of the spring. I wanted to keep this the same distance as the original.

Now I bent the longer leg of the spring to the same curvature as the original spring and bent the shorter leg the same as the other shorter leg.
The next step was the make the stirrup. This is on the end of the longer leg. There is a split hook which will grab the stirrup hanging from the tumbler on his rifle. Alot of rifles did not have a stirrup and the hook rested on top face of the tumbler.
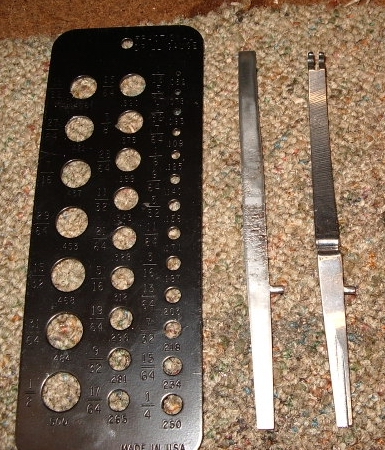
Now I wanted to match the width of the shorter
leg of the spring and also file in the retaining rib on the top of the spring.
This is the part of the main spring which rests into the slot under the lock
plate bolster. 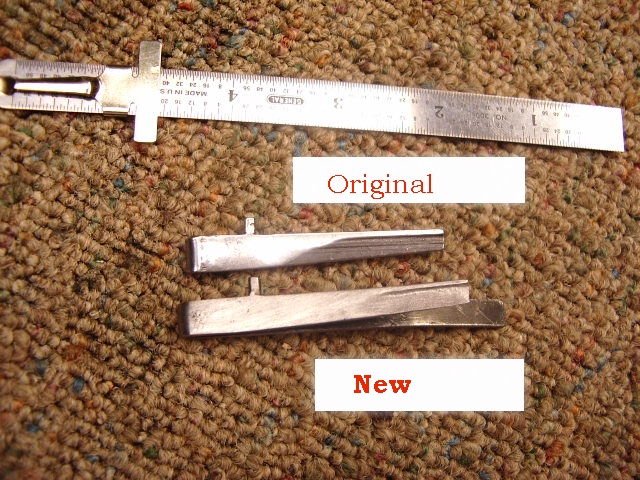
In order to make the hook, I took a piece of
steel and filed a groove across the edge to make a die. 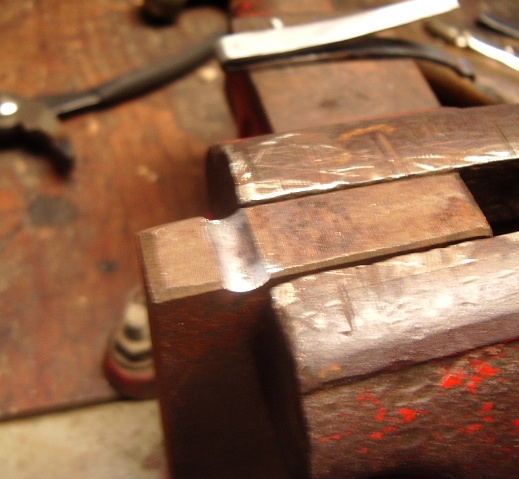 Then I placed it in my vice.
Heated up the end of the long leg of the spring
and using a nail, I hammered the spring into the steel die. Once the hook was finished, then it was a matter of cutting into the hook
 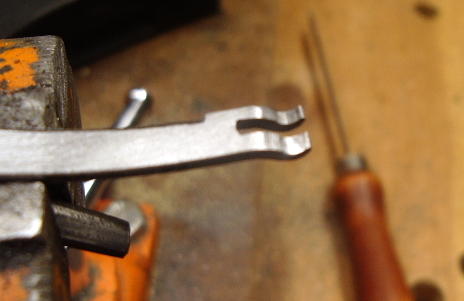 to
make the stirrup hooks.
to
make the stirrup hooks.
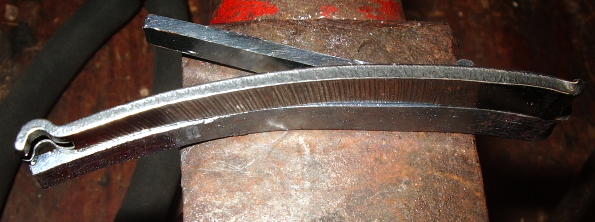
Now I laid the springs down side by side for
comparison. Before tempering, I slightly spread the new spring just to
make sure there was sufficient tension in the spring. 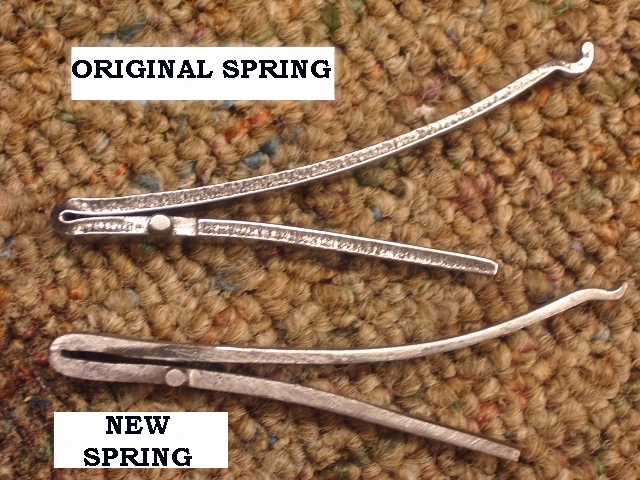 I also beveled the outlying edges of the spring for decoration.
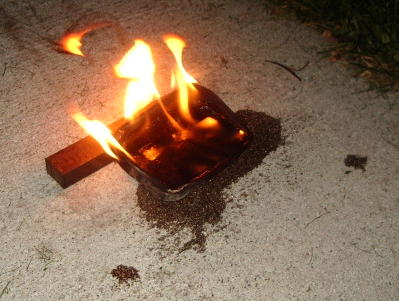
To temper the spring, I used a sardine can, but
you can use a small peppermint can. Tipped the can at an angle. Placed the
spring into the can and covered the spring with oil. Then I heated the oil
with a propane torch till the oil started boiling and kept a flame. Remove the
heat and let the oil cook the spring. This maintains a constant 600 degree bath.
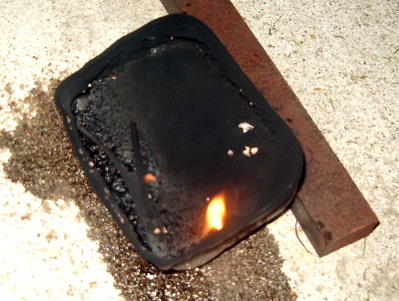
Once the fire goes out, now the spring is exposed. Let it now cool.
Here is the finished spring. Can you tell which one is the original?

If you like the site or have any questions, drop me a line by clicking on "Hoot" below

(c) Copyright 2005. All Rights Reserved.