Brian Murray's lock, lock bolts, trigger plate installed along with the tang bolt.
To install the lock, we blackened the lock plate only and positioned it onto
the stock. Then removed the black marks to ease the lock plate down till the
bolster of the lock laid flat against the side of the barrel flat. 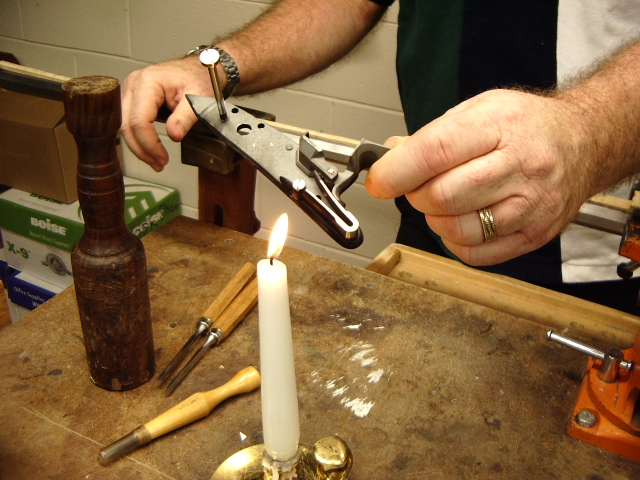
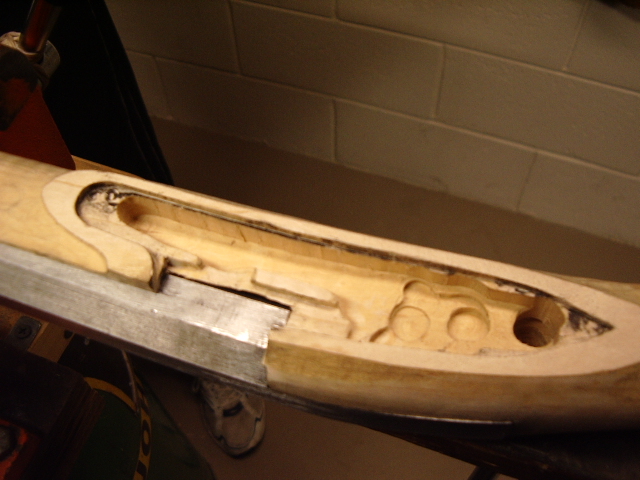
Here you can see the black marks in the stock.
A walnut mallet was used to settle the lock into the mortise. 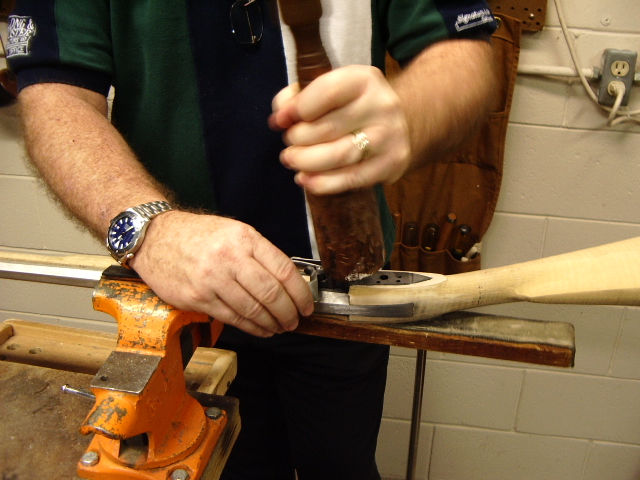 The
lock was removed. We used a 8x32 lock bolt screwed into the lock plate to give
us more leverage to pull the lock out by grasping the frizzen and this bolt.
The
lock was removed. We used a 8x32 lock bolt screwed into the lock plate to give
us more leverage to pull the lock out by grasping the frizzen and this bolt. 
 Once the lock plate was fully down, we then drilled thru the predrilled holes in
the stock and into the lock plate using a #29 drill for the
Once the lock plate was fully down, we then drilled thru the predrilled holes in
the stock and into the lock plate using a #29 drill for the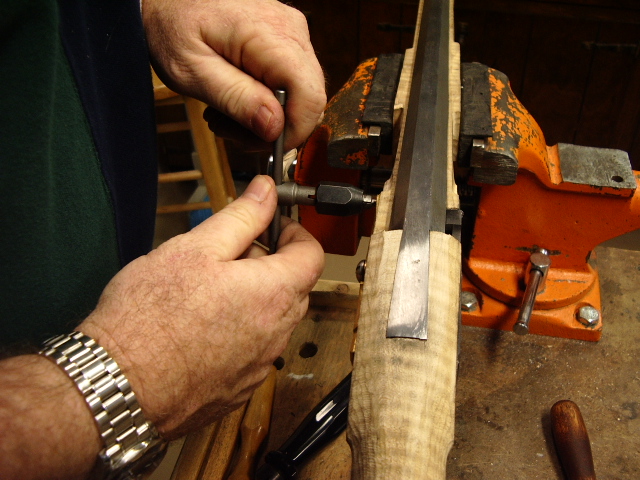 8x32 lock bolts. Then the plate was removed and a 3/16" clearance hole was
drilled thru the stock for the tap. The lock plate was reinstalled and the tap
was run in and the lock plate was tapped for the lock bolt. We did this
for both the lock bolts. Now the lock was secured. After this we
reassembled the lock and proceeded to blacken the bridle, tumbler, sear and sear
spring to inlet these into the lock cavity. With this done, he installed the
main spring onto the lock and finished inletting the lock into the cavity.
8x32 lock bolts. Then the plate was removed and a 3/16" clearance hole was
drilled thru the stock for the tap. The lock plate was reinstalled and the tap
was run in and the lock plate was tapped for the lock bolt. We did this
for both the lock bolts. Now the lock was secured. After this we
reassembled the lock and proceeded to blacken the bridle, tumbler, sear and sear
spring to inlet these into the lock cavity. With this done, he installed the
main spring onto the lock and finished inletting the lock into the cavity.
In the process of doing this, we operated the lock to ensure all the parts were free moving and removed any wood interfering with the internal workings. The stock above the lock had to be grooved to allow free travel of the hammer when the lock was fully seated.
Next we installed the trigger plate on the belly of the gun. Once this was
done, a #4 screw was installed to secure it to the stock. Now we are ready for
drilling the tang bolt down into the trigger plate. We used a 10x32 tang
bolt for this. The drill set up for this involved the jig I had made for
this purpose. 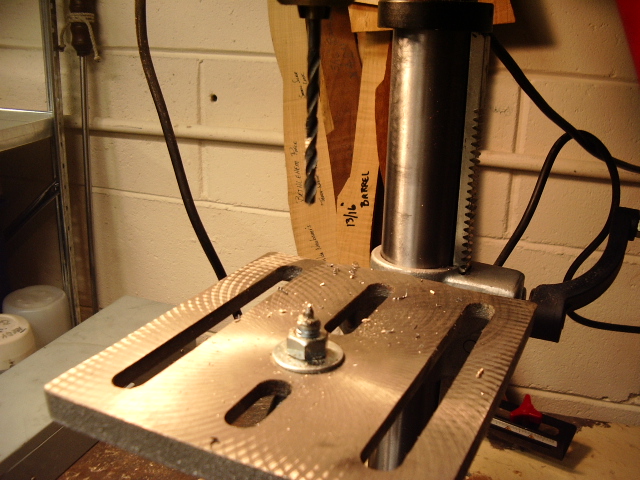
We drilled down from the top with a #21 drill bit, then flipped the rifle
over and drilled thru the trigger plate to mate with the hole drilled from the
top. The two holes mated perfectly. Now we mounted the rifle on the jig
again right side up and drilled downward with a 13/64" bit to make a
clearance hole thru the stock and stopped short of the trigger plate. 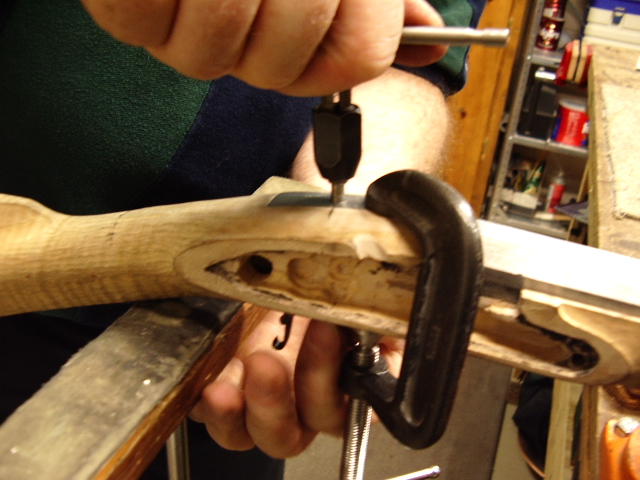
Using a 10x32 tap, we tapped down thru the tang and into the trigger plate.
With everything reinstalled, we now have a lock that works.
Here is a short movie of the lock working: MOVIE
Hoot AL Rifle Shop If
you like the site or have any questions, drop me a line by clicking on
"Hoot" below.

(c) Copyright 2005. All Rights Reserved.