Inletting The Barrel:
First step will be to inlet the breech end of the barrel without the tang and then cut down the comb and wrist of the stock to shape. This will then guide me for the proper bending of the tang along the wrist.
PLEASE NOTE: This was a gun already started by another gun maker out East about 9 years ago with whom my friend parted company with. The parts I received are displayed above. What I discovered is the barrel was inletted 3/4 the depth of the barrel instead of 1/2. This meant I had to remove wood from the top of the barrel flat. The original surface was not flattened, so I suspected the channel may not be correct either.
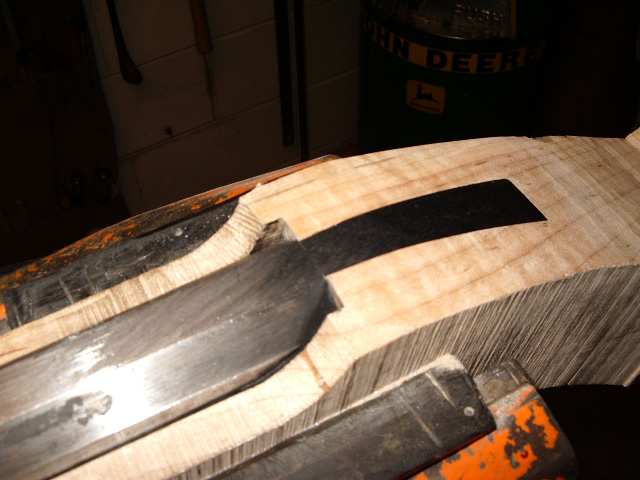
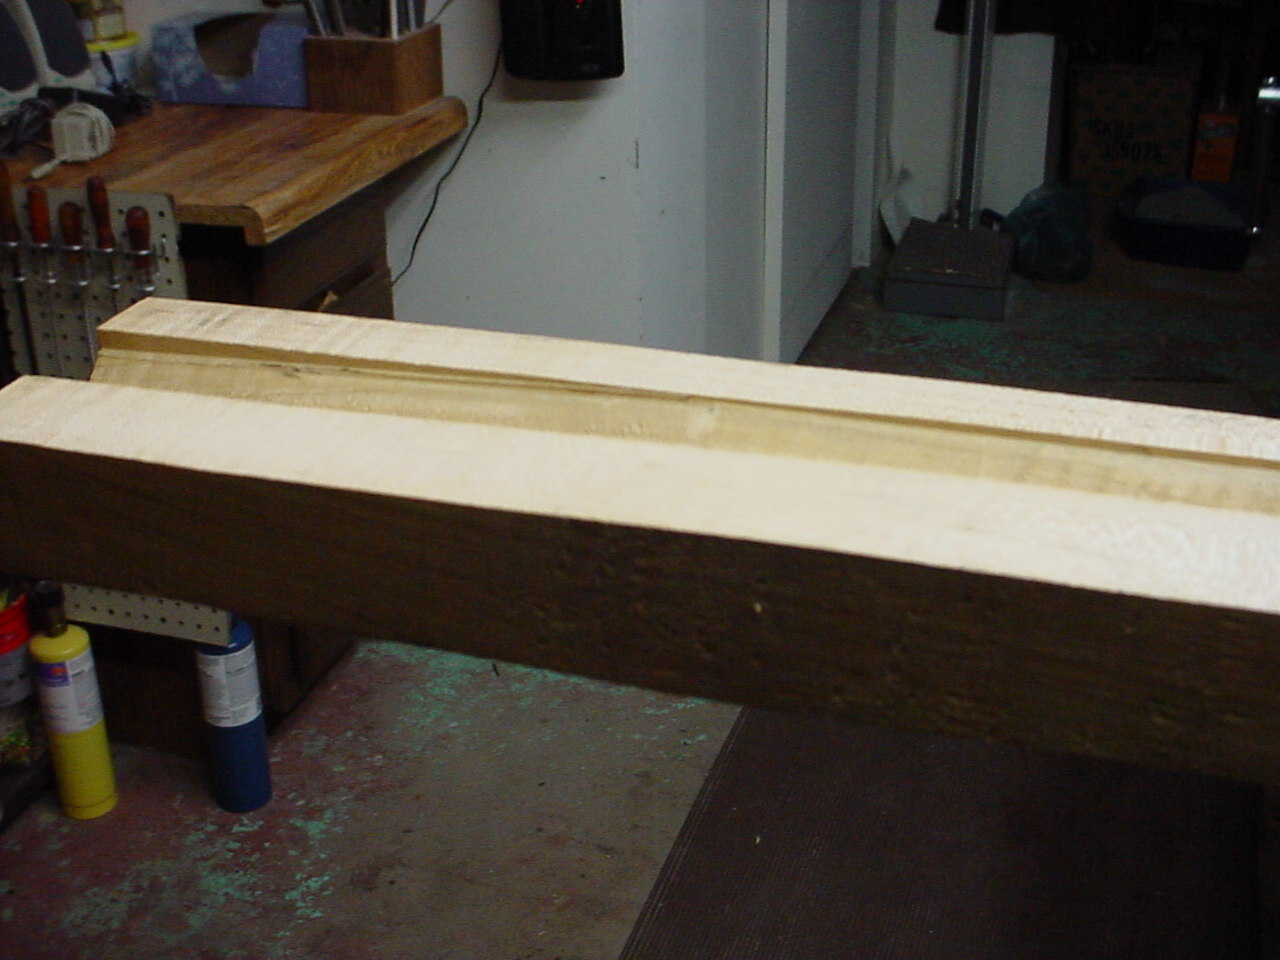 Removing the proper amount of wood proved this to be true. In the photo, you can
see the depth is not deep enough. Fortunately there is ample amount of web
between the barrel channel and the ramrod.
Removing the proper amount of wood proved this to be true. In the photo, you can
see the depth is not deep enough. Fortunately there is ample amount of web
between the barrel channel and the ramrod.
 In
addition, I discovered the original maker did not make sure their band saw blade
was not perpendicular to the table. This resulted in an angular cut along the
sides.
In
addition, I discovered the original maker did not make sure their band saw blade
was not perpendicular to the table. This resulted in an angular cut along the
sides.
 At least I know my table is perpendicular per the square.
 Currently
I'm inletting the barrel straight down at the breach and then will
lower the rifle into the channel.
Currently
I'm inletting the barrel straight down at the breach and then will
lower the rifle into the channel. It appears the channel was purposely not
widened fully, so I can inlet the whole barrel at the same time.
It appears the channel was purposely not
widened fully, so I can inlet the whole barrel at the same time.
I cut the sides of the stock down, because the stock is a little warped. This allowed me to inlet the barrel and take the twist out of the stock.
 Here the barrel is inletted.
 What I then discovered, was the ramrod previously routed in the stock was not in
alignment with the barrel. This just gets better and better, eh? I asked
my friend if he wanted me to continue.
What I then discovered, was the ramrod previously routed in the stock was not in
alignment with the barrel. This just gets better and better, eh? I asked
my friend if he wanted me to continue.
Well my friend said "Go Ahead" so I started working on the rifle again.
 The
next step was to cut down the butt of the stock to form the wrist in the stock.
I used the Golden Rule of the length of the stock from the end of barrel to the
end of the butt stock. Using the 3/5's rule, this told how long the comb
was to be. My friend has a 16" pull to the trigger. I will try to get
that, but may be closer to 15-1/2" based on available wood in the stock.
The
next step was to cut down the butt of the stock to form the wrist in the stock.
I used the Golden Rule of the length of the stock from the end of barrel to the
end of the butt stock. Using the 3/5's rule, this told how long the comb
was to be. My friend has a 16" pull to the trigger. I will try to get
that, but may be closer to 15-1/2" based on available wood in the stock.
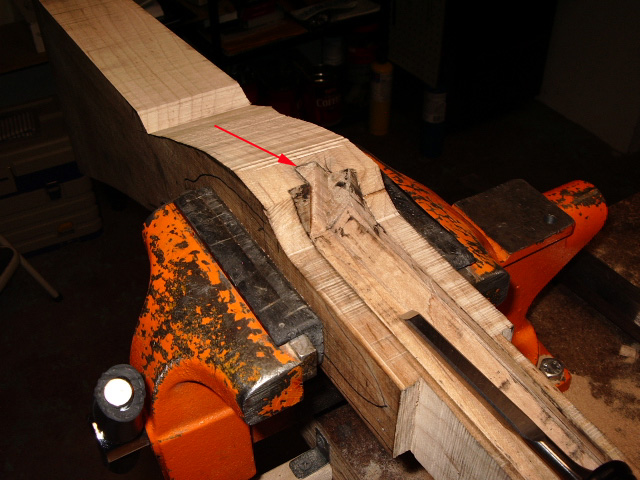
Then I started to inlet the base of the tang into the wrist.
Once the base of the tang was inlet, I bent the tang to conform to the shape of the wrist. Using a knife, I cut along the sides and the end of the tang to make the first cuts. Then using a chisel I removed wood to just shy of the thickness of the tang. The tang was then filed to create a beveled edge along the sides and the end of the tang. Taking my time and using candle soot I slowly lowered the tang into the inletted area. Note, the tang will have a tendency to push the barrel forward. Removal of wood from the tang area carefully will stop this from happening. Then down you go.
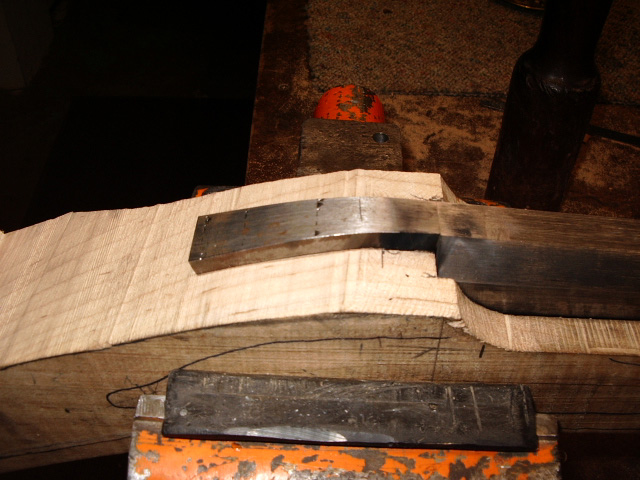
 Here
the tang is almost fully inlet. I ran out of time tonight to finish. Tomorrow is
another day.
Here
the tang is almost fully inlet. I ran out of time tonight to finish. Tomorrow is
another day.
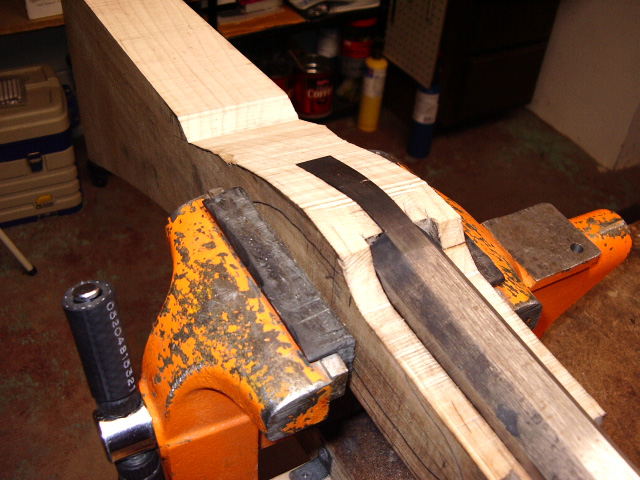
 Once the tang was fully inlet, then I filed down the top of the tang and
surrounding wood.
Once the tang was fully inlet, then I filed down the top of the tang and
surrounding wood.
Hoot AL Rifle Shop
If you like the site or have any questions, drop me a line by clicking on "Hoot" below.

(c)
Copyright 2005. All Rights Reserved.