Although the stock is precarved for the butt plate, there is a lot of wood
present.  After cleaning up the wax casting of the buttplate of the excess brass, I laid
the plate on t
After cleaning up the wax casting of the buttplate of the excess brass, I laid
the plate on t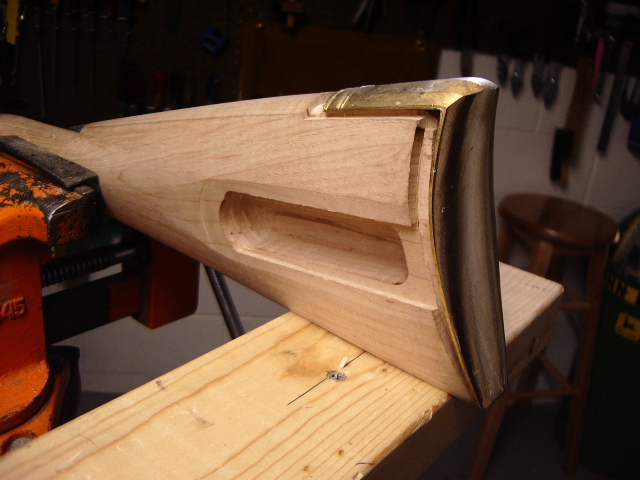 he
stock and you can see how far the plate has to be dropped to be inletted into
the stock.
he
stock and you can see how far the plate has to be dropped to be inletted into
the stock.
To start the process, you need to lower the top of the plate onto the stock
till you have solid contact marks along the upper edge of the butt. Here is an
initial mark as I started. 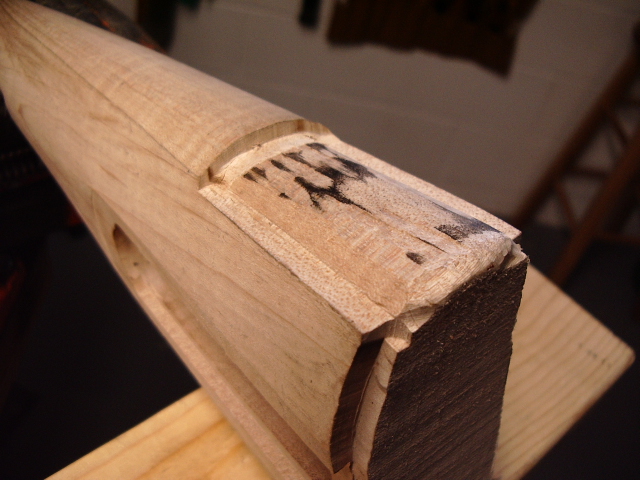 Got
a long ways to go at this point
Got
a long ways to go at this point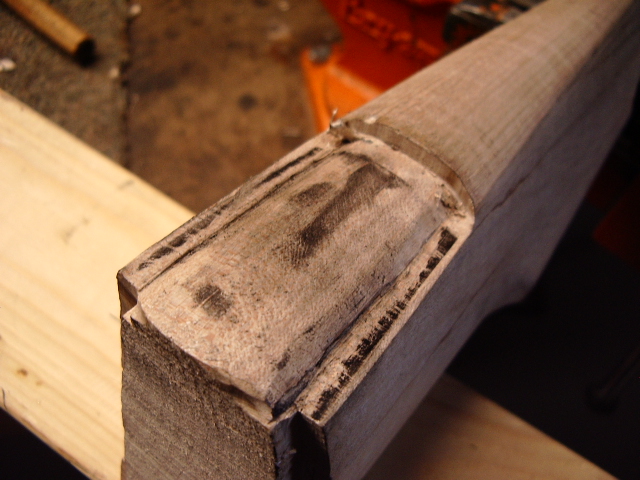 .
By removing wood and then using candle soot to blacken the inside of the plate,
so can see I now have nice black marks along the edges. Now I can start
blackening the butt of the plate and gradually move the plate forward.
.
By removing wood and then using candle soot to blacken the inside of the plate,
so can see I now have nice black marks along the edges. Now I can start
blackening the butt of the plate and gradually move the plate forward.
With the plate on the stock, you can see the gap that exists. 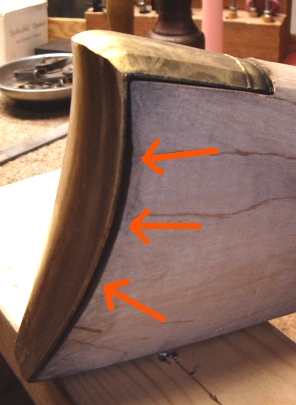 Here is the initial marks for moving the plate forward.
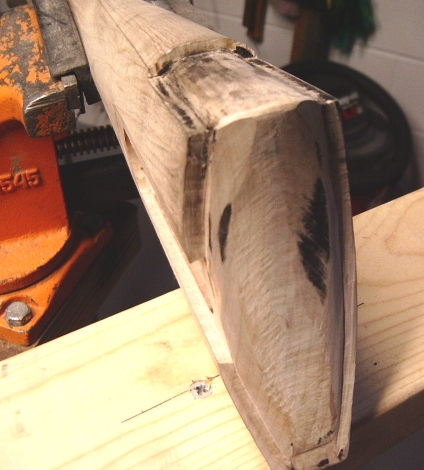
By continuing this process you can now see marks along the sides and across
the front the upper edge of the plate with the stock. 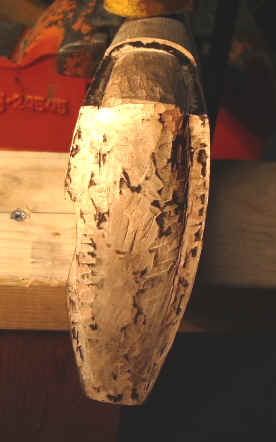
Since this is a left handed rifle, I moved the plate to the l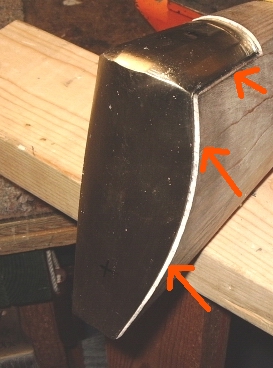 eft
about a 1/16" to create a little off-set for the shooter. This allows
for easier alignment of the eyes with the front sights.
eft
about a 1/16" to create a little off-set for the shooter. This allows
for easier alignment of the eyes with the front sights.
The location of the top screw is 1/3 the length of the comb in distance away from the leading edge of the plate. I marked the location of the screw hole in the stock and then drill a 1/16" hole 1/32" closer to the front of the mark. When the top screw is threaded into the stock, this pulls the plate tighter up against the stock.
The lower screw will be 1/4 the length of the butt plate from the lower edge.
(Critical to note, you do not want it any lower so as to interfere with any
screws in the toeplate.) 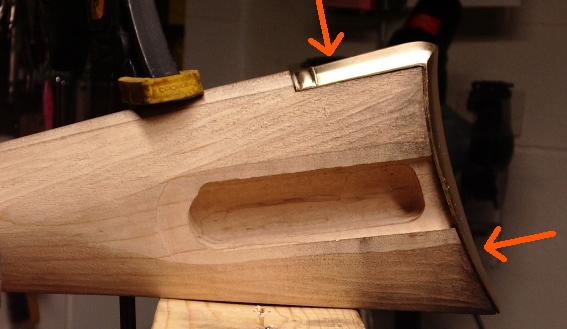
Here I have the top temporary screw in place and the lower screw is in the
process of installation. Note, I drill the plate with a 1/16" 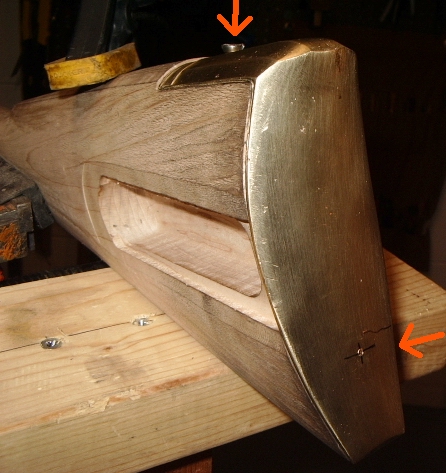 bit
thru the plate where the screw will be placed. Then I place the butt plate onto
the stock and drill a 1/16" pilot hole thru the butt plate into the stock
for the screw. The plate is then removed and a 3/16" bit is used as a
clearance bit to open up the hole for the screw to pass thru.
bit
thru the plate where the screw will be placed. Then I place the butt plate onto
the stock and drill a 1/16" pilot hole thru the butt plate into the stock
for the screw. The plate is then removed and a 3/16" bit is used as a
clearance bit to open up the hole for the screw to pass thru.
Once I have the lower screw in place, then I will flatten the butt plate in the area that is flattened on the stock to allow for the patchbox lid. More on that later.
Hoot AL Rifle Shop
If you like the site or have any questions, drop me a line by clicking on "Hoot" below.

(c) Copyright 2005. All Rights Reserved.