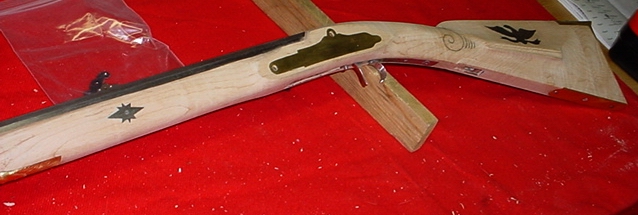
Forearm Inlays:
Starting inletting the four silver inlays up each side of the forearm. This is really adding character to the rifle.
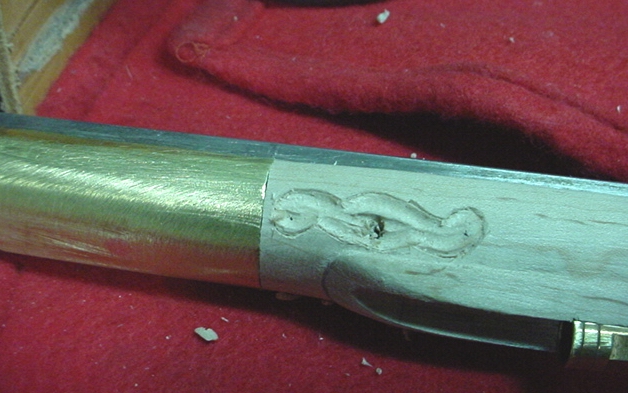
This is the inlay for the forearm for the fourth pin.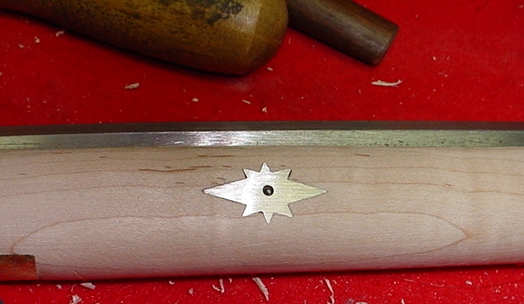
This is a sample of the other three inlays running up the forearm toward the
nose cap. 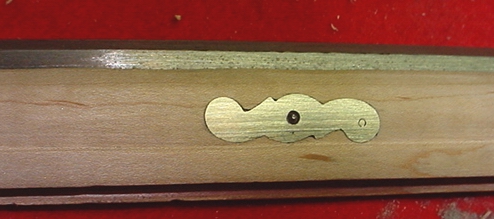
Here's a couple photos of the inlays on one side of the rifle.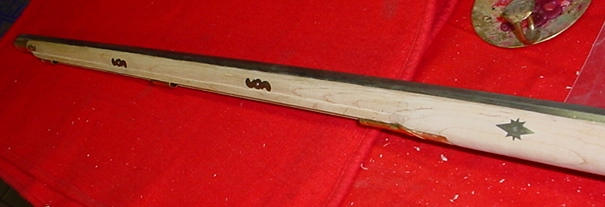
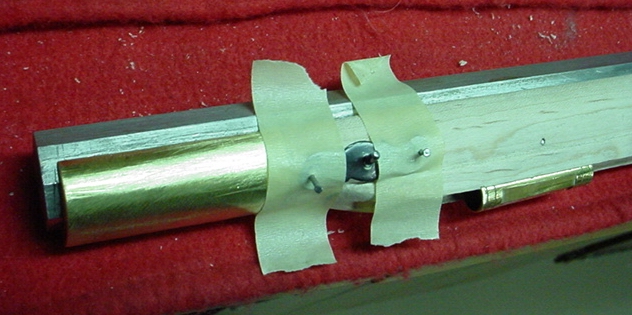
Here is the process I followed. I annealed the silver inlay, then I shaped it by making a groove on a block of maple and then pressed the inlay into the groove using a thick dowel and a wooden mallet. This formed the inlay to the contour of the stock. Drilled two holes into the inlays with a #52 drill bit and used brads to nail it temporarily into the stock so I could cut around it. Using a piece of tape helped hold the inlay in place so I could drive the nails. I drove the nails in a ways so when I drove the annealed silver nails, they would penetrate the wood more easily. Using my knife, I scored the sides of the silver nails to make feather sides so the nails would go in and not back out.
I pulled the nails, deepened the cuts again. Then I grooved out the wood and
using I chisel, I removed the remainder of the wood.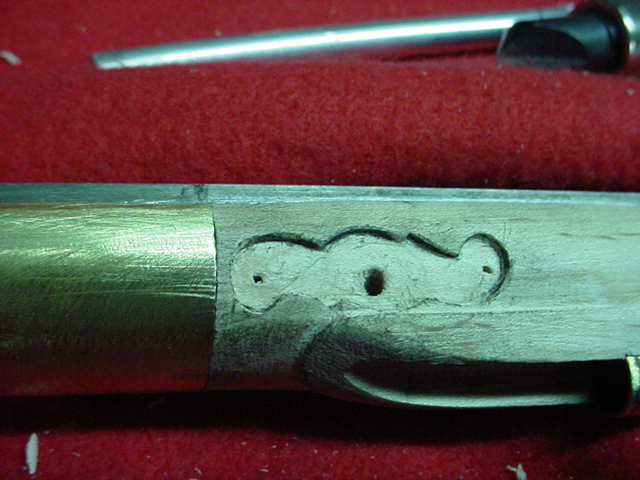
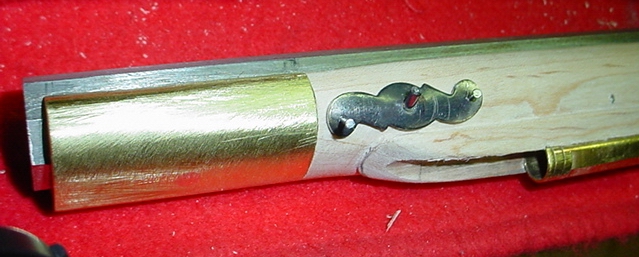
Once the depth was reached, I then placed the inlay into the inletted area.
Counter sinking the two nail holes, I next drove in the silver nails. 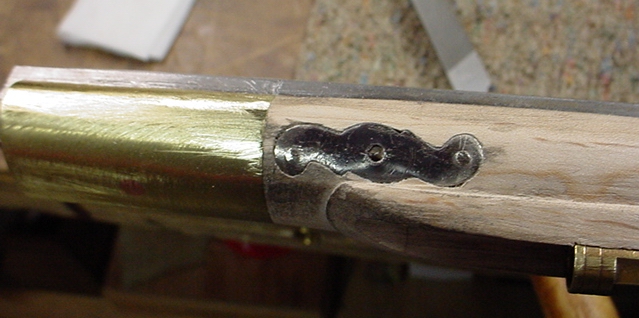 The next step was filing the silver down to the wood.
Hoot AL Rifle Shop
If you like the site or have any questions, drop me a line by clicking on "Hoot" below.

(c) Copyright 2005. All Rights Reserved.