Installed the triggers next. First a center line was defined and then the set screw on the trigger plate is used as a reference point for the trigger plate to be inletted.
But wait, I needed to hold the trigger guard up the the non-inletted triggers along side the gun to determine if I had too much metal out in front of the trigger plate, which would have interfered with the mounting tab on my triggerguard. Sure enough, I had 1/2" too much metal, so I cut the excess steel off the trigger plate prior to inletting.
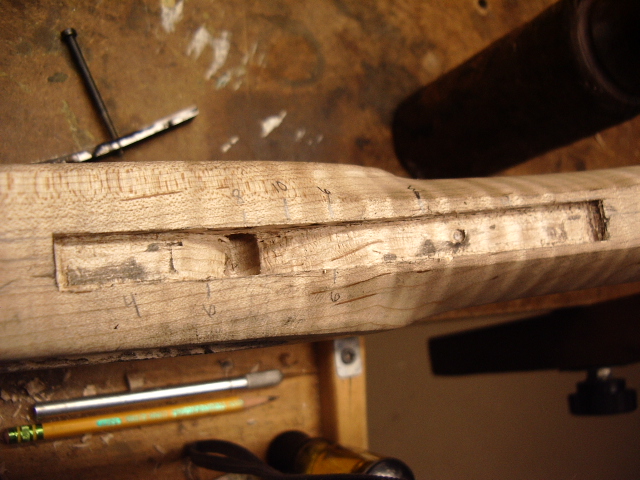
To inlet the triggers, first disassemble the triggers my removing the side
wire and rear springs. Then push out the pins and remove the triggers. Using
candle soot, the plate was inletted. Here is a early photo during the
process. 
With a little more work, the plate was flush. Then I installed the components back onto the trigger plate and then removed the remaining amount of wood to seat the assembly into the stock.
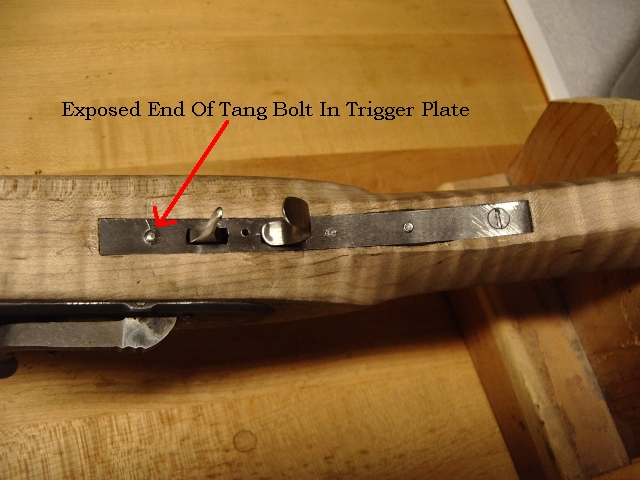
With the trigger plate installed, I then used my "Tang Bolt Jig" to
drill the tang bolt hole thru the tang and the trigger plate. I installed
a #8-32 tang bolt, due to the narrowness of the barrel tang. 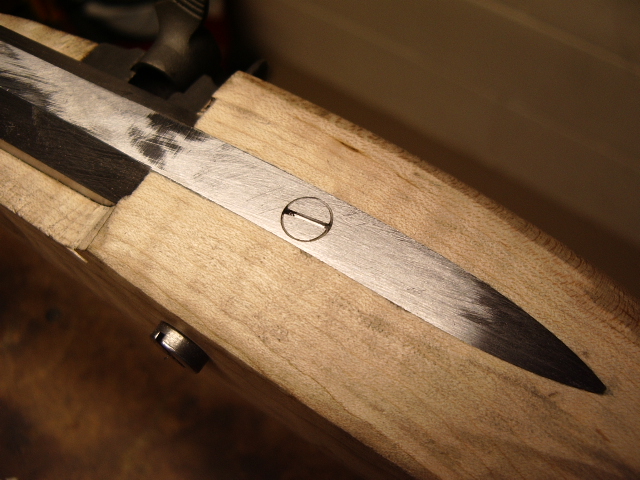
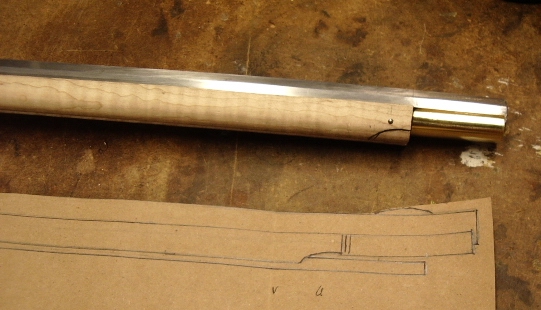
Now I was ready to carve the nose of the stock for the nose cap. Here
the stock was carved down for the nosecap. 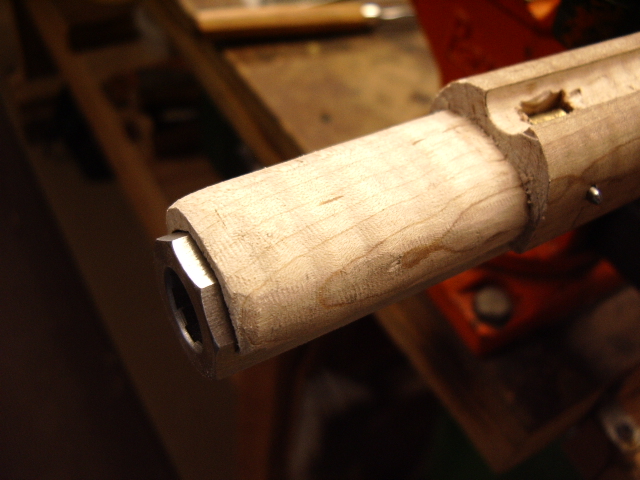
Then the nosecap was blackened with candle soot and slowly worked onto the
wood for a tight fit. 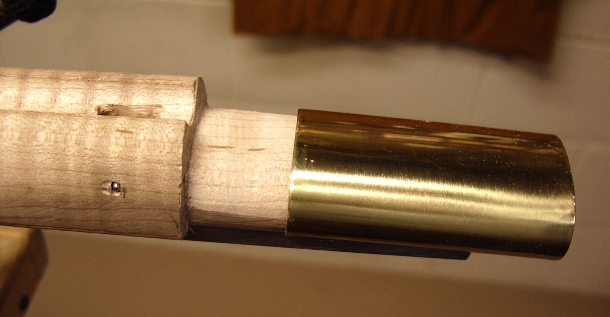
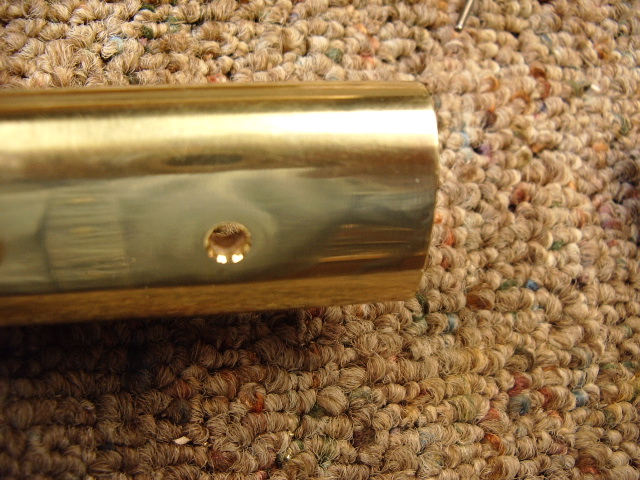
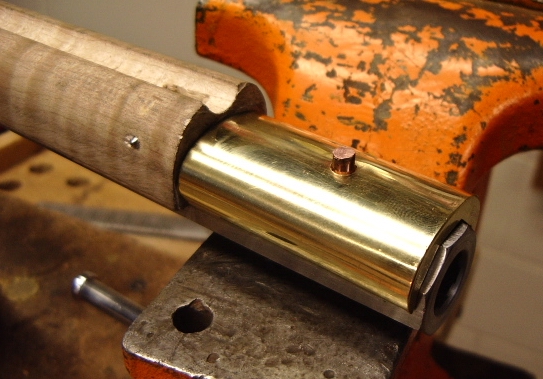
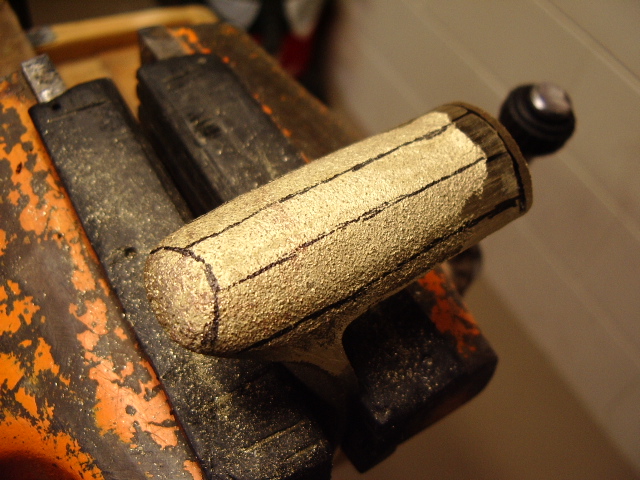
Once the cap was fully seated up against the stock, then I took a copper
rivet. Measured the diameter of the rivet shaft and drilled a hole thru the
nosecap. Then I countersunk the outside of the hole so when I riveted the cap on
later, it would hold the nosecap to the stock. 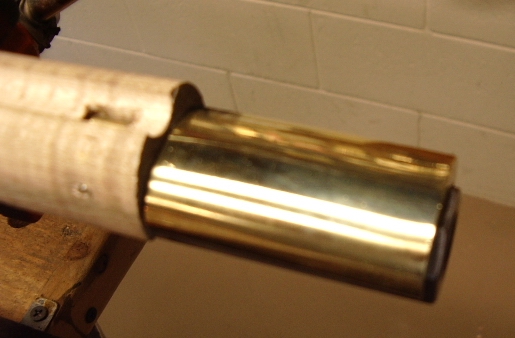
The rivet was placed into the hole and I traced a square on top of the rivet.
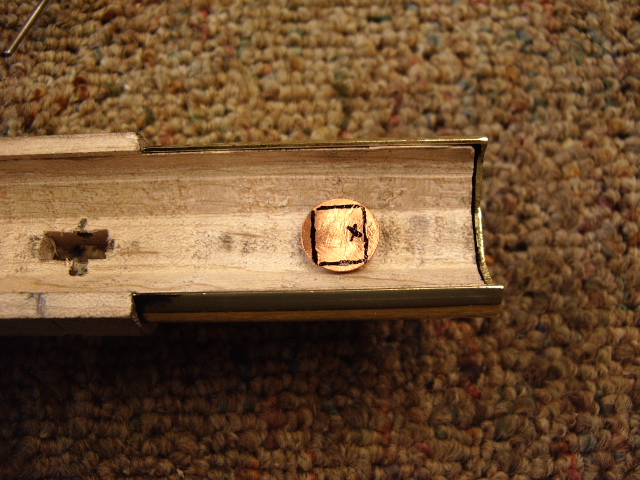 Then I inlet it flush with the bottom of the barrel channel. I put
the barrel back into the stock
Then I inlet it flush with the bottom of the barrel channel. I put
the barrel back into the stock  prior
to riveting. The barrel will support the square side of the rivet during the
process.
prior
to riveting. The barrel will support the square side of the rivet during the
process.
 I
leave about 1/8" of the rivet exposed. Then I peen it down.
I
leave about 1/8" of the rivet exposed. Then I peen it down. 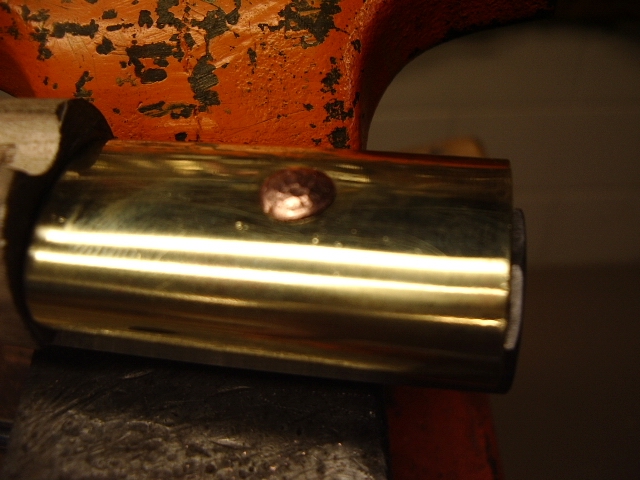
Then I file it down. The countersunk area on the hole is filled by the peened
copper and now it blends into the nose cap. 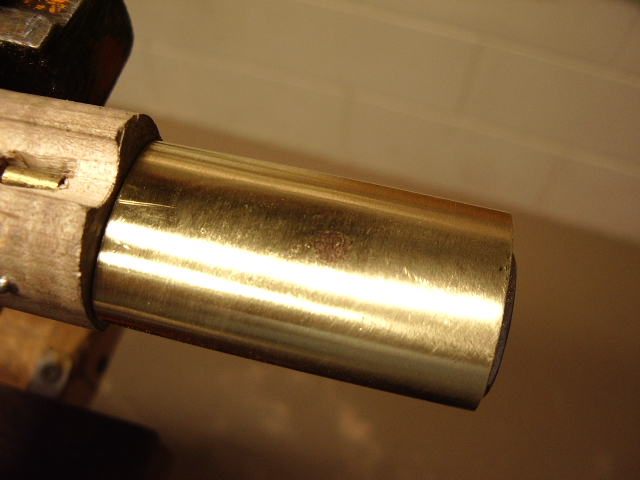
Next I'll have to work on the sand casted buttplate and make it presentable
to match the original. Here it is in the rough state. 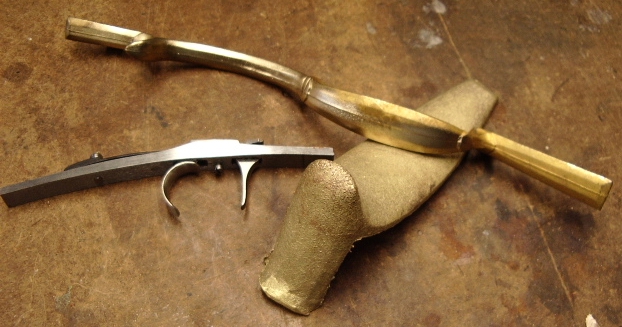
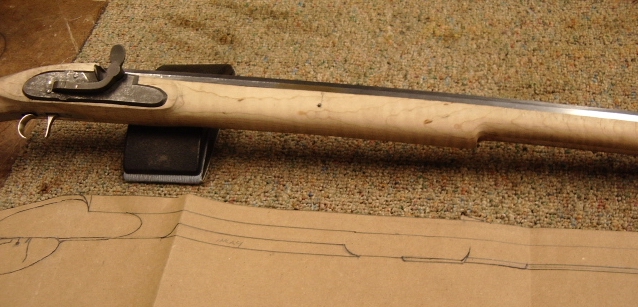
Here is the rifle so far, as compared to the tracings, Mike sent
me. 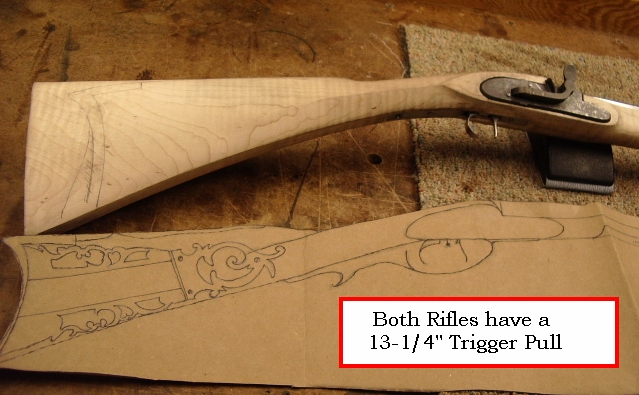
 I will have to trim the top of the stock to make the Roman-nosed comb on the
rifle. However, by doing so I can still have a wider side
I will have to trim the top of the stock to make the Roman-nosed comb on the
rifle. However, by doing so I can still have a wider side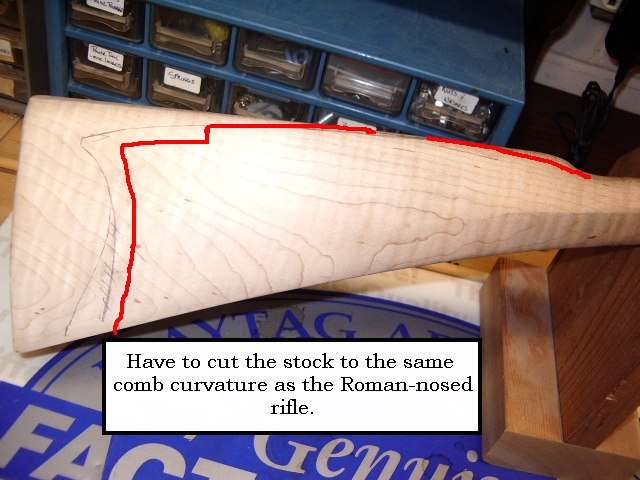 panel than the original. This is good, because this allows the patchbox to fit
the rifle better. On the original, the side panel of the buttstock was too
narrow, causing the patch box to almost touch the toe plate on the rifle. See
the original photo album for pictures of
this.
panel than the original. This is good, because this allows the patchbox to fit
the rifle better. On the original, the side panel of the buttstock was too
narrow, causing the patch box to almost touch the toe plate on the rifle. See
the original photo album for pictures of
this.
Hoot AL Rifle Shop
If you like the site or have any questions, drop me a line by clicking on "Hoot" below.

(c)
Copyright 2005. All Rights Reserved.