Inletted and installed the set triggers into the stock as before. 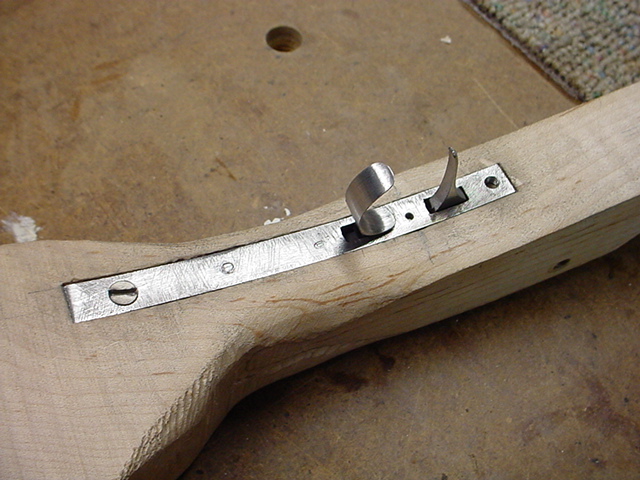 Used
a #6 screw to secure it to the stock. Then I used the hole already drilled in
the plate to align up for drilling the tang bolt.
Used
a #6 screw to secure it to the stock. Then I used the hole already drilled in
the plate to align up for drilling the tang bolt.
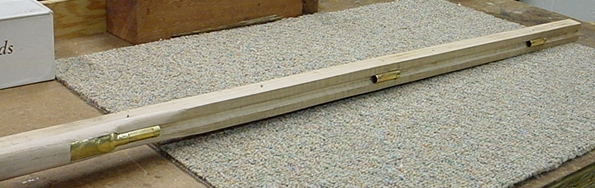
Drilled the tang bolt hole from the top, using my special jig. Tang Bolt Jig
Flip it over and then drilled thru the trigger plate bolt hole to meet the hole from the tang side. Both holes matched up. Then I removed the barrel and the trigger plate and drilled a 3/16" clearance hole for the #8 tang bolt I planned on using. Then retapped the plate again to make sure I had good threads and I did.
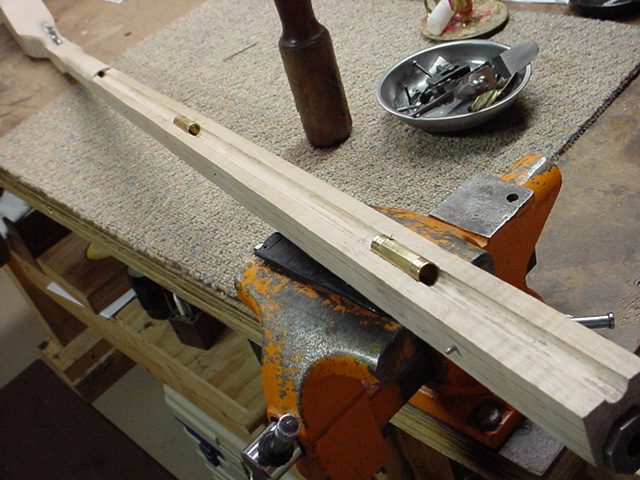
Then I located the front thimbles on the stock. Installed the front thimbles, then pinned them to the stock with 1/16" pins.
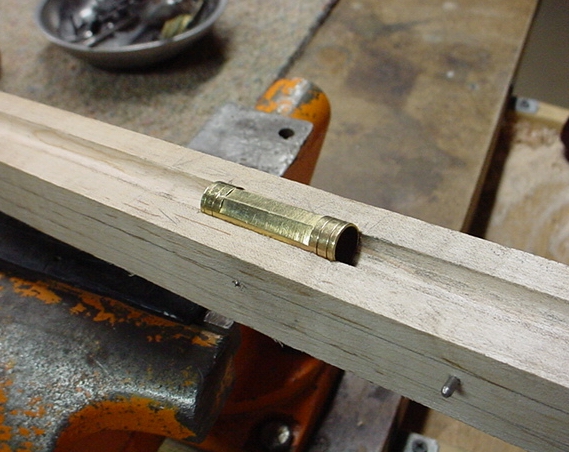
Now I need to install the rear thimble. Just like the front two
thimbles. I marked the tab from the thimble onto the stock. 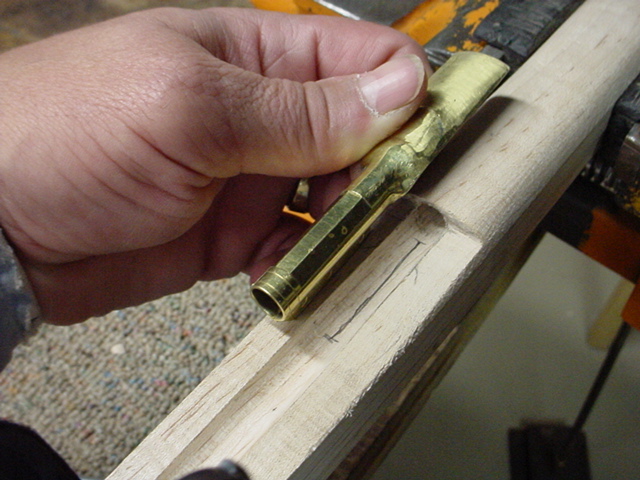
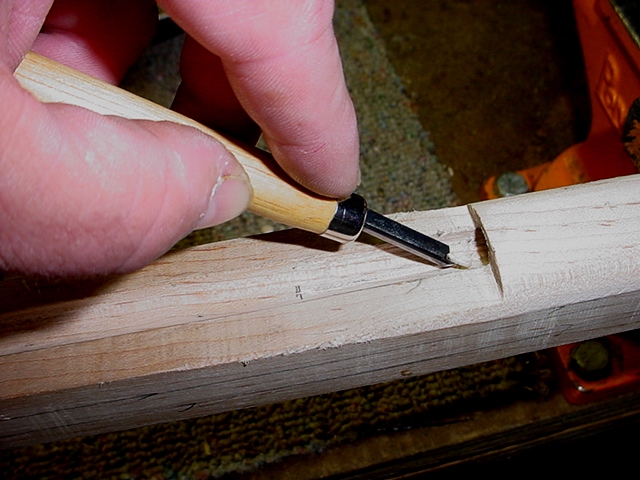
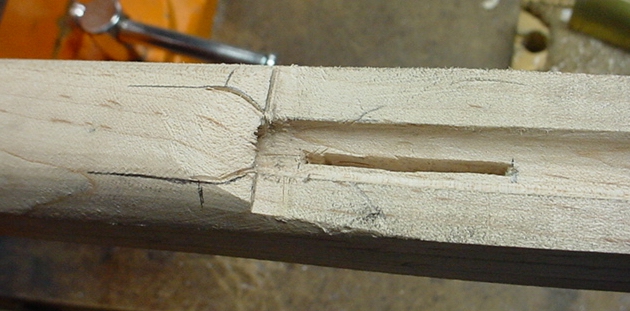
Then I used a "V" gouge tool to cut a channel along the length of the line.
I measured the thickness of the tab on the thimble and chose a drill bit of
the same diameter. I drilled a series of holes along the channel I gouged
out along the line. Using a knife, I cut along the holes and created a
slot in the stock. 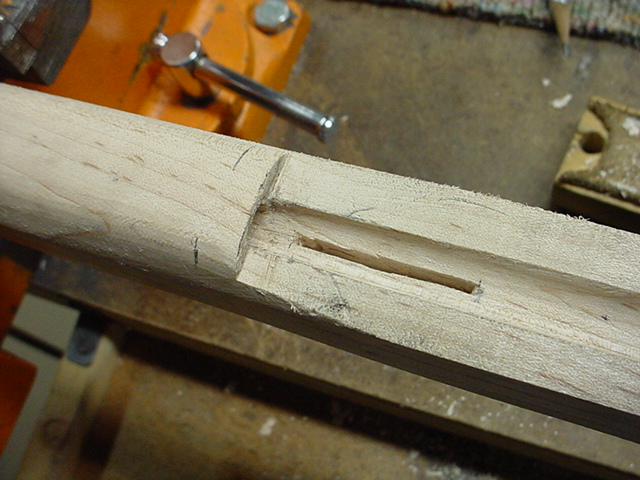
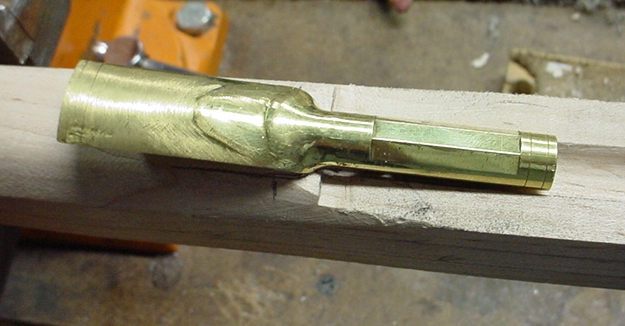
Then I set the thimble into the slot and traced the thimble onto the stock. Using my knife, I cut inside the lines and started to remove the wood.
 Then
I proceed to continue this process using candle
Then
I proceed to continue this process using candle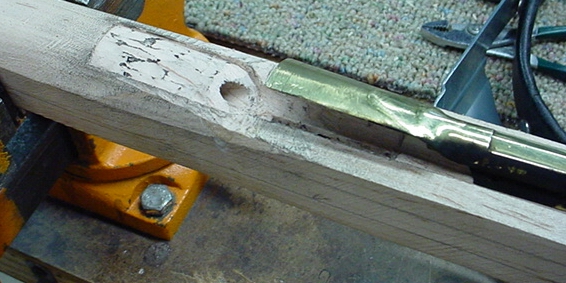 soot on the thimble and removing only the black marks on the wood, as the
thimble was lowered onto the stock. Note, it was important to keep the tail
parallel to the stock. When tapping on the thimble, do so only along the sides
of the tail and not straight down on the tail. In doing so, the hump in the tail
will flatten out and you need to keep reshaping the tail.
soot on the thimble and removing only the black marks on the wood, as the
thimble was lowered onto the stock. Note, it was important to keep the tail
parallel to the stock. When tapping on the thimble, do so only along the sides
of the tail and not straight down on the tail. In doing so, the hump in the tail
will flatten out and you need to keep reshaping the tail.
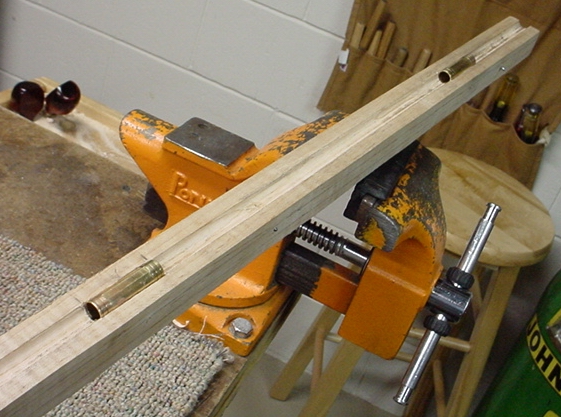
As the thimble is inletted into the stock, remove wood standing above the
thimble, so you know if there are any gaps between the thimble and stock. 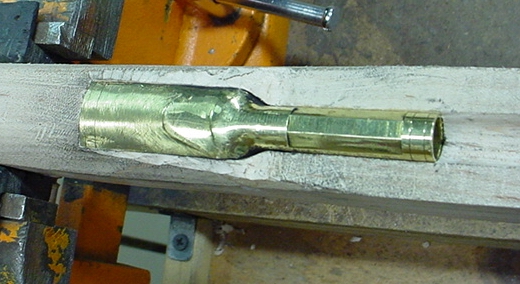
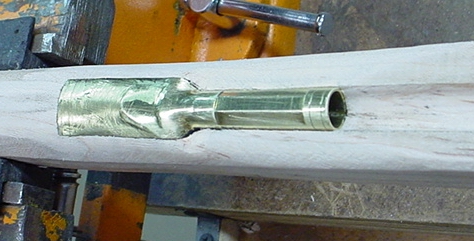
Hold the stock with the thimble in place periodically to ensure the thimble is parallel with the top of the stock. When satisfied, pin the thimble into the stock. I did so with 1/16" pin. Some people may put 2, however, if placed further back on the tab, you only need one pin.
Now I have three thimbles in the stock, the triggers in place and now I will cut the stock for the butt plate. Snake Bite wants a 14 - 1/2" pull on this rifle. With the butt plate on, I can then start removing all the extra wood on the butt stock.

Hoot AL Rifle Shop If
you like the site or have any questions, drop me a line by clicking on
"Hoot" below. (c)
Copyright 2005. All Rights Reserved.
