Inletting the Barrel, Tang and the Tenons:
 End
of the barrel channel was squared up and the barrel inletted down into the
channel.
End
of the barrel channel was squared up and the barrel inletted down into the
channel. 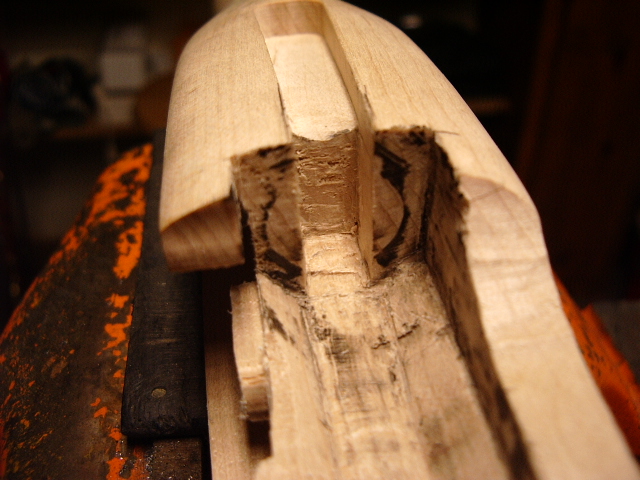
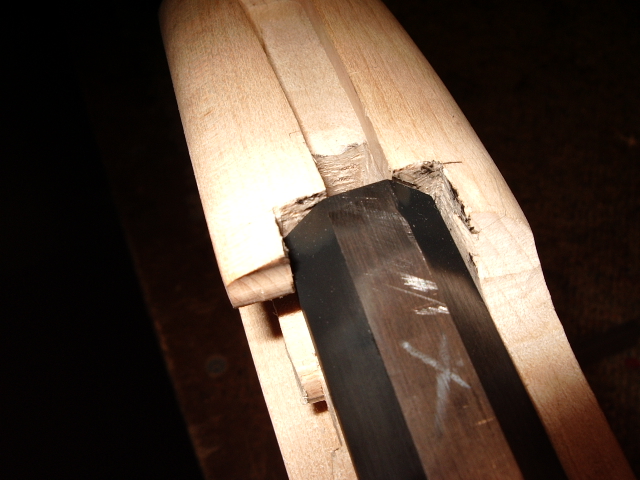
The tang was mated into the end of the barrel, so the top flat of the barrel was determined. White "X's" were marked on this flat.
Then the end of the barrel was blackened and driven into the rear wall to ensure the back wall of the barrel channel was flush with the end the barrel. This ensures the stock is providing support for the end of the barrel, in addition to the tang on the barrel.
 Now
the tang will be placed back in the barrel and then this will be inletted
into the stock.
Now
the tang will be placed back in the barrel and then this will be inletted
into the stock.

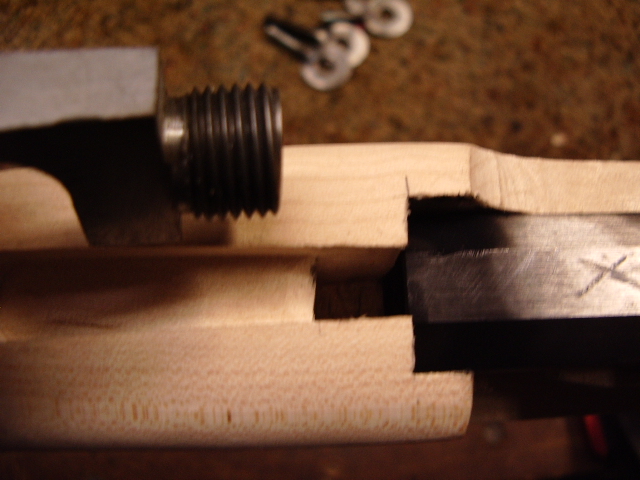
However, before doing so, the bottom of the tang was filed flush with the bottom of the barrel flat and two hash marks were made with a chisel. These are important so when the plug is removed later for the flashliner installation, it will be positioned exactly where it is now.
Then
the tang was bent to conform to the shape of the wrist and then inletted into
the stock. When inletting, make sure the end of the barrel is tight against the
end of the barrel channel. 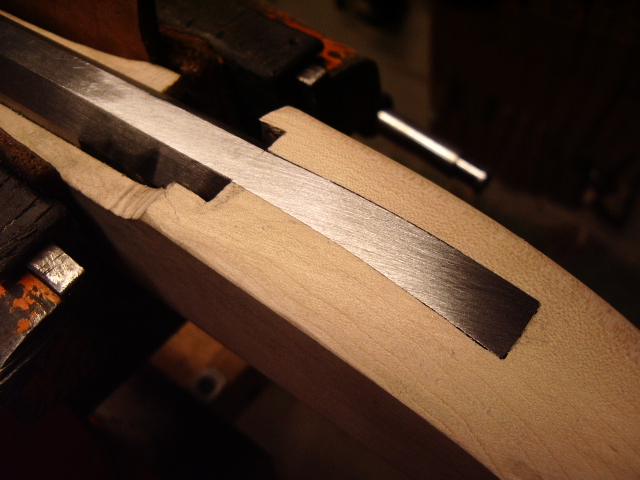
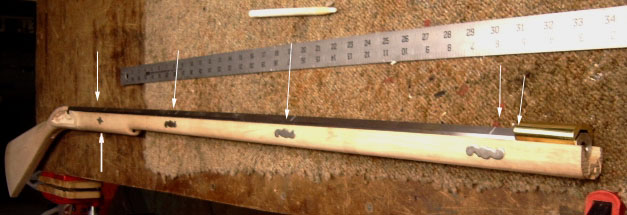
To determine where the barrel tenons would go, I positioned an inlay in the center of the forward forearm. Then I snap the nosecap onto the top of the barrel. This told me where I wanted to position to forward inlay to be 1/4" - 1/2" from the end of the nosecap.
The arrows in the photo point out the locations of the inlays. The inlays
between the front and rear inlays were divided equally between the other
two. Marks were made on the top of the barrel in aligned with the center
of each inlay. 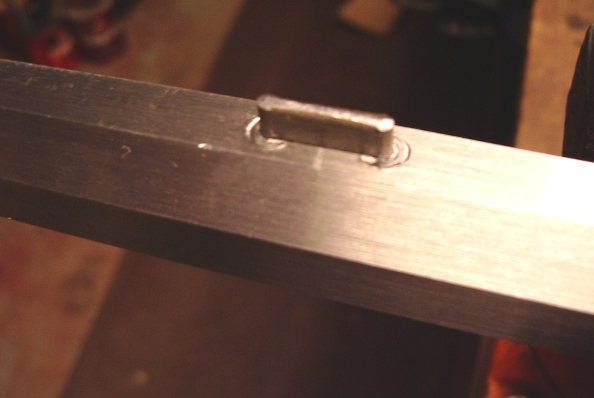
I used staples for tenons on this project.
Started with the tenon closest to the breech. (Did one tenon at a time.) After the tenon was on the barrel, I inletted the tenon, then drilled thru the stock to pin it.
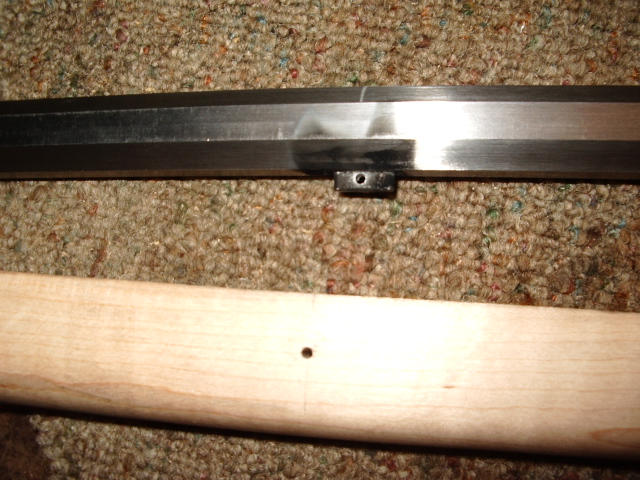
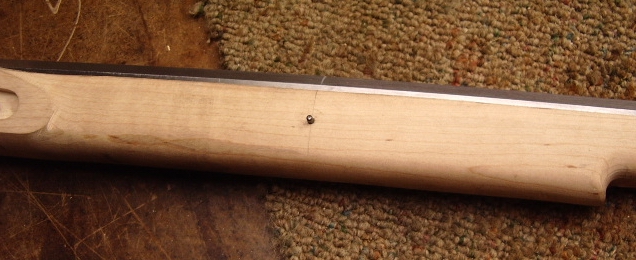
Continued this process till all four pins were in place. Since this was a precarved stock, I used a piece of square metal against the barrel to square up the rifle so the pins were drilled evenly thru the stock. As I progressed, I would put in all the previous pins and then clamp the area that was being drilled to ensure the barrel was tight in the stock.
Hoot AL Rifle Shop If
you like the site or have any questions, drop me a line by clicking on
"Hoot" below. (c)
Copyright 2005. All Rights Reserved.
