Installing the Nipple, Trigger Plate and Tang Bolt:
Nipple Installation:
With the location of the nipple alignment made with the piece
of dowel cut to the length of the nipple, a line was drawn across the face of
the drum. (Note: I removed the clean out screw and placed a piece of masking
tape over the end of the rum to draw my line easier.) This allowed for alignment
of the drilling jig for the nipple placement. 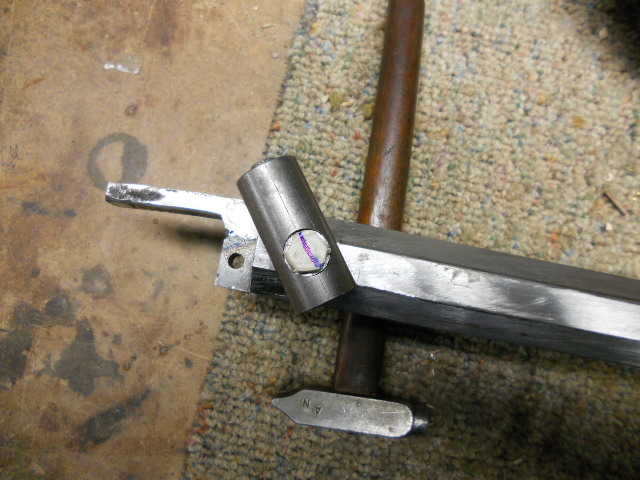 The drill bit used was a #3 drill bit for a 1/4 X 28 tap for the nipple.
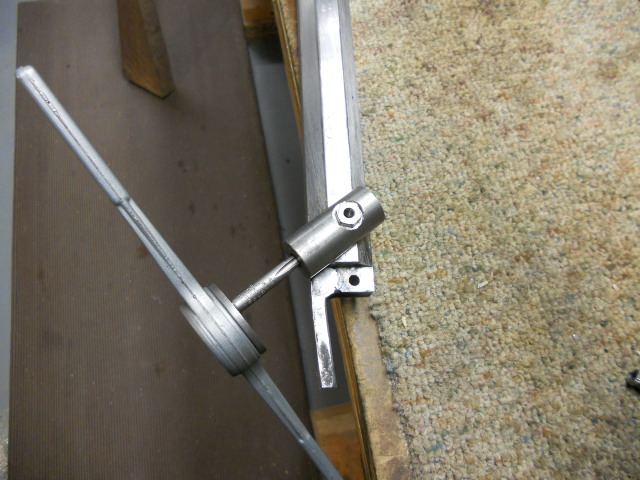
Once the hole was drilled into the drum, a 1/4 X 28 tap was placed into the jig and the drum was tapped.
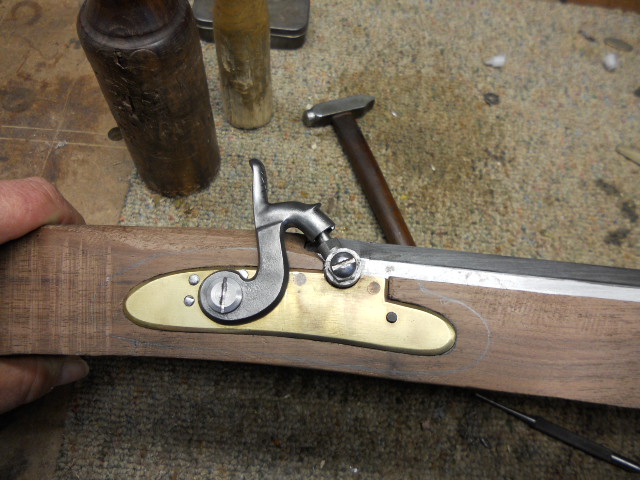
Here is the nipple in the drum and the lock in place. 
Trigger Plate Installation:
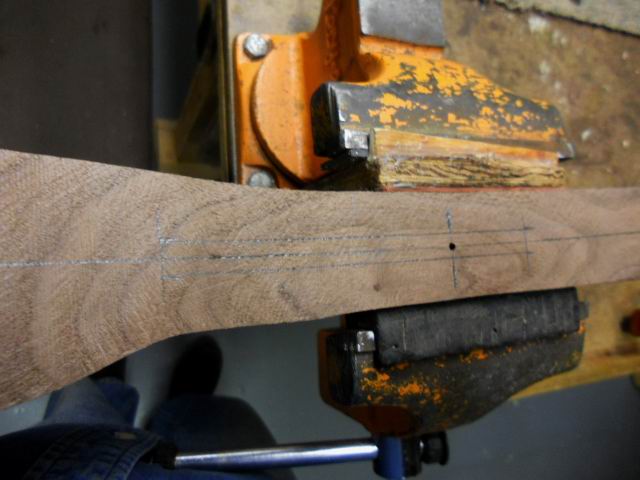
I positioned the trigger plate with the trigger guard to
ensure I had enough travel for the rear set trigger and position the front
trigger with ample room for my finger. With the position determined, I then
removed the excess material from the front of the trigger plate. 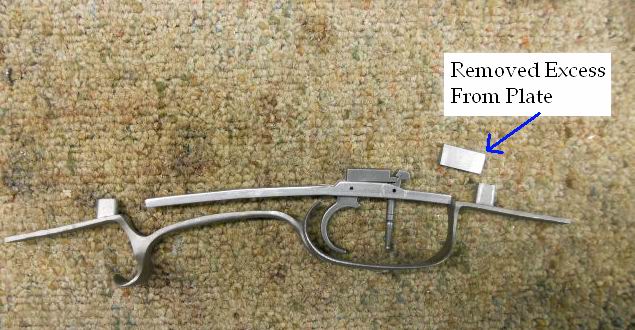 You also need to ensure you have enough material in the forward area for
the tang bolt to pass thru when you drill for this later.
You also need to ensure you have enough material in the forward area for
the tang bolt to pass thru when you drill for this later.
The trigger plate is positioned with the set screw aligned
with the sear of the lock. In this case, I previously drilled a 3/32" hole
in the center of the stock directly below the sear arm so I could activate the
lock after the lock was installed to ensure there was not any wood interference
in the lock recess area. 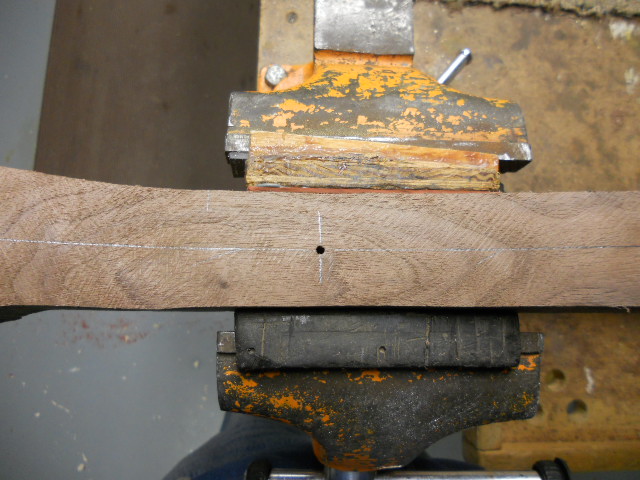


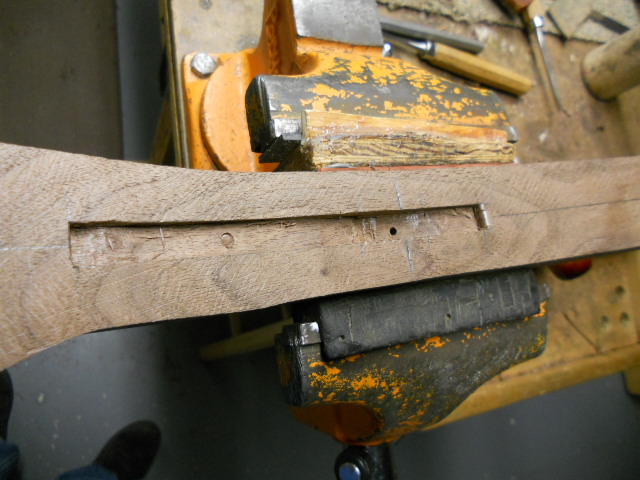
The area where the sear hole location was lowered till it
broke thru into the sear area of the lock. Trial and error with the trigger
plate fully assembled and blackened allowed for full inletting of the trigger
plate assembly. 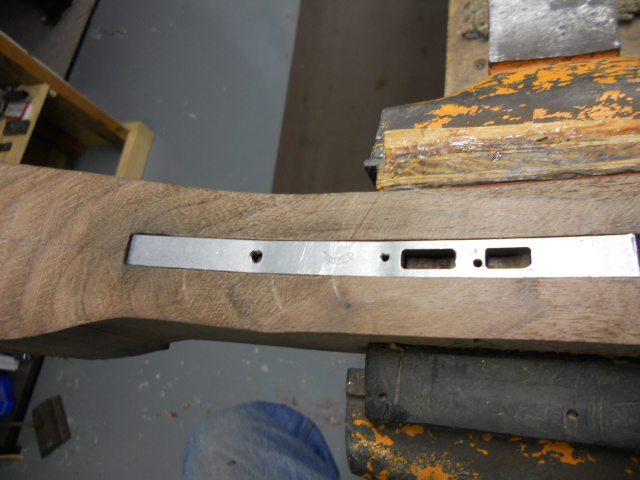
When the trigger plate was fully inletted, a #4 screw was
placed toward the rear of the trigger plate to hold it in
position. 
Tang Bolt Installation:
I drilled a shallow hole into the face of the trigger plate
where I wanted the tang bolt to pass thru. Then I located the position of the
top tang bolt hole in the tang of the barrel. I positioned the rifle on my tang
bolt jig (See Tang Bolt Jig link). Then I
drilled the hole for a 10 X 32 tang bolt. I wanted a heavier bolt due to
the increased weight of the barrel I am using for the Chunk Gun.

The rifle was rotated 180 degrees and the top hole in the tang
was placed onto the lower jig and I drilled down thru the trigger plate to mate
up with the hole from the other side. The rifle was removed from the drill
and the trigger plate was removed. Then a 13/64" drill bit was
drilled down thru the tang hole to make a passage hole for the tap and the bolt.
The trigger plate was installed again into the stock and a 10 X 32 tap was
dropped down thru the tang hole and the trigger plate was tapped for the tang
bolt. With this done, the hole in the tang was countersunk for the head of
the bolt and the bolt was seated flush with the barrel tang. 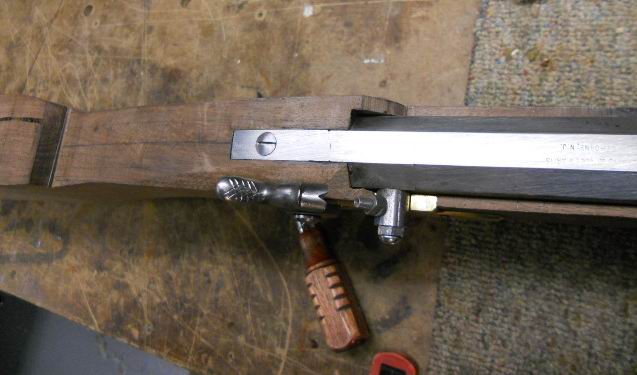
Hoot AL Rifle Shop
If you like the site or have any questions, drop me a line by clicking on "Hoot" below.

(c) Copyright 2005. All Rights Reserved.