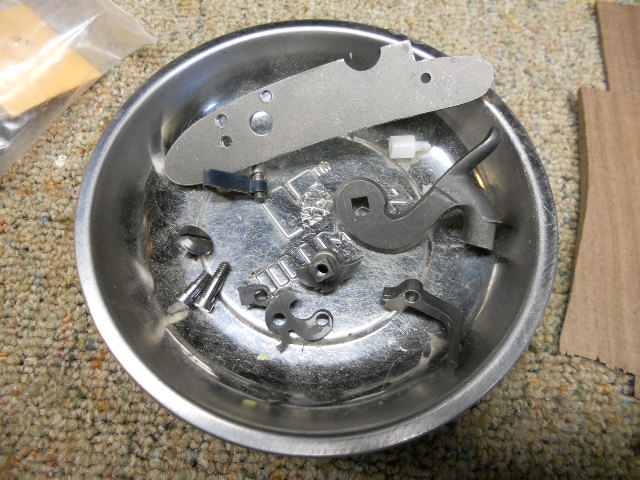
Working on the Lock:
I chose a large Siler Mountain Lock kit for this project. I drilled out and tapped all the necessary parts. Then I heated and tempered the fly, tumbler and sear. Then to add a little something extra, I then "V" notched the front of the hammer to aid in splitting the cap for easy removal during shooting and added some checkering to the top of the hammer.


Traced out the pattern on a 1/8" plate of brass. Filed the brass down to match the original lock plate.
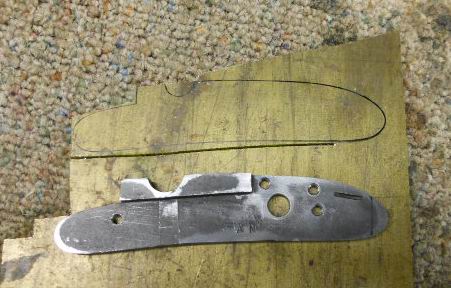
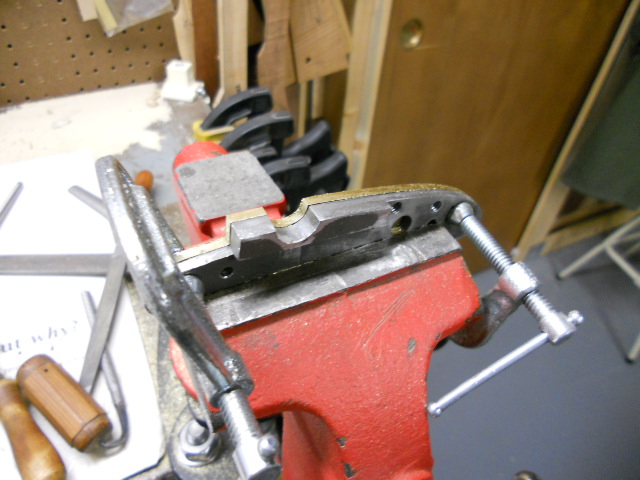
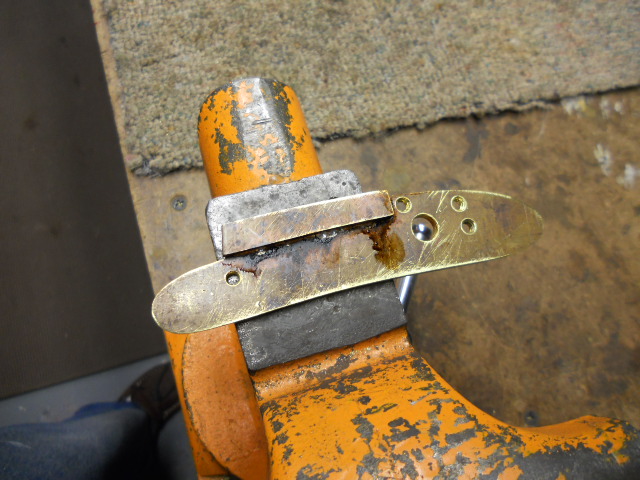
Drilled the taped the screw holes into the brass plate. Silver soldered on the bolster plate then riveted it to the plate with brass rivets for strength.


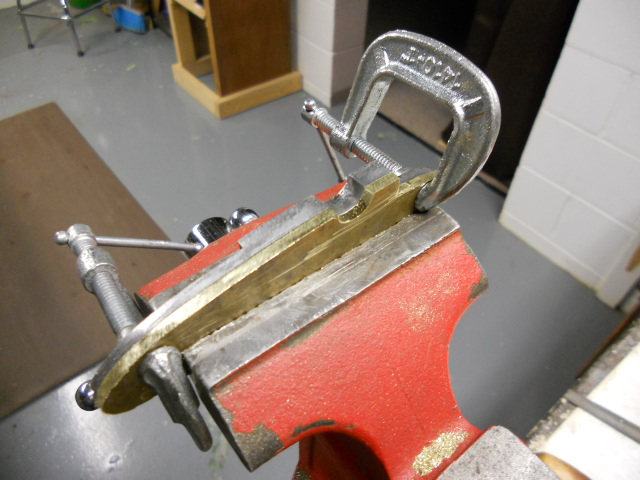
Next I had to file out the bolster plate for the drum on the barrel to fit
the lock.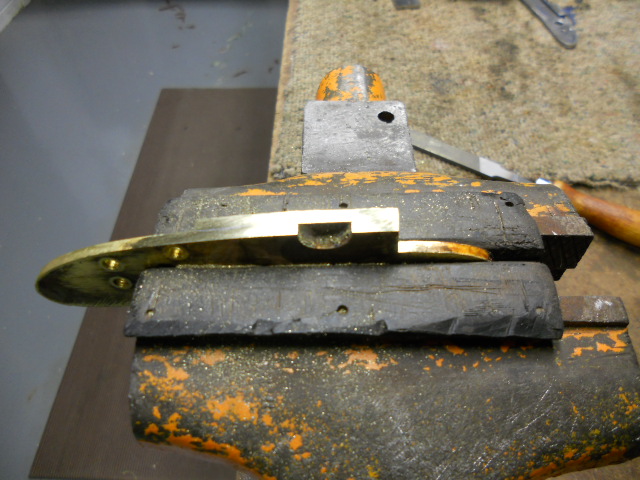
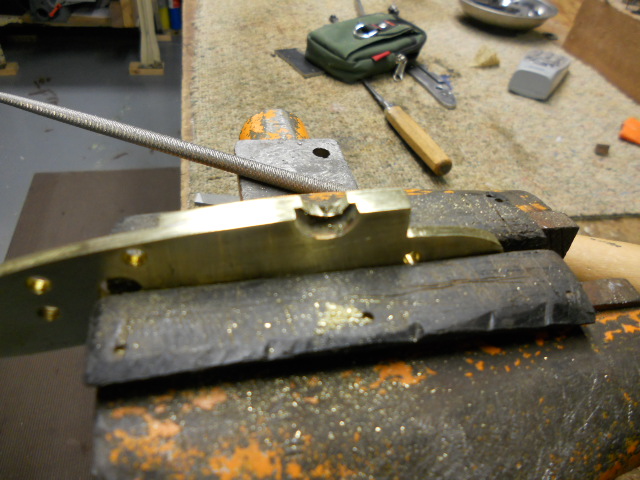
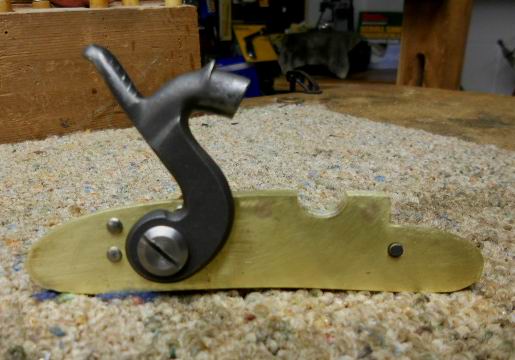
Here the filing is complete. I used a 1/2" drill bit (same size as my drum) to size the area to fit the drum using a round file.

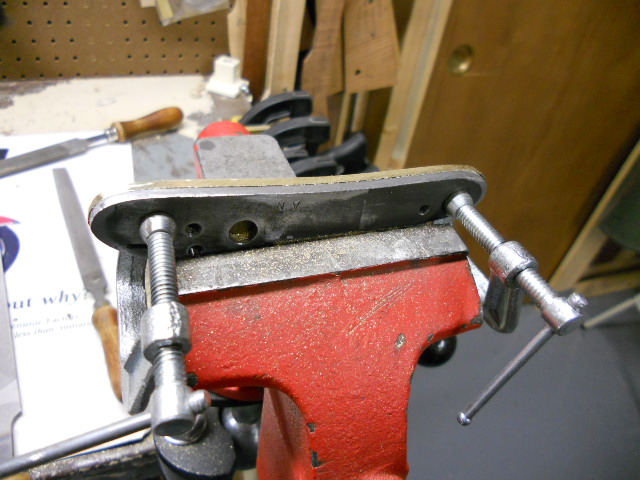
Here is the finished lock. You can see the location of the two brass rivets in the bolster area of the lock.
Hoot AL Rifle Shop
If you like the site or have any questions, drop me a line by clicking on "Hoot" below.

(c) Copyright 2005. All Rights Reserved.