Butt Plate Installation:
Laid the butt plate onto the stock
and traced it out with a pencil. The top of the plate was even with the top of the
comb. 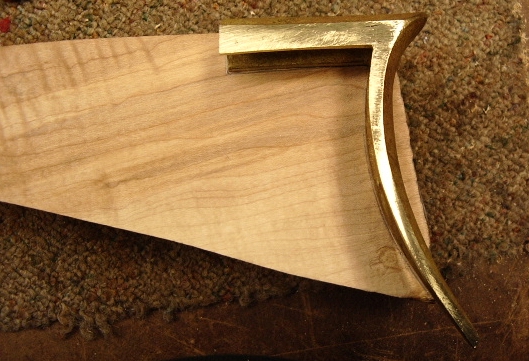
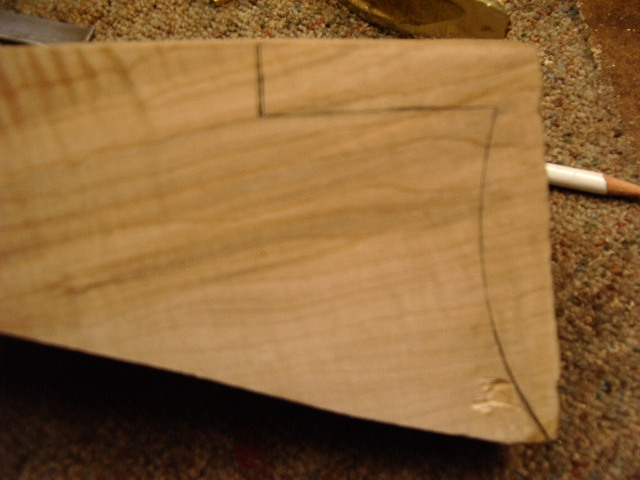 Once the lines were drawn and checked several times, the wood was removed.
A center line was drawn down the
center of the stock. The butt plate was positioned 1/8" to the left.
This will give the rifle a slight amount of off set to bring the sights more in
alignment with the shooter. 
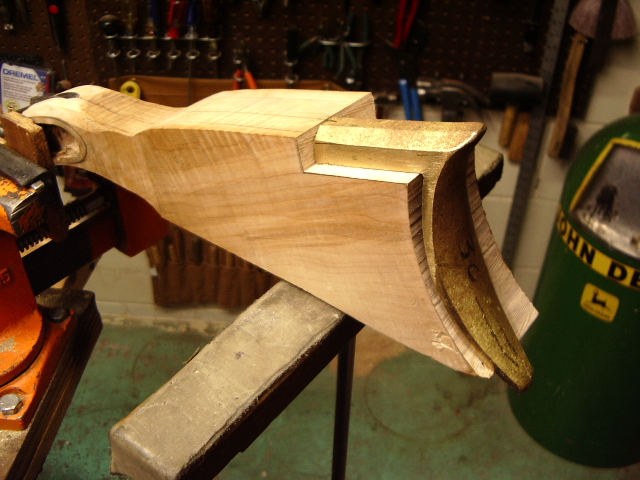
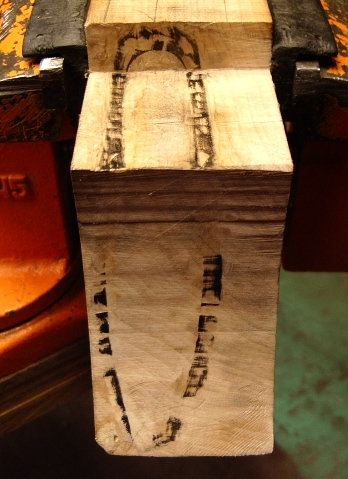
First step is to blacken and lower
the butt plate to make flat lines across the top of the stock and and then work
the plate forward into the stock. Here are a couple photos which
show early on and at the end. 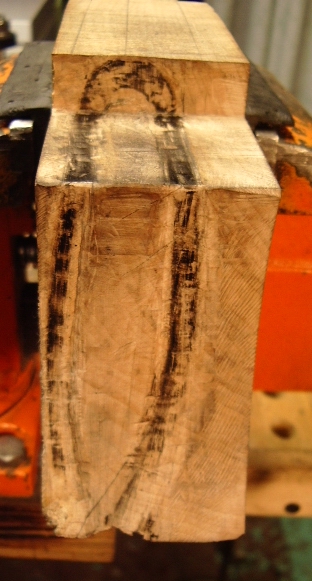
Now the butt plate should be
sitting flush against the stock. 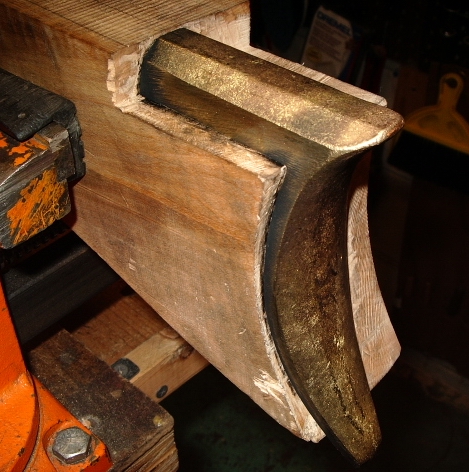 With the butt plate flush, now install a screw 1/3 of the way back from the comb
and the another one 1/4 of the way up from the heel of the plate.
With the butt plate flush, now install a screw 1/3 of the way back from the comb
and the another one 1/4 of the way up from the heel of the plate. 
Butt plate is now installed.
Hoot AL Rifle Shop If
you like the site or have any questions, drop me a line by clicking on
"Hoot" below.

(c) Copyright 2005. All Rights Reserved.