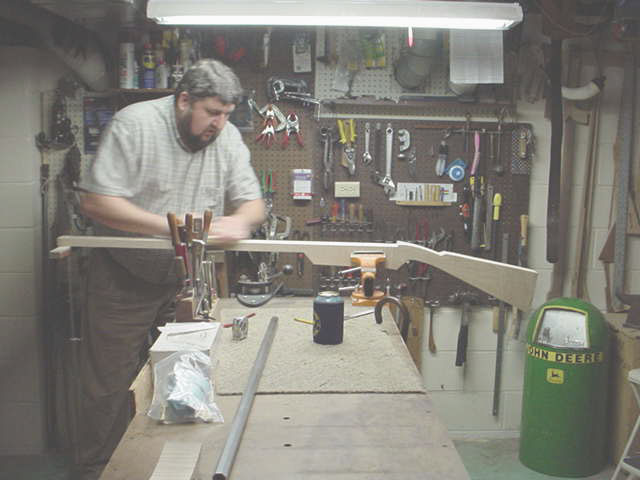
In The Beginning:
Here is a photo of the stock in the beginning.  We
laid out the wooden template on the stock and drew out the pattern to cut out of
the stock.
We
laid out the wooden template on the stock and drew out the pattern to cut out of
the stock.
 Next
step was to cut the stock down after we drew the pattern on the side of the
stock.
Next
step was to cut the stock down after we drew the pattern on the side of the
stock.
Once all the cutting was done,
then the stock is taking shape.
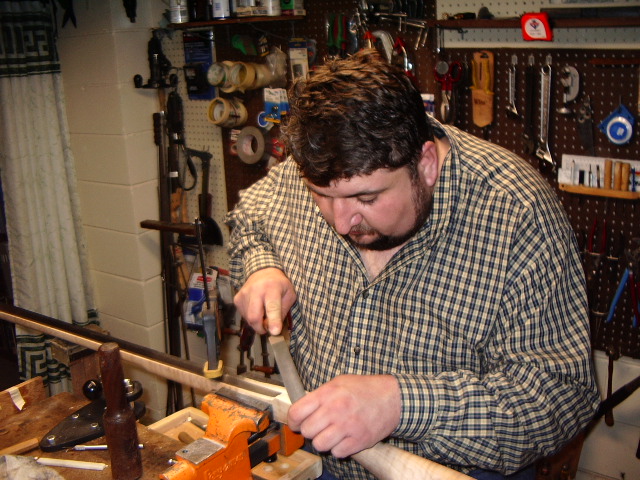
 Next
comes the flattening of the top of the stock in preparation for the barrel
inletting.
Next
comes the flattening of the top of the stock in preparation for the barrel
inletting.
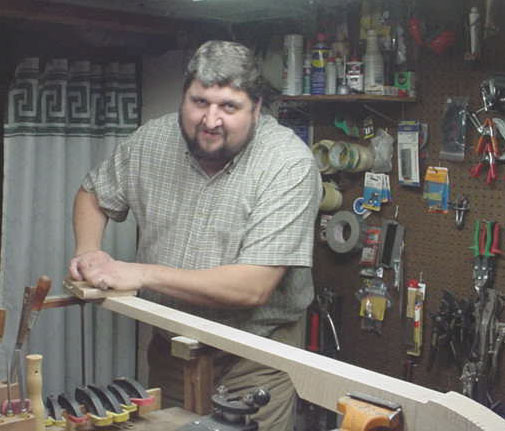
Here is one happy Apprentice.
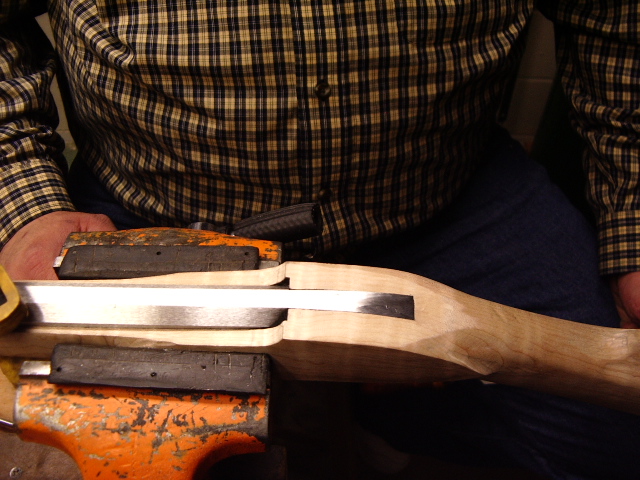
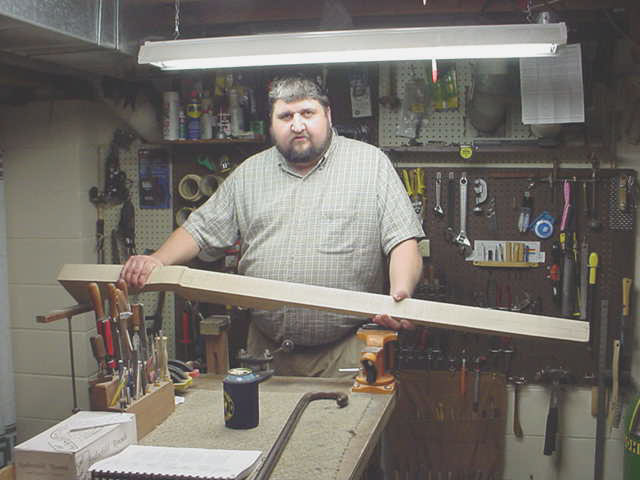 Here
is the finished product ready to have the barrel channel laid out for chiseling
in the barrel channel.
Here
is the finished product ready to have the barrel channel laid out for chiseling
in the barrel channel.
Bill
has inlet the barrel and is now inletting it into the breech area of the stock's
wrist. 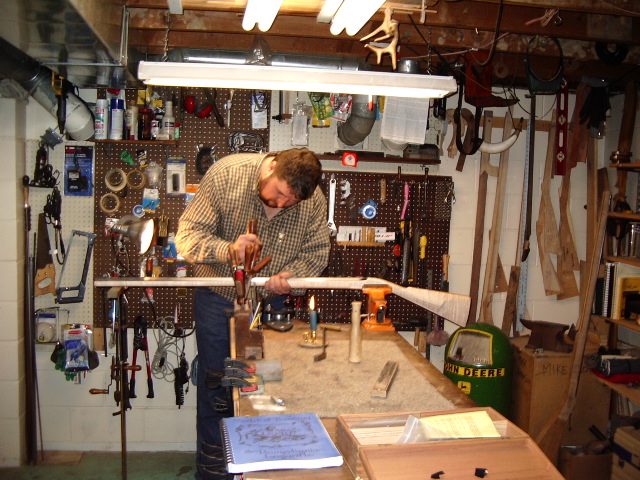
To do this, Bill blackens the end of the barrel with candle black and then seats the barrel into the channel. Here he is tapping the barrel into the stock.
After
the tapping the end of the barrel toward the wrist, it leaves a black mark on
the vertical wall in the breech. Before removing the barrel, he looks to see how
much more wood he must remove to make a flush and tight fit of the end of the
barrel to the stock in the wrist. 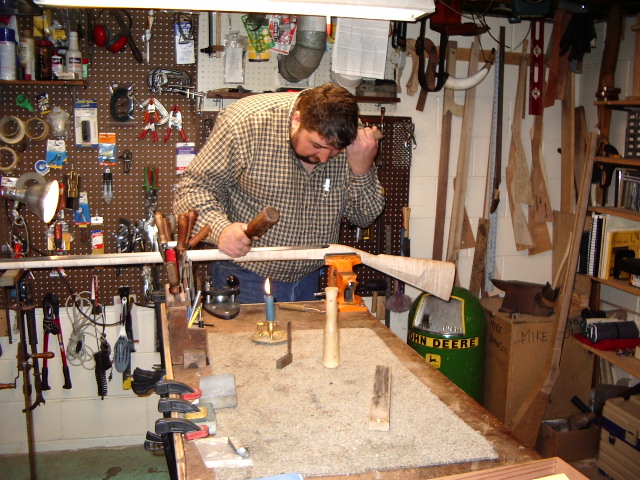
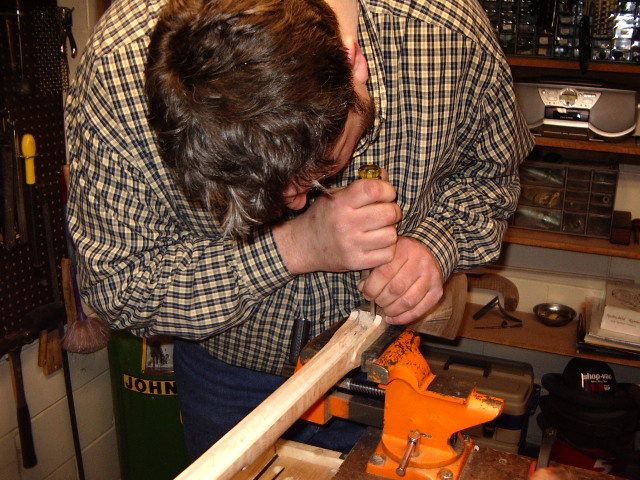
Bill must remove the black marks one sliver at a time with a chisel.
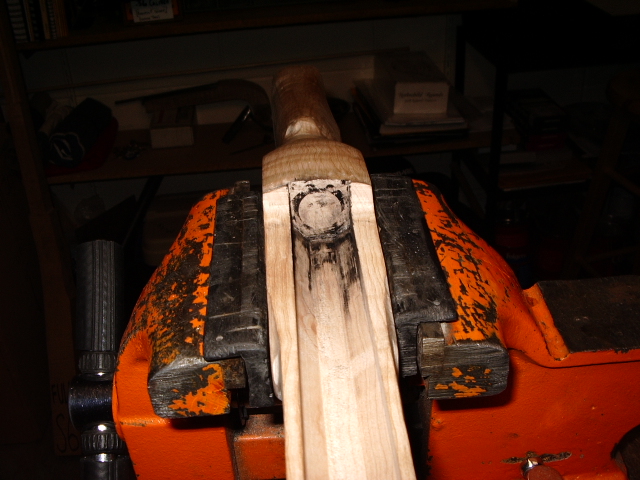
Once there is a full circle on the rear vertical wall, the inletting of the barrel is complete.
Then
the barrel is placed back into the stock and the excess wood above the barrel is
filed down even to the top of the barrel. 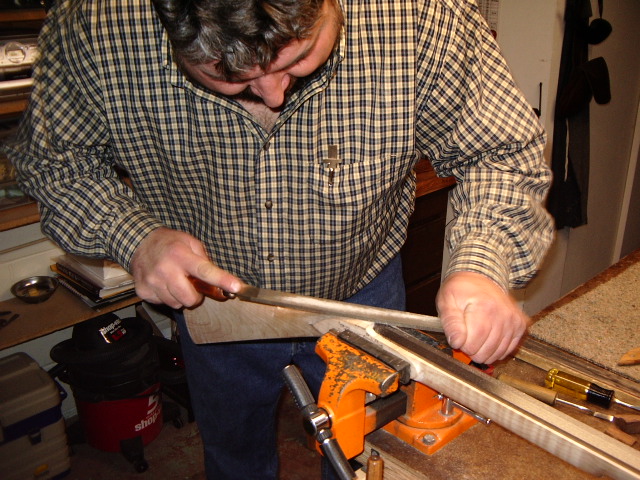
Earlier we screwed in the breech plug and then draw filed the bottom flat of the breech plug even with the bottom flat of the barrel. Then we stamped two chisel marks "\ /" across the mating surfaces of the breech plug and the barrel to use as reference marks when we remove and reinstall the breech plug in the future.
The next step is to mark out the area for the
breech plug on the wrist of the stock and then inlet the barrel and breech plug.
We measured the depth of the plug which was 14/32" and then measured back
from the end of the 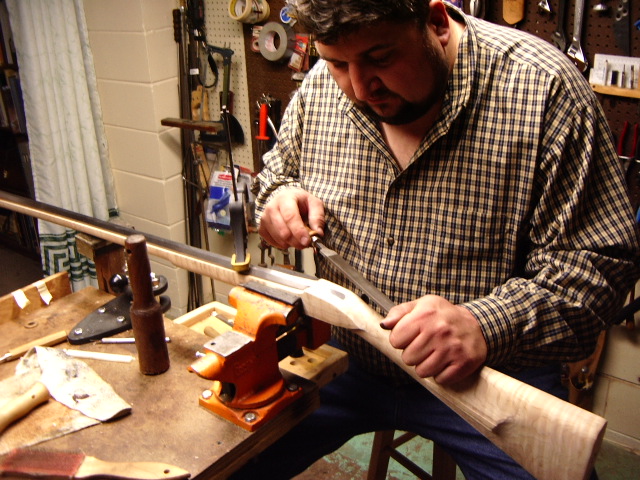 barrel this amount in two places and then drew a line perpendicular
across the wrist. Using a thin metal ruler, we aligned up with the edge of
the one of the top barrel flats and drew an extended line perpendicular to the
14/32" line. We repeated this on the other side of the top flat. We will
now chisel down a square hole to the depth of the barrel. Then we will start
inletting the tang into the stock.
barrel this amount in two places and then drew a line perpendicular
across the wrist. Using a thin metal ruler, we aligned up with the edge of
the one of the top barrel flats and drew an extended line perpendicular to the
14/32" line. We repeated this on the other side of the top flat. We will
now chisel down a square hole to the depth of the barrel. Then we will start
inletting the tang into the stock.
Next we blackened the tang and slowly inlet the tang into the stock. Once inletted, Bill filed the wood and metal tang flush with the stock.
 Once
the surfaces were flush, "whola" the tang is inletted.
Once
the surfaces were flush, "whola" the tang is inletted.
Now onto making the barrel tenons and pinning the barrel to the stock.
Hoot AL Rifle Shop If
you like the site or have any questions, drop me a line by clicking on
"Hoot" below.

(c) Copyright 2005. All Rights Reserved.