Installing Side Plate:
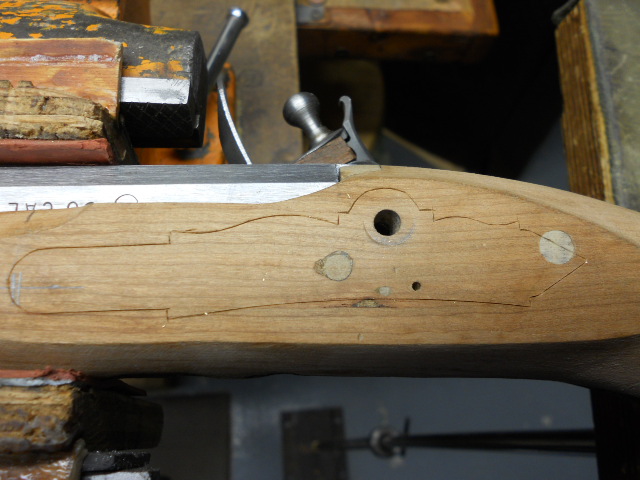
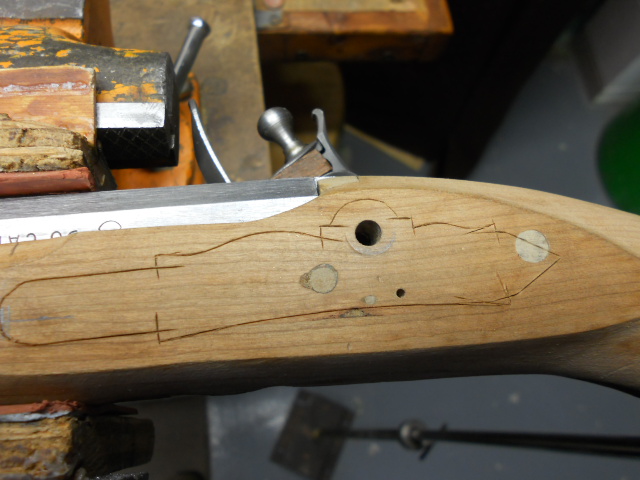
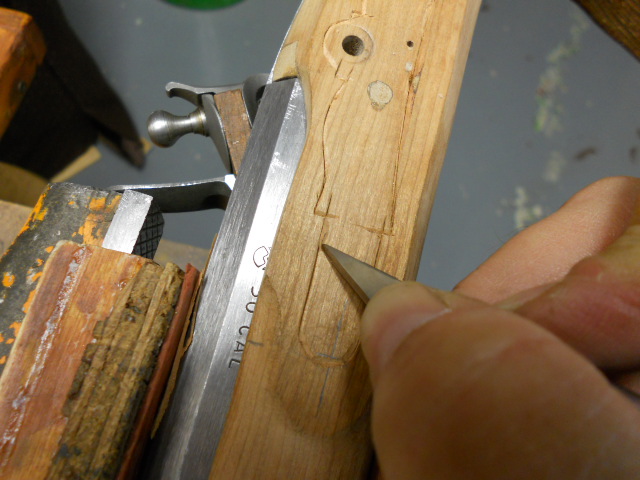
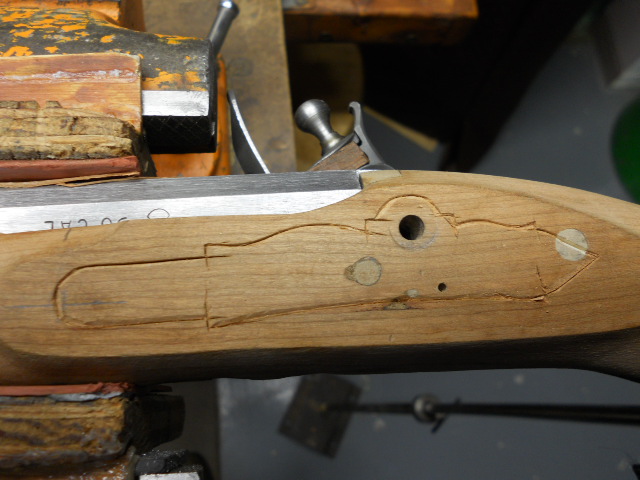
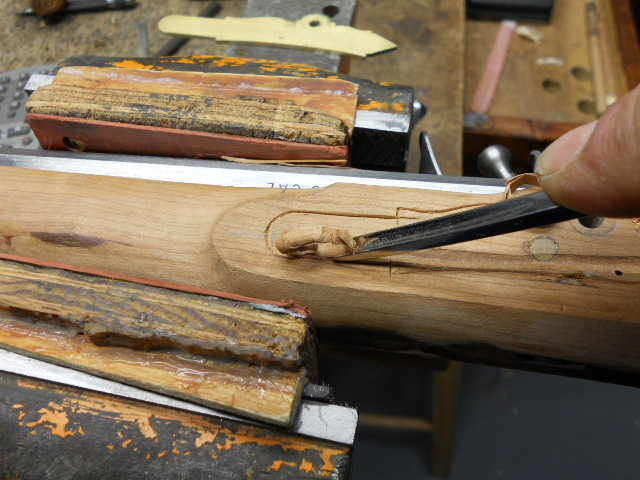
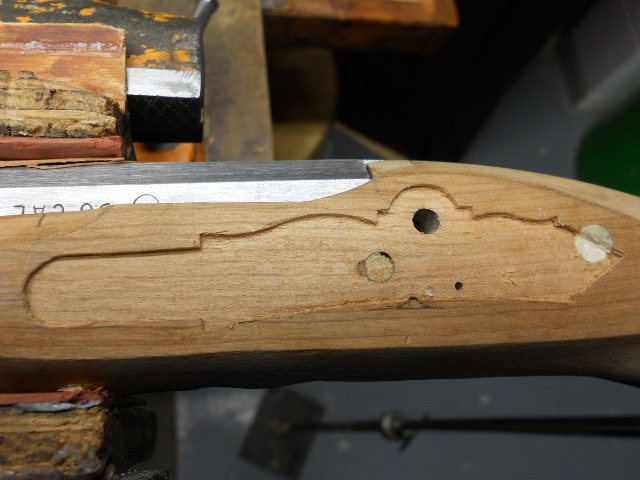
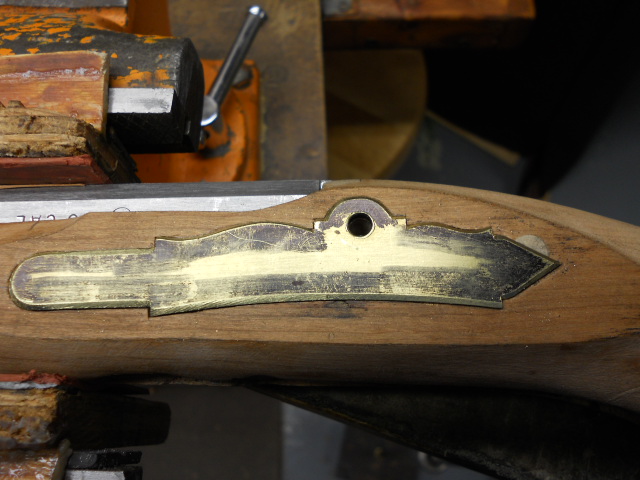
I marked the bolt hole location in the side plate, which centered the bolt head in the upper portion of the side plate. I drilled a 3/16" passage hole in the plate for the lock bolt. I screwed the bolt into the lock panel. Then I centered the front half of the side plate on side plate panel. Next I used a sharp knife to trace around the side plate into the wood. This is shown in the center photo below. In the next photo I cut into the same lines again, this time deeper. Note: I'm now able to cut thru my lines.
With the deeper cuts made, I use the knife to cut a V channel along the lines. This will keep the gouge from cutting into the side of the cut out area.
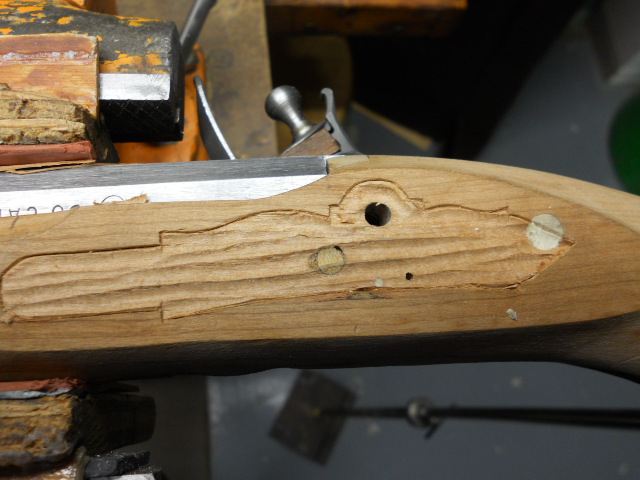
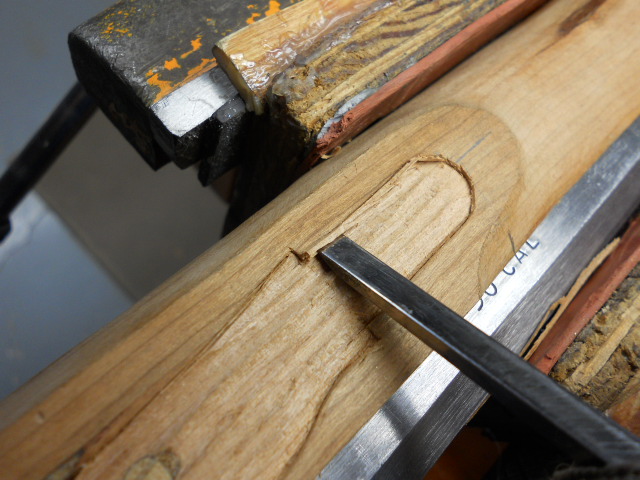
Below you can see the gouges made in the stock. With my 1/4" chisel I use the bevel down and cut across the gouge into the sides. I flick this wood out and it peels away from the stock leaving me a nice vertical sharp edge to the side plate profile. I then cut cross-ways across the gouges to level the area to the depth of the gouges.
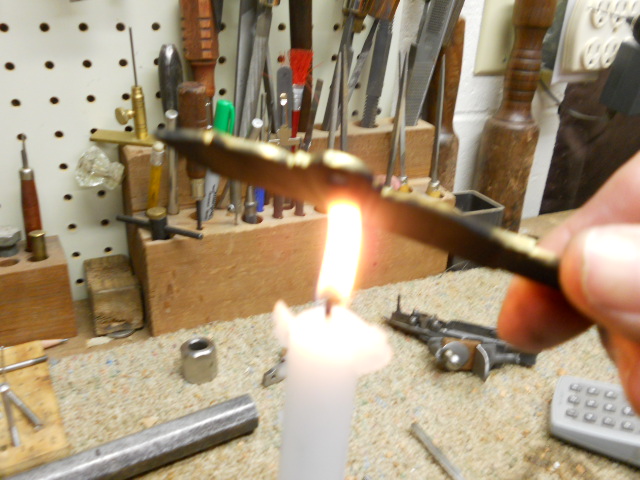
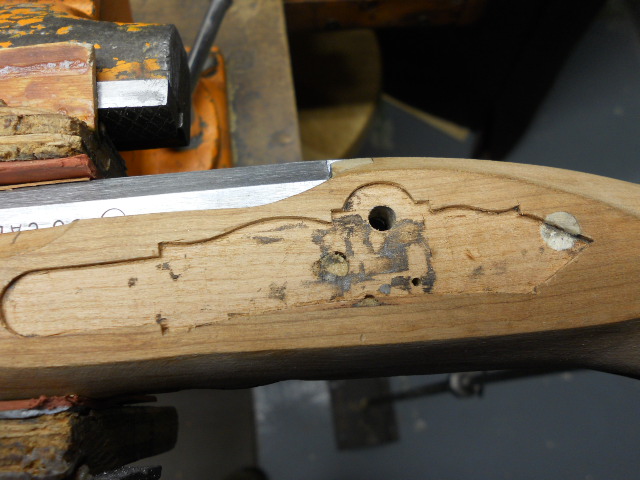
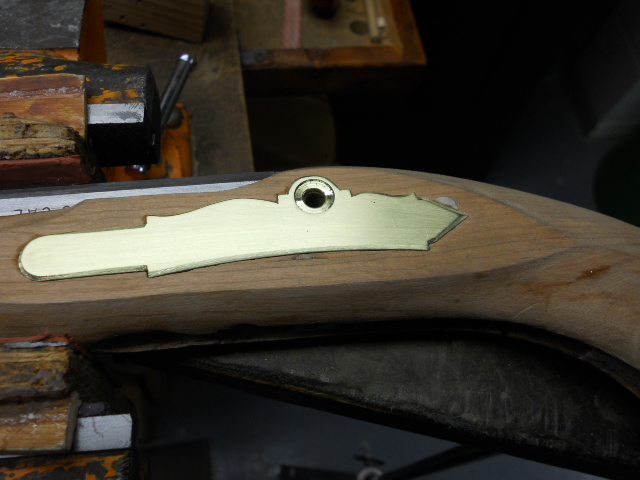
Using a candle, I darken the bottom of the side plate and reinsert the plate into the cut out area. Pressing downward on the plate, then tapping it with a wooden mallet, it leaves black marks only on the high area. Again, using my 1/4" chisel I remove the blackened areas. I repeat this till the entire area is blackened. Now I know the plate is level. Look around the perimeter of the side plate to make sure you have an even height of the plate. Since the lock plate is raised from the side panel, I need to do the same with the side plate. The plate is 3/32" thick so I inletted it 1/16", leaving a 1/32" height around the plate. In the right photo below, I marked the perimeter of the plate with Magic Marker. Then I scribed a line 1/32" in around the perimeter of the plate. This will be the width of my bevel on the side plate. The bevel with also be dropped 1/32" so the bevel with flush with the wood surface.
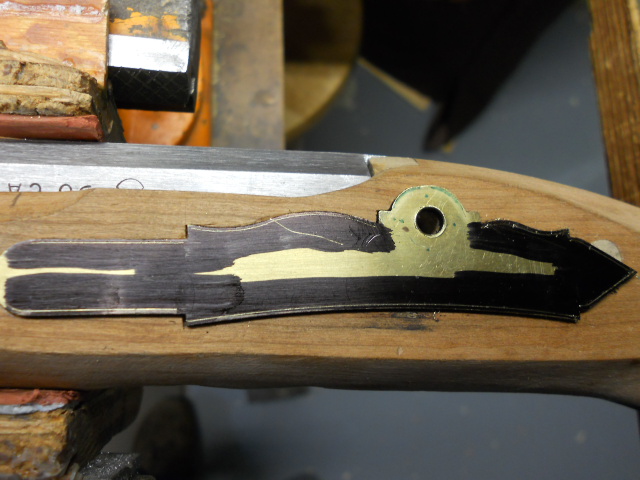
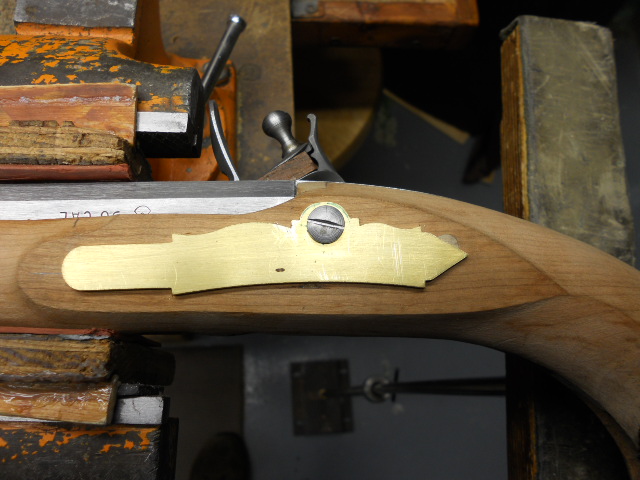
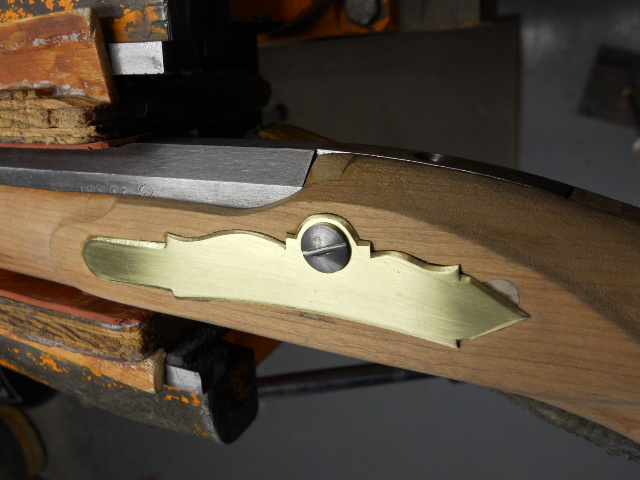
Here you can see the bevel is finished. In the last two photo you can see the results of the finished side plate. (NOTE: I also drilled a counter sunk hole the width of the bolt head to recess the head slightly into the side plate.)
Hoot AL Rifle Shop
If you like the site or have any questions, drop me a line by clicking on "Hoot" below.

(c) Copyright 2005. All Rights Reserved.