Install Thimbles:
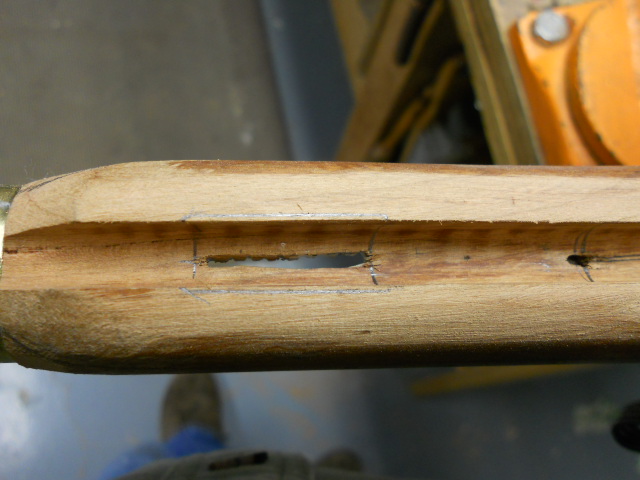
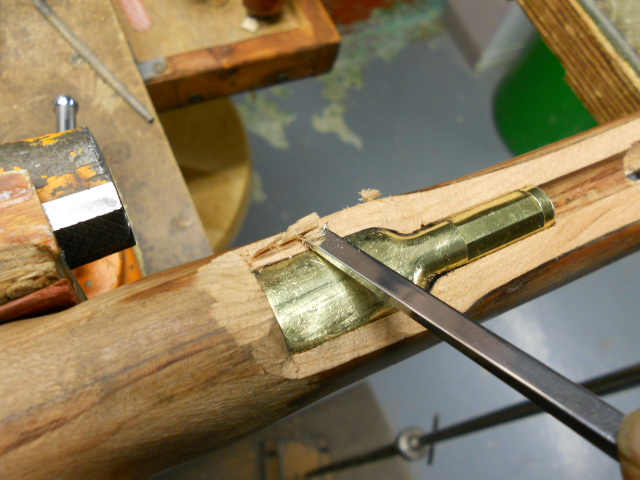
To determine the location of the thimbles, the forward thimble was laid into the rear thimble location then the stock was marked. A measurement was made from the front of the rear thimble to the end of the muzzle cap. This was divided in half for the center of the from thimble. The front thimble is moved slightly forward to make the forearm to appear slightly longer. The stock is marked to indicate the location of the forward thimble. A line is drawn down the center of the ram rod channel. A "V" groove chisel is used to create a groove between the lines. This will help align the drill bit when drilling.
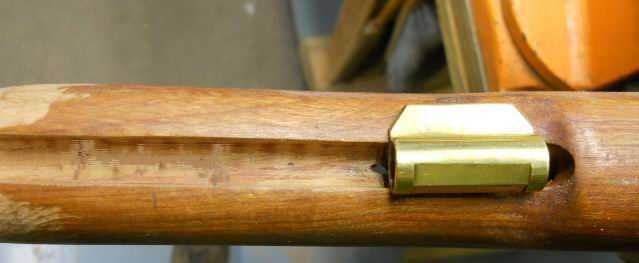
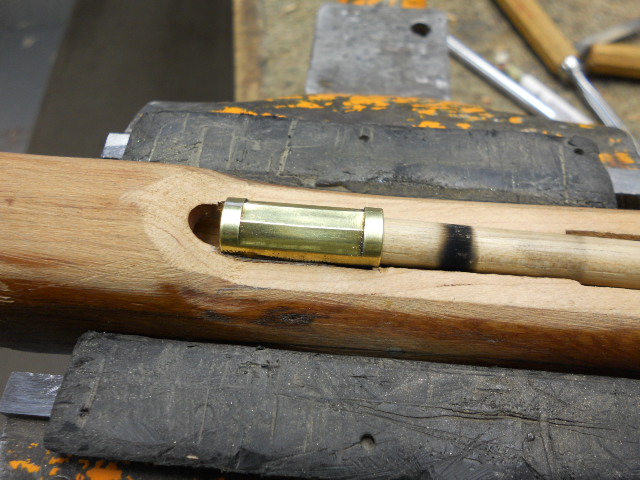
The drill bit is the same thickness as the thimble rib. A series of holes are drilled between the two lines. Then using a chisel this slot is opened. With the thimble placed into the slot, trace the outside of the thimble onto the stock. This marks the excess wood which needs to be removed. Using candle soot, the thimble is positioned into the stock and leaves black marks. Remove the black marks and the thimble will be inletted into the stock.
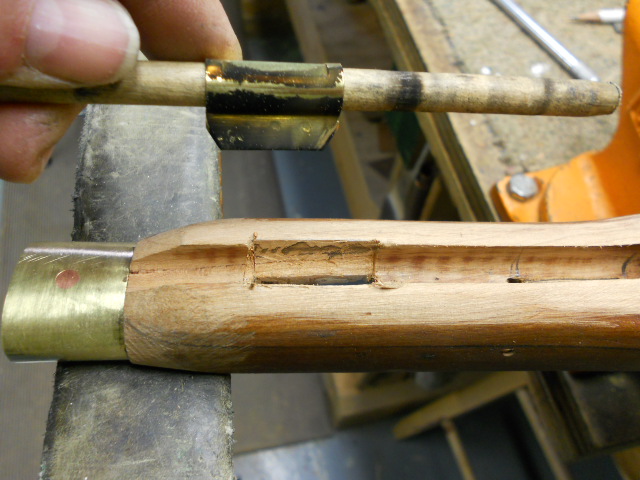
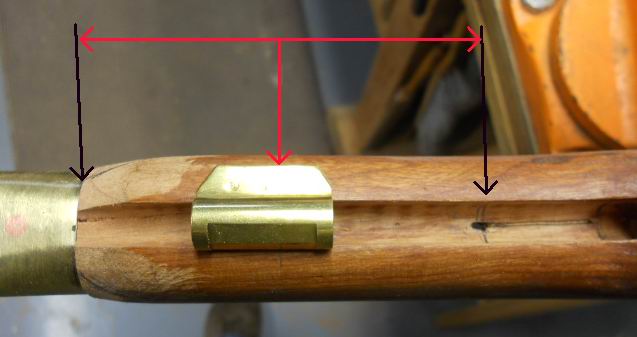
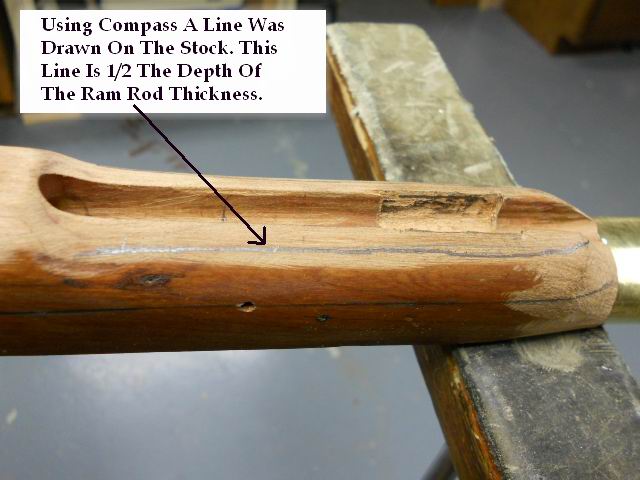
In the process of inletting the thimble I discovered there was excessive wood along the ramrod channel. I marked on the side of the stock half the depth of the ramrod channel. Using a compass I traced this mark across the forearm on either side. Then using a file, I removed the excess wood.
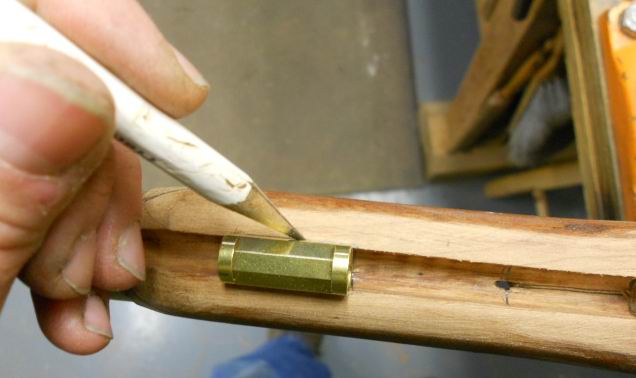
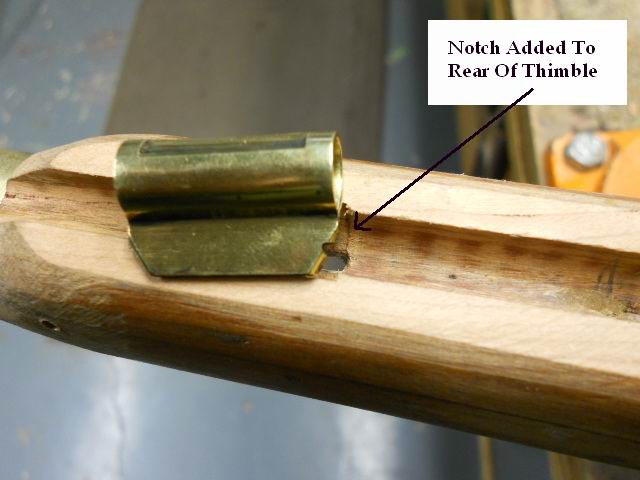
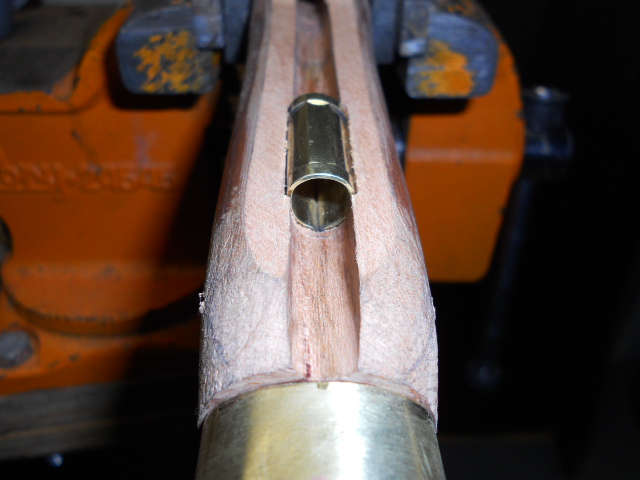
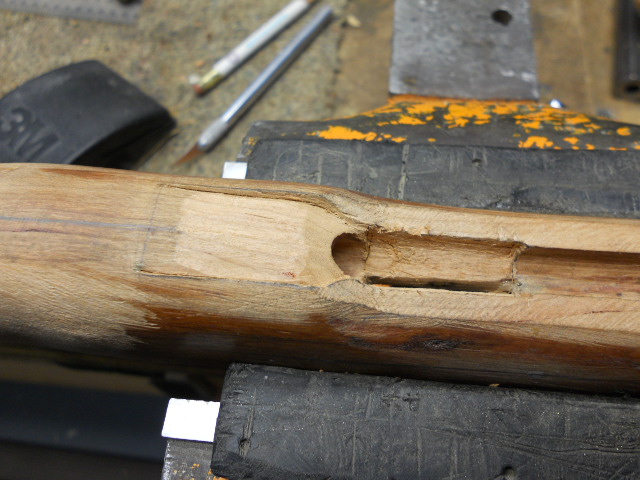
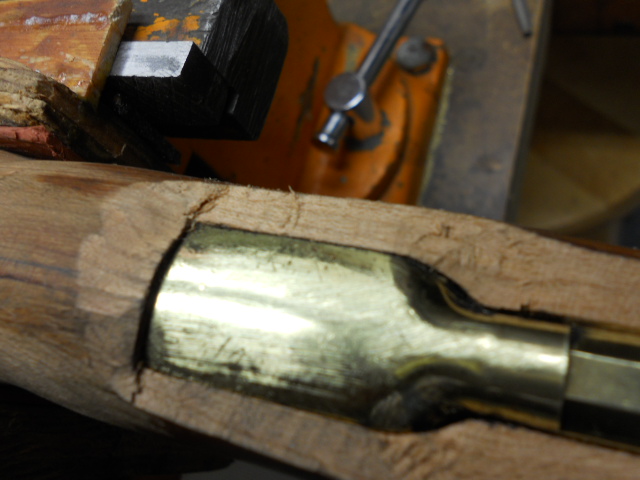
Now the thimble will be half exposed when fully inletted into the stock. Note, the depth of the thimble will be till the bottom inside of the thimble is flush with the ramrod channel so the ram rod will pass smoothly thru the thimble. To identify placing the thimble correctly back into the slot each time, I used a triangle file to cut a notch into the rear of the thimble.
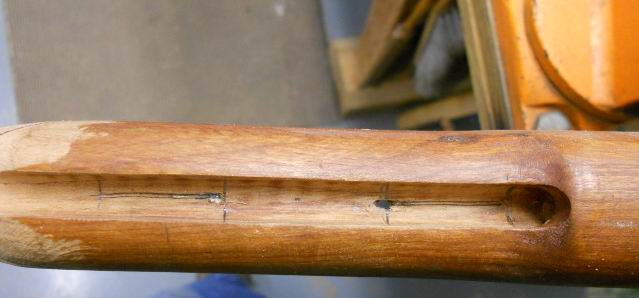
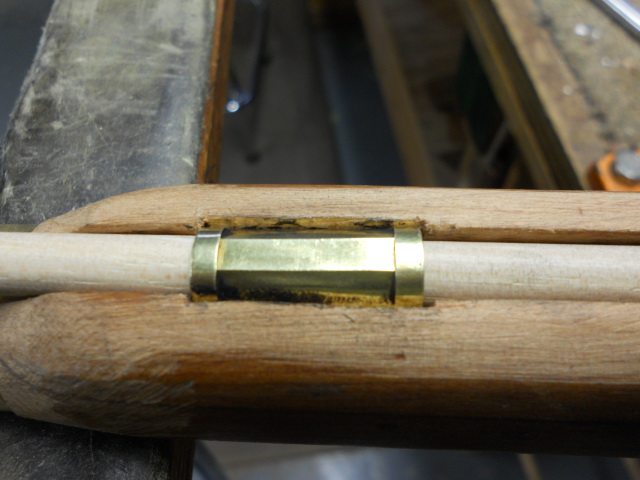
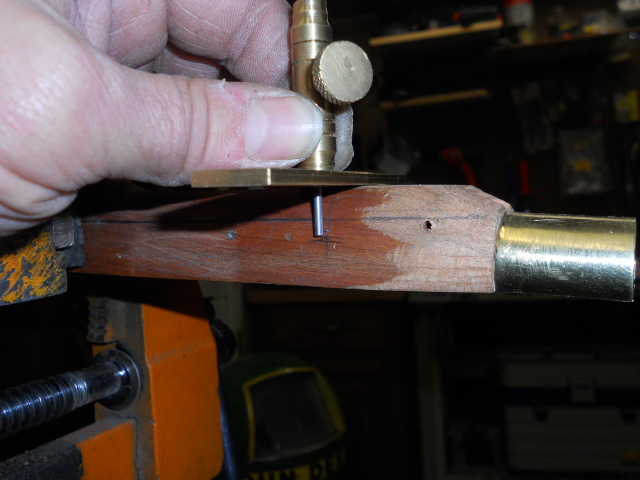
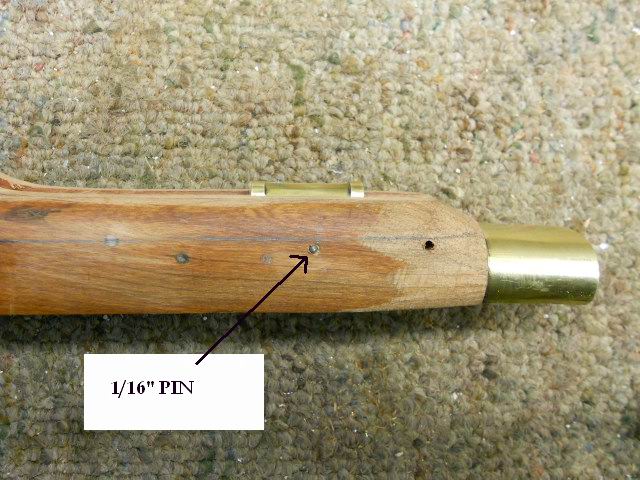
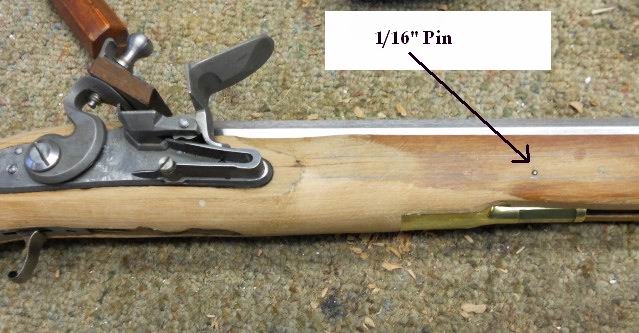
Here you can see the thimble is now flush with the ram rod channel. Using a depth gauge I marked on the outside of the stock where the bottom of the thimble inlet is and the location of the bottom of the pistol barrel. I drilled a 1/16" hole between the two lines. Then I inserted a 1/16" pin to hold the thimble in place.
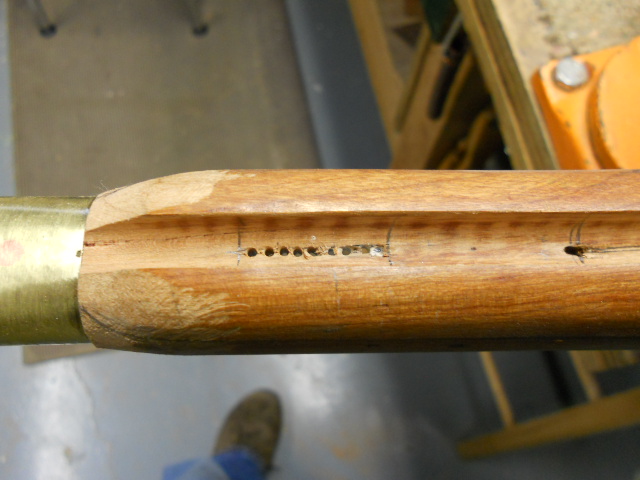
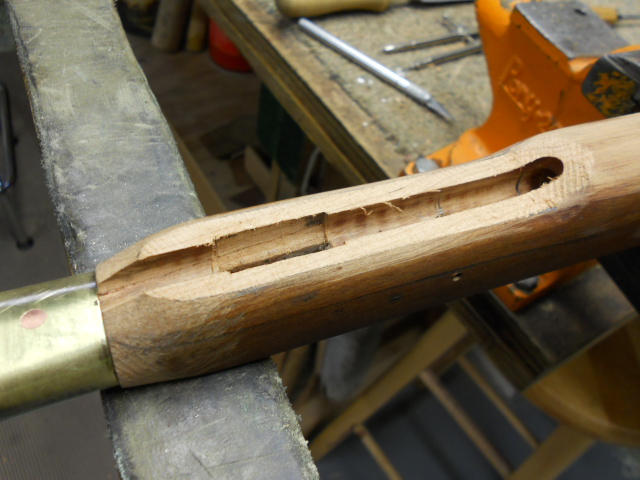
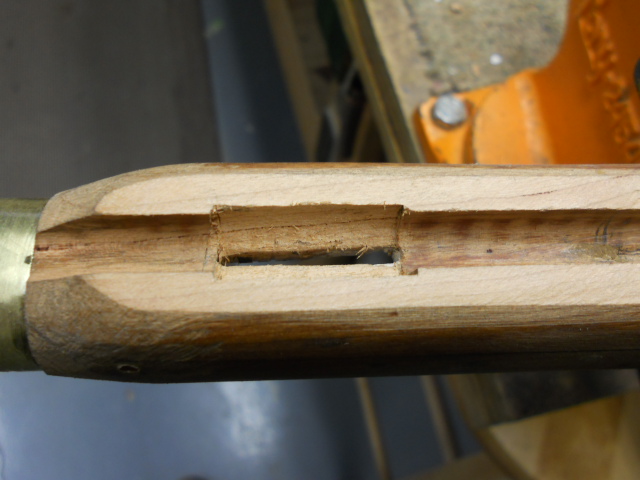
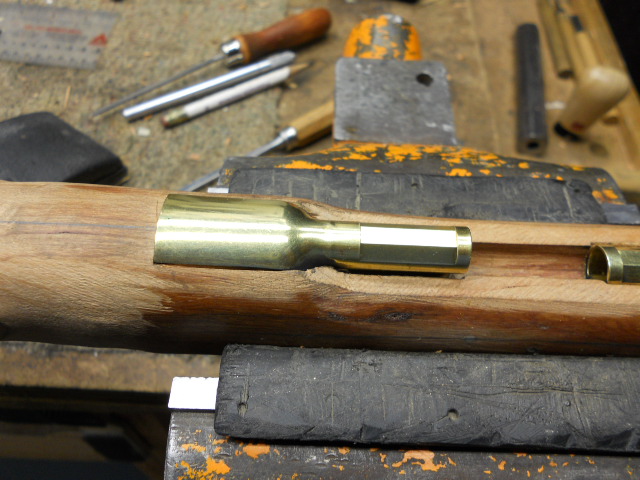
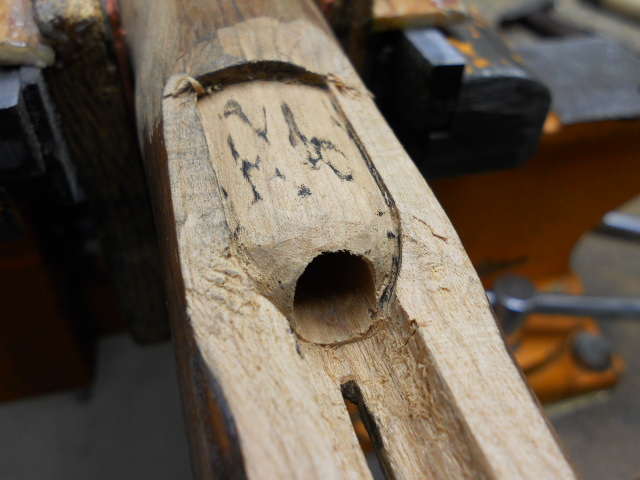
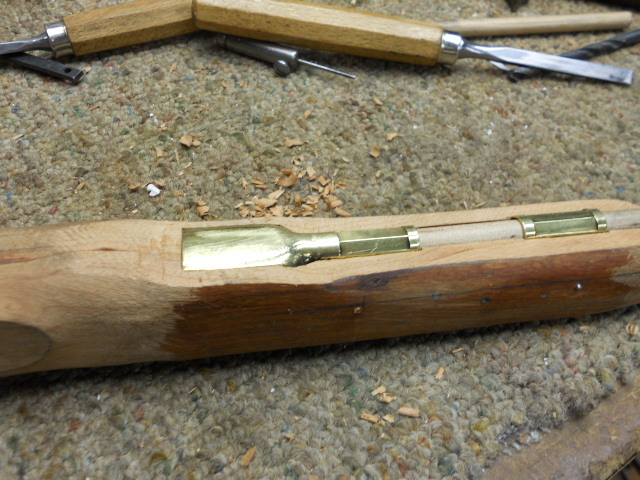
To install the rear thimble I inletted the forward thimble the same way as it was inletted previously. Now with this inletted, I can inlet the rear thimble and only be concerned with inletting the tail piece of the rear thimble. This is done slowly.

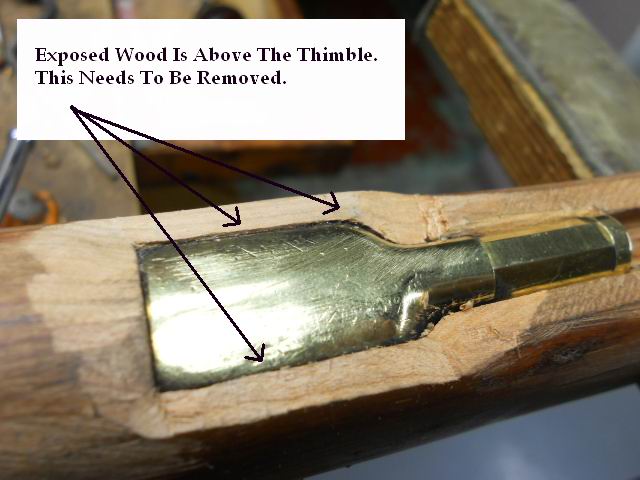
As the thimble is inletted, excess wood is now being exposed above the thimble. This wood must be removed to ensure a tight fit. I used my 1/4" chisel to shave the excess wood away from the thimble on either side of the tail piece.
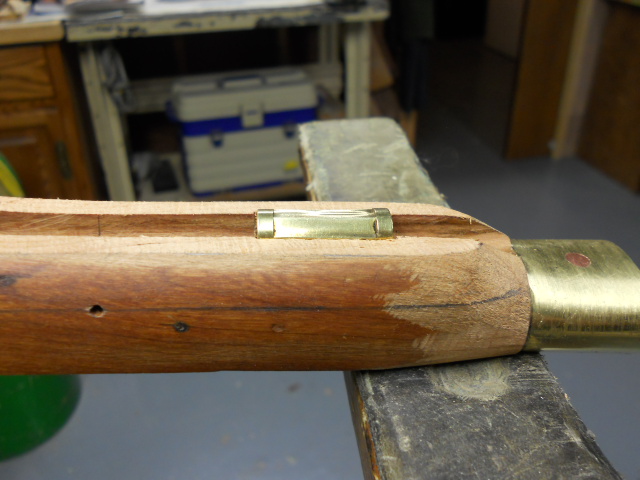
The tail piece is inletted down till it is parallel with the top of the pistol barrel and the ram rod passes smoothly thru the thimble. Using a depth gauge I marked on the outside of the stock where the bottom of the thimble inlet is and the location of the bottom of the pistol barrel. I drilled a 1/16" hole between the two lines. Then I inserted a 1/16" pin to hold the thimble in place. Note, the pin location was toward the rear of the thimble is securely holds the thimble in place and eliminates the need for two pins.
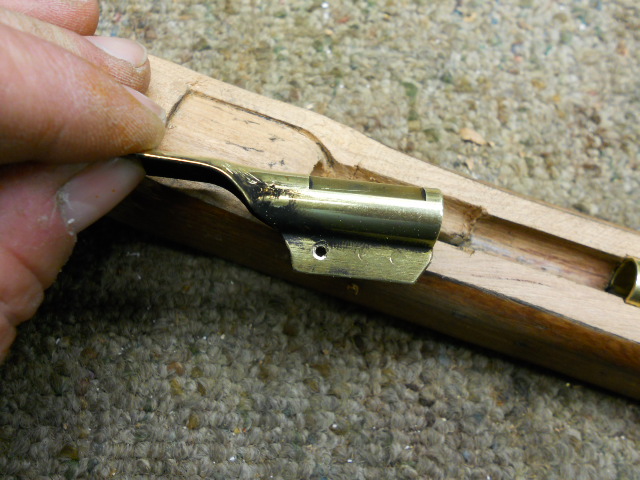
Here is the location of the pin in the stock and a photo showing the ramrod in place on the pistol. Now onto shaping the pistol stock.
Hoot AL Rifle Shop
If you like the site or have any questions, drop me a line by clicking on "Hoot" below.

(c) Copyright 2005. All Rights Reserved.