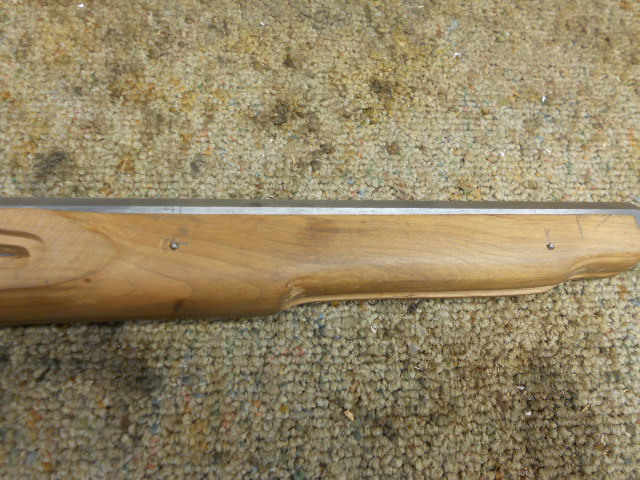
Tenon Locations:
To locate where the tenons will be positioned on the stock and barrel, I position the rear tenon half way between the lock and the rear thimble. The forward tenon is located back from the nose cap.
Make & Install Barrel Tenons:
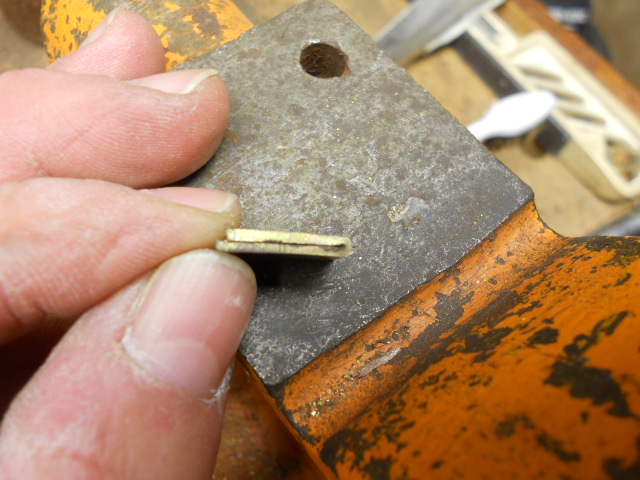
To make the tenons, I use a couple pieces of brass.058-.062" thick. The width is roughly 1/2 inch. The length is approximately 1" - 1-1/4" long. The brass is annealed and the center is marked across the narrowest part of the brass. The brass is then stuck in a vise to the mark and bent over at 90 degrees.
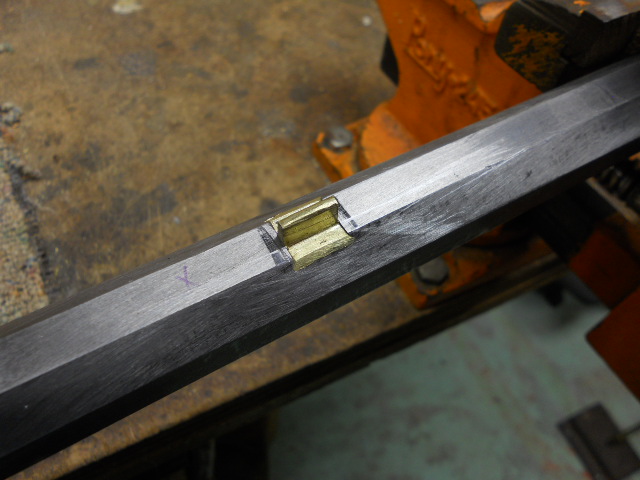
Now stick the bent brass into the vise and tighten the vise. This will collapse the brass and fold it. Once this is bent, use a hammer to further flatten the brass. I held the brass up to the barrel to determine the thickness of the rib between the barrel and the ramrod channel. Make a mark here across the brass. This will be the height of your tenon to be inletted into the stock.


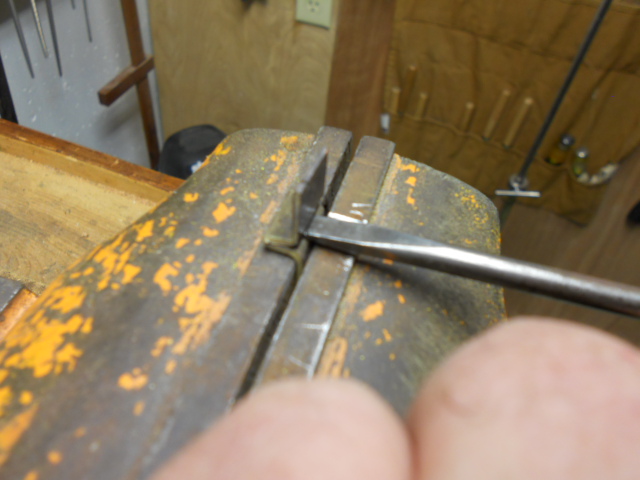
Draw a line across the brass and then reinsert the brass with the folded end in the vise. Using a screwdriver, tap the driver to open up the tabs and flatten them down on either side of the tenon.

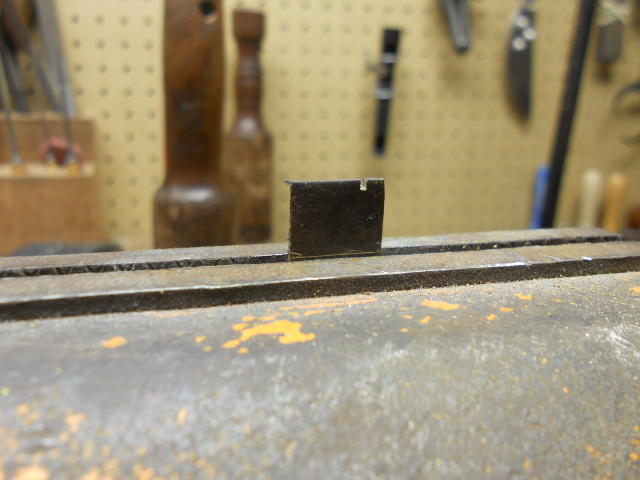
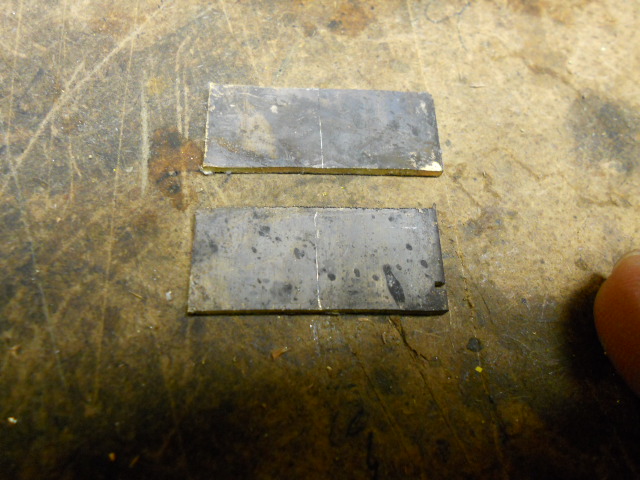
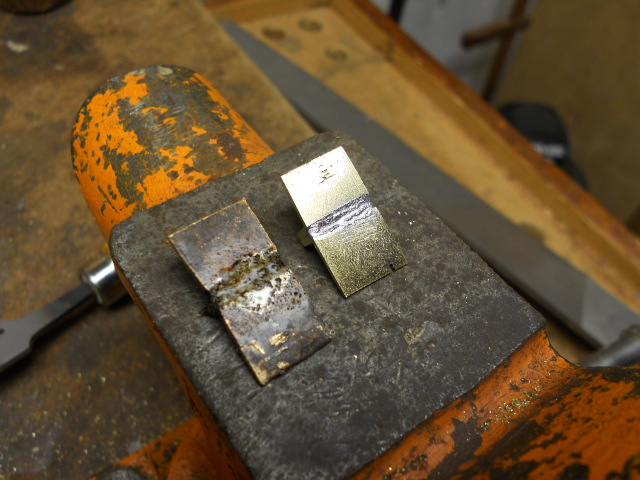
Now we have the tenon shaped. Remove the tenon and stick one end into the vise. Using the screwdriver, open the tenon. Next remove the tenon and place the tenon with the folded end into an open vise. Place flux and a small piece of solder into the opened tenon. Heat from below. The brass will get hot and melt the solder. When the solder melts, immediately close the vise and pinch the tenon shut. Below you can see the before and after of soldering the tenon. The one on the right was wire brushed.
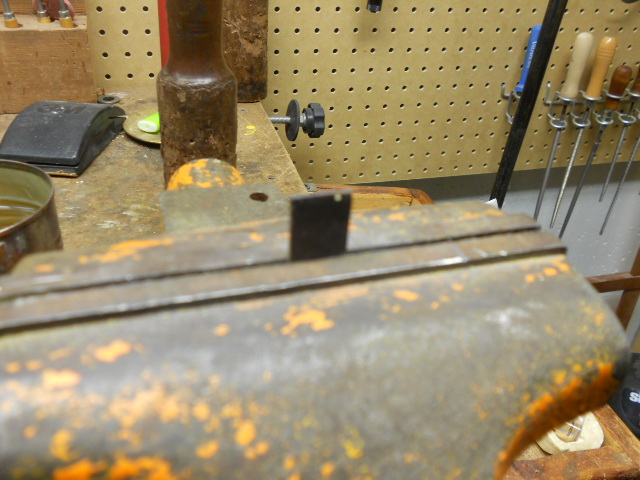
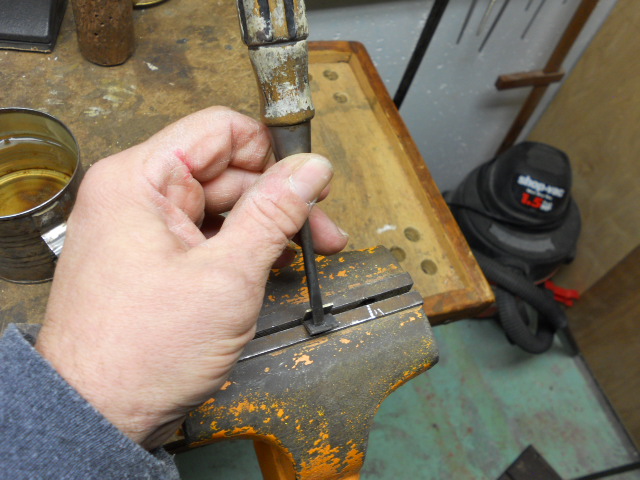
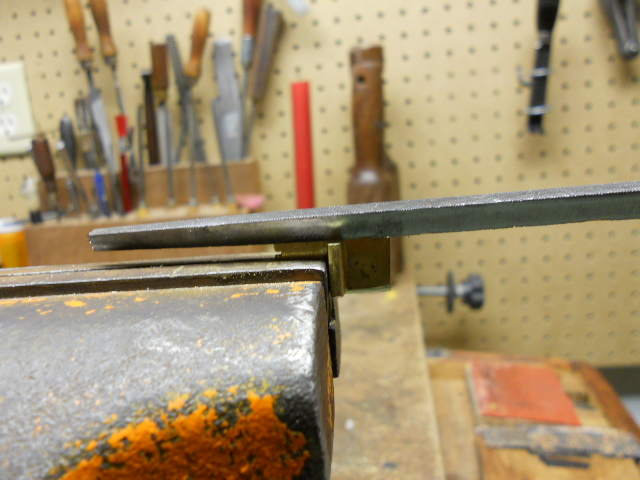
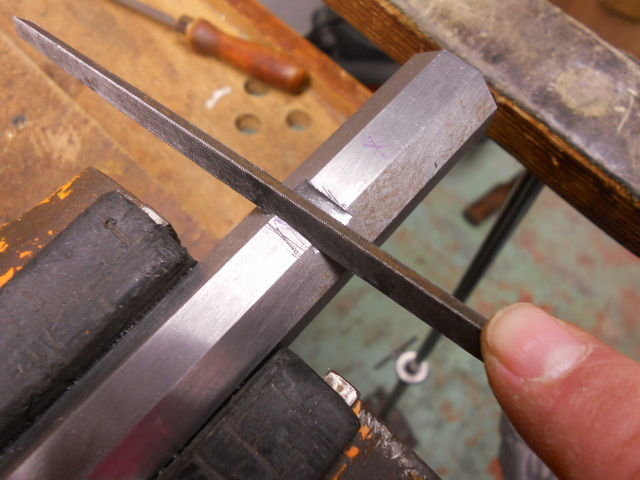
With the tenon positioned vertically along the outside edge of the vise, use a safe triangular file. This is a file with the one side is free of any teeth. This was done on the grinder and using water to keep the file cool. With the safe side (no teeth) facing the folded end of the tenon, file along the edge of the tenon. This will result in filing a 45 degree bevel edge along the tenon.
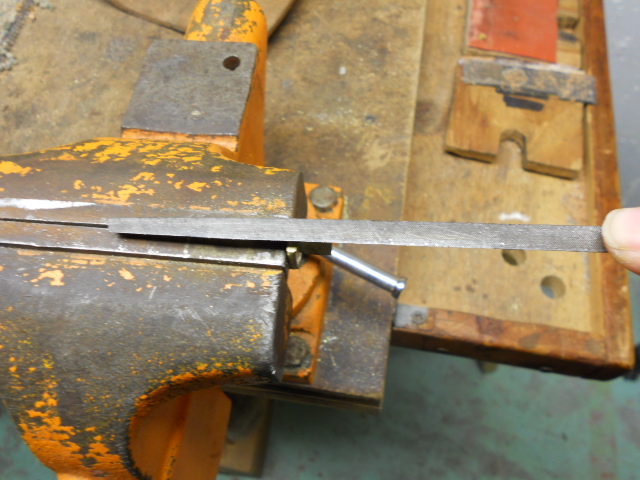

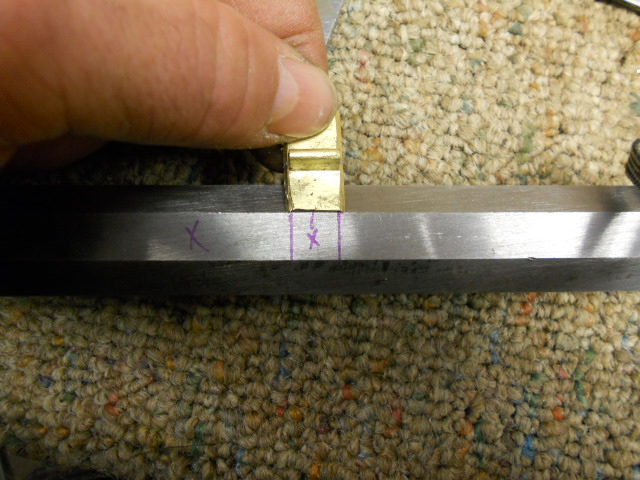
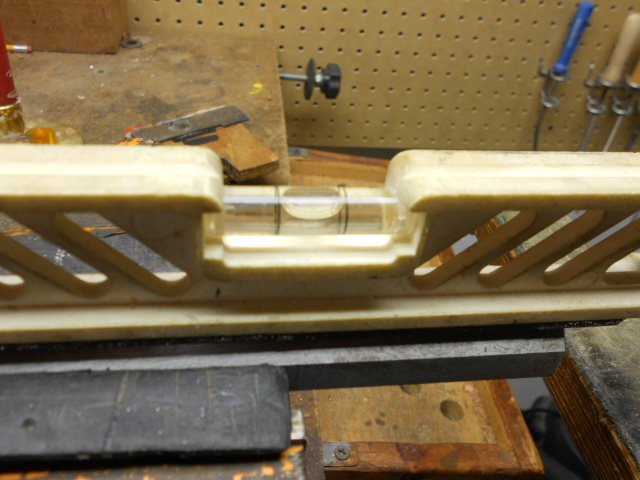
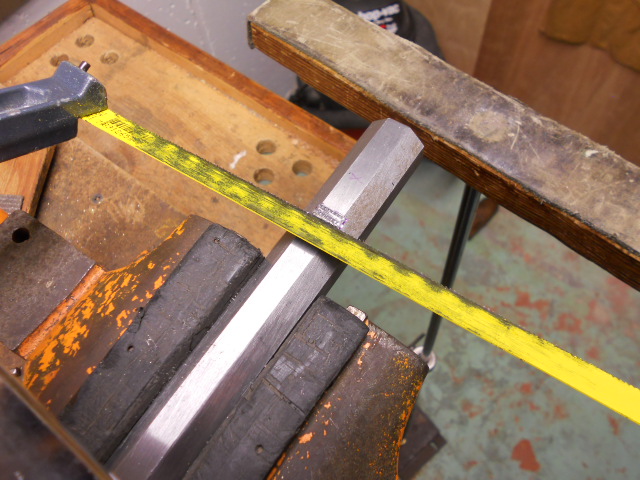
(Note: I install the first tenon toward the breech end first. Then the barrel with tenon is inletted into the stock and pinned. Then I will do the same routine for the forward tenon.)To install the tenon, make marks on the bottom of the barrel inside the bevels of the tenon. These lines will be under cut by the safe file to create the bevels for the dovetail in the barrel. Make sure before cutting barrel the barrel is level. Then cut down the thickness of the tenon on the inside of your lines. Once this is done, I use a straight edge and draw a line across and this gives me a quick gauge to make the rest of my cuts.

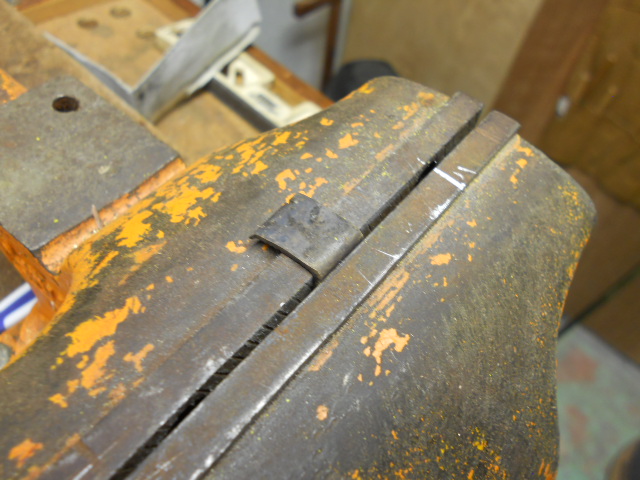
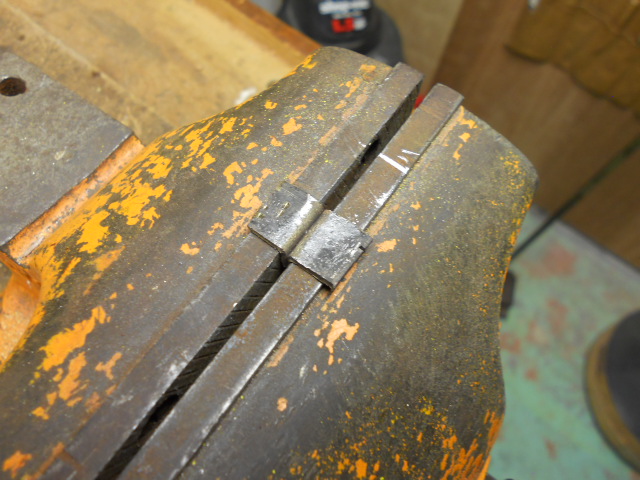
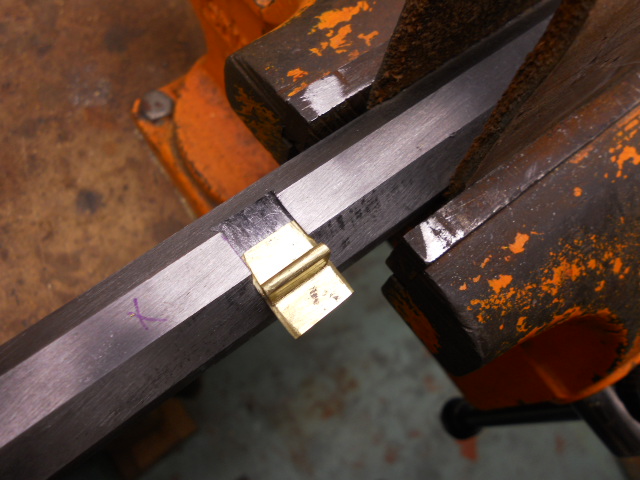
Here you can see the cuts I have made. With this done, you can either use a small cold chisel to remove the metal or use the hacksaw at an angle to remove the excess metal. I then further clean up the cut out with files till all the vertical cut marks are gone. Now I can use the safe file with the safe side (no teeth) down and cut side ways into each side. I continue dong this till the tenon fits into the dovetail.


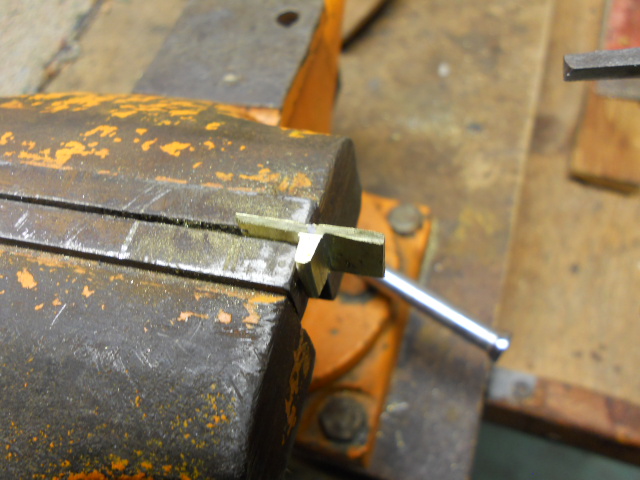
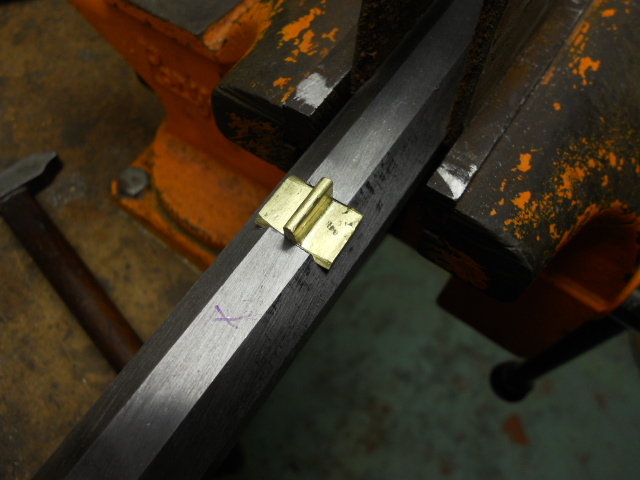
At this point the tenon fits from either side. I do this to ensure the tenon will pass thru the dovetail. The tenon is driven into the dove tail with a piece of brass and a small hammer. With the tenon centered in the barrel flat, I will peen the edges of the dovetail to lock the tenon in place. Then using a file, I rotate the barrel in the vise and file the brass flush with the barrel.

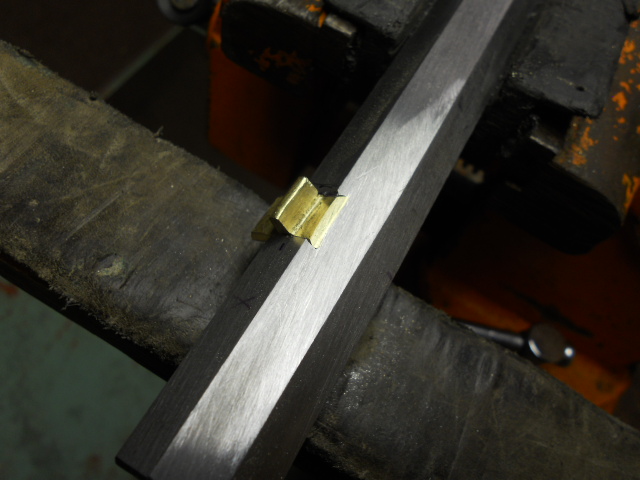
Here is the finished tenon ready to be inletted into the stock.

Hoot AL Rifle Shop
If you like the site or have any questions, drop me a line by clicking on "Hoot" below.

(c) Copyright 2005. All Rights Reserved.